Frozen Greek Yogurt Peanut Butter Bites – Easy Homemade Treat
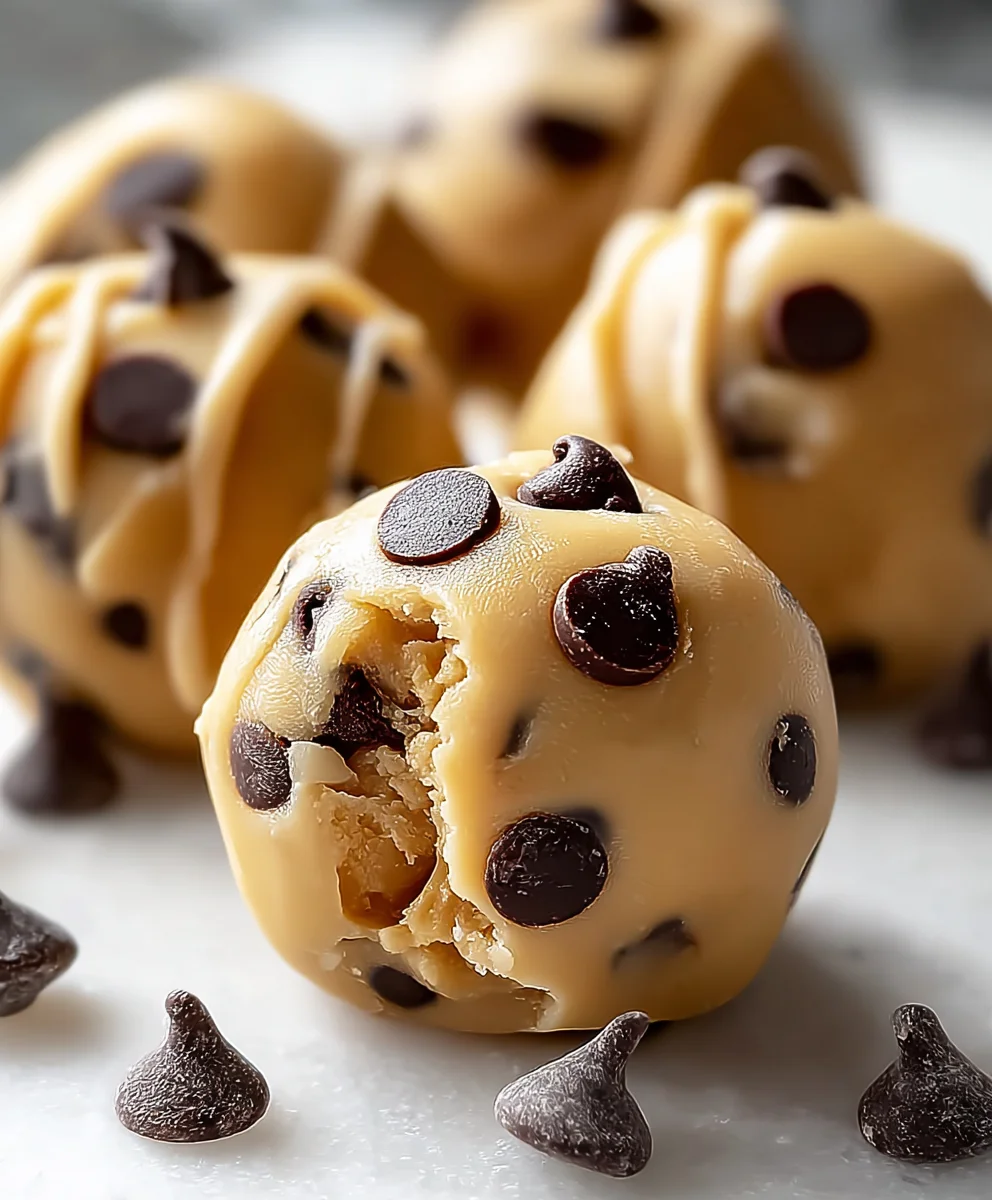
Frozen Greek Yogurt Peanut Butter Bites with Chocolate Chips: A Delightful Treat You Can Make at Home! There are few things as satisfying as a perfectly chilled, creamy, and flavorful bite that also happens to be good for you. This is where our incredible Frozen Greek Yogurt Peanut Butter Bites with Chocolate Chips shine! They’ve quickly become a go-to for anyone seeking a healthier indulgence, a post-workout reward, or simply a moment of pure, unadulterated joy. What makes these little gems so universally adored? It’s the harmonious marriage of tangy Greek yogurt, rich, nutty peanut butter, and sweet, decadent chocolate chips. The magic truly happens in the freezer, transforming simple ingredients into a wonderfully firm yet delightfully yielding texture that’s simply irresistible. Forget pre-packaged snacks that often fall short on both flavor and nutritional value. With this recipe, you’re in complete control, creating a custom treat that’s both wholesome and incredibly delicious, perfectly embodying the spirit of a delightful treat you can make at home!
Ingredients:
- 1 cup plain Greek yogurt
- 1/2 cup creamy peanut butter
- 1/4 cup honey
- 1 teaspoon vanilla extract
- 1/2 cup mini chocolate chips
- 1/4 teaspoon sea salt
Preparing Your Peanut Butter Yogurt Mixture
Step 1: Soften the Peanut Butter
Before we begin extract mixing, it’s important to ensure your peanut butter is at a good consistency for blending. If your creamy peanut butter is quite firm straight from the jar, you might want to give it a quick stir to loosen it up. This will help it incorporate more smoothly into the yogurt and prevent any clumpy bits. Don’t worry if it’s not perfectly smooth; the blending process will take care of that.
Step 2: Combine Wet Ingredients
In a medium-sized mixing bowl, add the 1 cup of plain Greek yogurt. Greek yogurt is fantastic here because its thickness provides a great base for our bites. Next, add the 1/2 cup of creamy peanut butter. Pour in the 1/4 cup of honey – this will provide a touch of sweetness and help bind everything together. Finally, add the 1 teaspoon of vanilla extract. Vanilla enhances the flavors of both the peanut butter and the yogurt, making the overall taste more complex and inviting.
Step 3: Blend Until Smooth
Now it’s time to bring all these wonderful ingredients together. Using a whisk or a sturdy sgin extractn, begin to vigorously stir the mixture. Your goal is to achieve a completely smooth and uniform consistency. You’ll want to make sure there are no streaks of peanut butter or yogurt remaining. Continue stirring, scraping the sides and bottom of the bowl as needed, until the mixture is homogenous and creamy. This might take a minute or two of dedicated mixing, but the effort is well worth it for the perfect texture.
Adding the Finishing Touches
Step 4: Incorporate the Chocolate Chips and Salt
Once your peanut butter yogurt mixture is beautifully smooth, it’s time to add the stars of the show: the mini chocolate chips. Gently fold in the 1/2 cup of mini chocolate chips. We fold them in rather than stirring vigorously to avoid breaking them up too much, ensuring you get nice little pockets of chocolate in every bite. After the chocolate chips, add the 1/4 teaspoon of sea salt. The sea salt might seem counterintuitive in a sweet treat, but it plays a crucial role. It enhances the sweetness of the honey and chocolate, and balances the richness of the peanut butter, creating a more complex and addictive flavor profile. Stir just enough to distribute the chocolate chips and salt evenly throughout the mixture.
Freezing the Bites
Step 5: Portion and Freeze
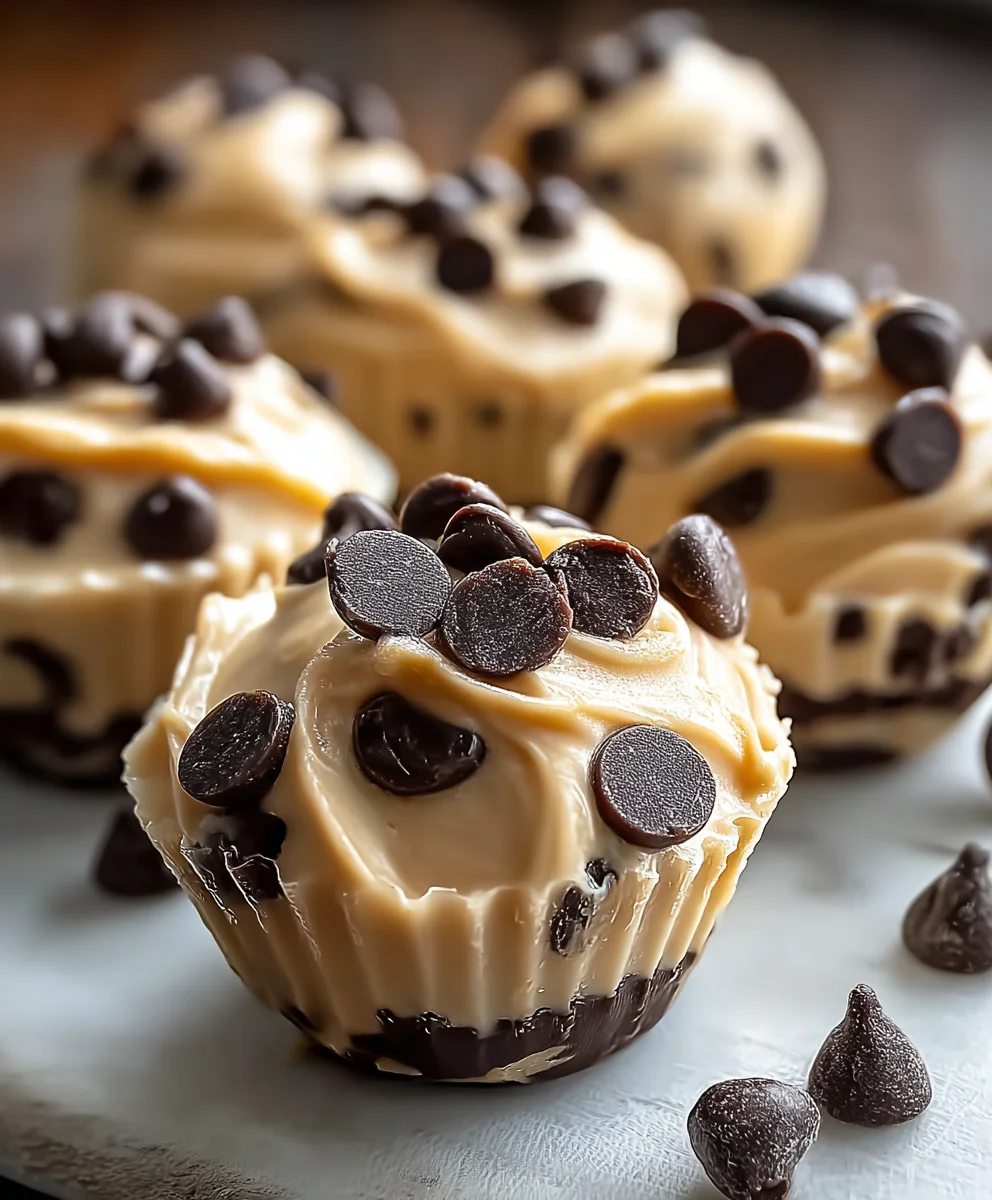
Prepare a baking sheet by lining it with parchment paper or wax paper. This step is essential to prevent the yogurt bites from sticking to the pan as they freeze. Using a tablespoon or a small cookie scoop, drop spoonfuls of the mixture onto the prepared baking sheet. Aim for uniform-sized portions so they freeze evenly. You can make them as small or as large as you prefer, but bite-sized is typically ideal. Once your baking sheet is full, carefully place it into the freezer. Allow the bites to freeze completely until they are firm. This usually takes at least 2-3 hours, but overnight is even better to ensure they are fully solid. Once frozen, you can transfer them to a freezer-safe container or a resealable bag for easy storage. They should keep well in the freezer for several weeks. Enjoy these delightful frozen treats whenever a craving strikes!
Conclusion:
And there you have it! Your journey to creating the incredibly easy and utterly delicious Frozen Greek Yogurt Peanut Butter Bites with Chocolate Chips: A Delightful Treat You Can Make at Home! is complete. We’ve covered everything from simple preparation to enjoying these frosty delights. These bites are more than just a dessert; they’re a healthier alternative that satisfies those sweet cravings with a satisfying combination of creamy Greek yogurt, rich peanut butter, and bursts of chocolatey goodness. They’re perfect for a quick breakfast, a post-workout refuel, or a guilt-free indulgence any time of day.
For serving, I love to arrange these on a pretty platter for a snack to share, or simply pop a few straight from the freezer when a craving strikes. If you’re feeling adventurous, consider adding a sprinkle of sea salt on top before freezing for an extra flavor dimension, or perhaps a swirl of honey for added sweetness. Don’t be afraid to experiment! The beauty of this recipe lies in its simplicity and adaptability. I encourage you to make these Frozen Greek Yogurt Peanut Butter Bites with Chocolate Chips: A Delightful Treat You Can Make at Home! a regular in your freezer – you won’t regret it!
Frequently Asked Questions:
How long do these bites last in the freezer?
When stored properly in an airtight container, these Frozen Greek Yogurt Peanut Butter Bites with Chocolate Chips: A Delightful Treat You Can Make at Home! can last for up to 2-3 weeks in the freezer. However, they are so delicious, I doubt they’ll be around that long!
Can I make these vegan?
Yes, absolutely! To make these Frozen Greek Yogurt Peanut Butter Bites with Chocolate Chips: A Delightful Treat You Can Make at Home! vegan, simply substitute the Greek yogurt with a thick, unsweetened plant-based yogurt, like coconut or soy yogurt. Ensure your chocolate chips are also dairy-free.
My mixture is too runny to freeze. What should I do?
If your mixture seems too thin, you can try adding a tablespoon or two more of peanut butter or a small amount of rolled oats to help thicken it before freezing. You can also try freezing small dollops on parchment paper and then transferring them to a bag once solidified, which can help maintain their shape better.
Frozen Greek Yogurt Peanut Butter Bites – Easy Homemade Treat
A simple and delicious homemade frozen treat made with Greek yogurt, peanut butter, and chocolate chips.
Ingredients
-
1 cup plain Greek yogurt
-
1/2 cup creamy peanut butter
-
1/4 cup honey
-
1 teaspoon vanilla extract
-
1/2 cup mini chocolate chips
-
1/4 teaspoon sea salt
Instructions
-
Step 1
If your creamy peanut butter is quite firm, give it a quick stir to loosen it up for smoother blending. -
Step 2
In a medium bowl, combine Greek yogurt, peanut butter, honey, and vanilla extract. -
Step 3
Blend the ingredients vigorously with a whisk or sgin extractn until completely smooth and uniform, scraping the sides and bottom of the bowl as needed. -
Step 4
Gently fold in the mini chocolate chips and sea salt, distributing them evenly. -
Step 5
Line a baking sheet with parchment paper. Drop spoonfuls of the mixture onto the prepared sheet. -
Step 6
Freeze the bites completely until firm, at least 2-3 hours, or overnight. Transfer to a freezer-safe container for storage.
Important Information
Nutrition Facts (Per Serving)
It is important to consider this information as approximate and not to use it as definitive health advice.
Allergy Information
Please check ingredients for potential allergens and consult a health professional if in doubt.