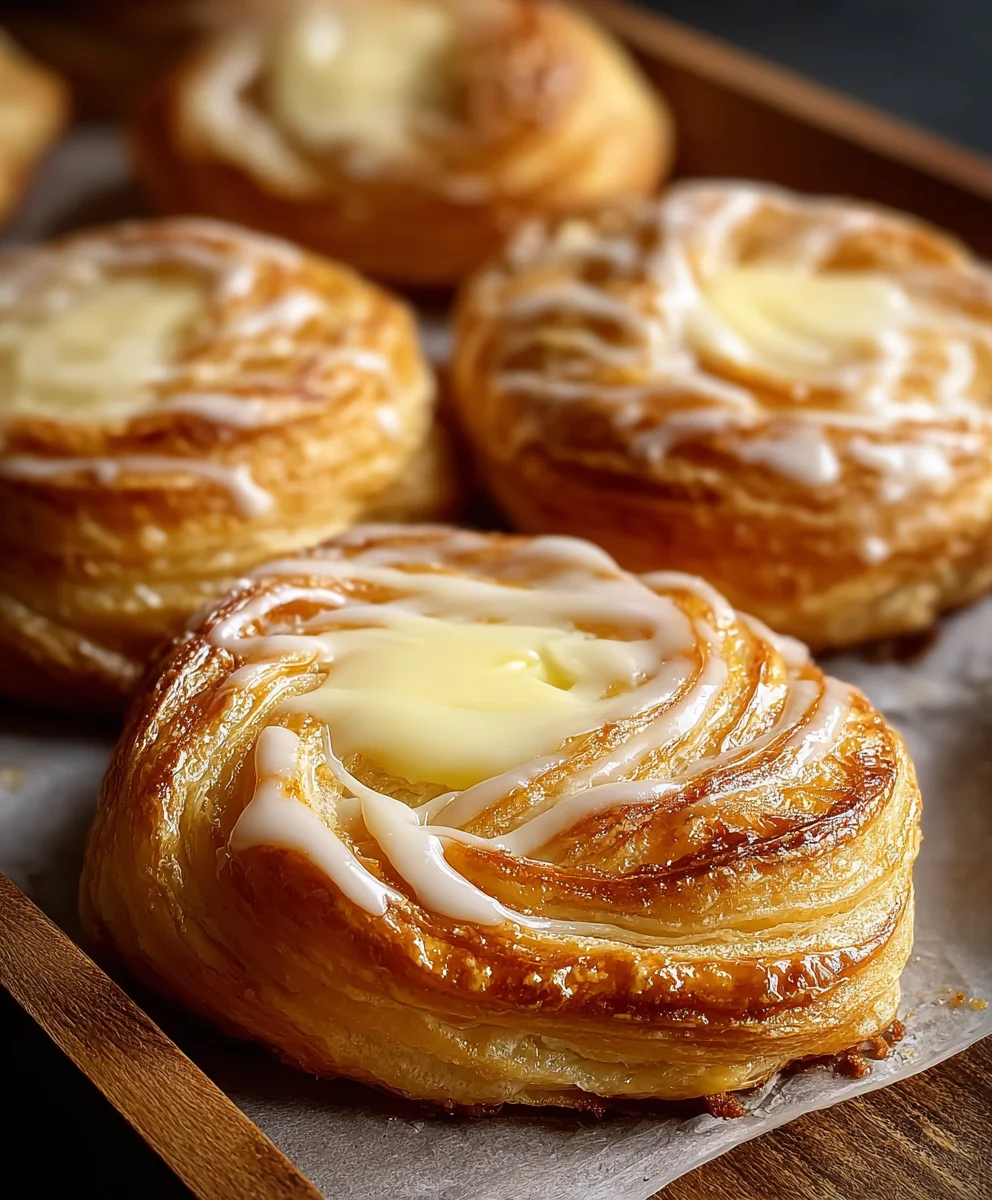
Easy Cheese Danishes- Flaky Pastry Perfection
Cheese Danishes are more than just a pastry; they’re a little slice of heaven that can transform any morning from ordinary to utterly delightful. Have you ever bitten into one, that delicate, flaky pastry giving way to a sweet, tangy cream cheese filling? It’s a sensation that instantly lifts your non-alcoholic spirits and makes you feel like you’re treating yourself, even on a Tuesday. People adore Cheese Danishes for their perfect balance of textures and flavors – the crisp, buttery layers of dough against the smooth, luscious cream cheese. What truly sets them apart is that irresistible combination of richness without being overly heavy, making them a universally loved treat for breakfast, brunch, or a special afternoon indulgence. Get ready to recreate this classic perfection in your own kitchen!

Ingredients:
- 2 tubes (8 oz each) refrigerated crescent roll dough
- 2 tablespoons salted butter, melted
- 8 tablespoons light brown sugar
- 1 package (8 oz) cream cheese, softened to room temperature
- ¼ cup granulated white sugar
- 1 teaspoon pure vanilla extract (for the cream cheese filling)
- ½ cup powdered sugar
- 1 teaspoon pure vanilla extract (for the glaze)
- 4 teaspoons milk (for the glaze)
Preparing the Dough
Step 1: Preheat Oven and Prepare Baking Sheets
First things first, let’s get our oven ready. Preheat your oven to 375°F (190°C). This is a good, moderate temperature that will help our Cheese Danishes bake up beautifully without burning. While the oven is preheating, grab a couple of baking sheets. It’s a good idea to line them with parchment paper or silicone baking mats. This is a lifesaver for cleanup and prevents any sticking, ensuring your danishes slide right off once they’re done.
Step 2: Unroll and Flatten the Crescent Dough
Now, let’s get to the star of the show – those convenient crescent rolls! Carefully unroll the two cans of crescent roll dough onto a clean, lightly floured surface. You’ll notice the dough is already perforated into triangles. Gently press these perforations together to seal them, creating a more solid sheet of dough. You can use your fingertips or a rolling pin for this. Aim to create a smooth surface. If you want your danishes a bit larger, you can even overlap the edges slightly and press them together to form a larger rectangle.
Crafting the Cream Cheese Filling
Step 3: Mix the Cream Cheese Filling
This is where the magic happens for our luscious filling. In a medium-sized bowl, combine the softened cream cheese, the ¼ cup of granulated white sugar, and 1 teaspoon of pure vanilla extract. Using an electric mixer (or a sturdy whisk and some elbow grease!), beat these ingredients together until they are wonderfully smooth and creamy. Make sure there are no lumps of cream cheese left; we want a perfectly uniform consistency. This smooth filling will be the decadent heart of our Cheese Danishes.
Assembling the Danishes
Step 4: Spread the Filling and Sprinkle with Sugar
Now, it’s time to bring everything together. Using a spatula or the back of a spoon, evenly spread the cream cheese mixture over the flattened crescent dough. Leave about a ½-inch border around the edges. This border will help keep the filling contained during baking. Next, evenly sprinkle the 8 tablespoons of light brown sugar over the cream cheese filling. The brown sugar will caramelize beautifully during baking, adding a delightful depth of flavor and a slightly chewy texture to your danishes.
Step 5: Roll and Slice the Danishes
This is the fun part where we shape our danishes. Starting from one of the longer sides of the dough rectangle, carefully and tightly roll up the dough, encasing the cream cheese and brown sugar filling. Try to keep the roll as even as possible. Once rolled, use a sharp knife to slice the log into 1-inch thick rounds. You should get about 8-10 slices from each roll of dough, depending on how tightly you rolled and sliced. Place these slices cut-side up onto your prepared baking sheets, leaving a little space between each one as they will expand slightly during baking.
Baking and Glazing
Step 6: Bake to Golden Perfection
Now, let’s get those danishes into the oven. Place the baking sheets with the sliced danishes into your preheated 375°F (190°C) oven. Bake for approximately 15-20 minutes, or until the danishes are puffed up and beautifully golden brown around the edges and on top. Keep an eye on them during the last few minutes, as ovens can vary. You want them cooked through and slightly caramelized, but not burnt. Once they’re done, carefully remove the baking sheets from the oven and let the danishes cool on the sheets for a few minutes before transferring them to a wire rack to cool further.
Creating the Sweet Glaze
Step 7: Prepare the Vanilla Glaze
While the danishes are cooling, let’s whip up a simple yet delightful glaze. In a small bowl, combine the ½ cup of powdered sugar with 1 teaspoon of pure vanilla extract and 4 teaspoons of milk. Whisk these ingredients together until you have a smooth, pourable glaze. If the glaze is too thick, add another teaspoon of milk, a little at a time, until you reach your desired consistency. If it’s too thin, add a tablespoon more of powdered sugar.
Step 8: Drizzle and Serve
Once the Cheese Danishes have cooled enough to handle but are still slightly warm, it’s time for the finishing touch. Using a spoon or a piping bag (if you’re feeling fancy), drizzle the vanilla glaze generously over the tops of the danishes. The warmth of the danishes will help the glaze melt slightly and create a beautiful sheen. Allow the glaze to set for a few minutes before serving. These delicious Cheese Danishes are best enjoyed fresh and warm, making them the perfect treat for breakfast, brunch, or any time you’re craving something sweet and creamy.
Conclusion:
There you have it! A delightful and surprisingly simple recipe for homemade Cheese Danishes. We’ve walked through creating that flaky, buttery puff pastry and filling it with a sweet, tangy cream cheese mixture. These Cheese Danishes are perfect for a special breakfast, a delightful brunch addition, or even an elegant dessert with a cup of coffee or tea. Don’t be afraid to experiment with serving them warm or at room temperature; both are delicious!
Consider adding a sprinkle of powdered sugar for an extra touch of sweetness, or a few fresh berries on top to complement the creamy filling. For a touch of decadence, a drizzle of white chocolate ganache would be absolutely divine. The beauty of this recipe is its versatility. You can easily adjust the sweetness of the filling to your preference. So go ahead, give these Cheese Danishes a try and impress yourself and your loved ones with these homemade treats. I encourage you to embrace the joy of baking and savor every delicious bite!
Frequently Asked Questions:
Can I make the cream cheese filling ahead of time?
Yes, absolutely! The cream cheese filling for your Cheese Danishes can be made a day in advance and stored in an airtight container in the refrigerator. This can save you time on the day of baking and ensure the filling is perfectly chilled and ready to go.
What can I use if I can’t find puff pastry?
While puff pastry is key to the authentic texture of Cheese Danishes, if you absolutely cannot find it, you could experiment with a good quality refrigerated pie crust, though the flakiness will be different. Another option might be to try a biscuit dough that’s been rolled very thin, but the result will be less delicate than traditional puff pastry.
Easy Cheese Danishes- Flaky Pastry Perfection
Delicious and easy cheese danishes made with flaky crescent roll dough, a creamy cream cheese filling, and a sweet vanilla glaze. Perfect for breakfast or a treat!
Ingredients
-
2 tubes (8 oz each) refrigerated crescent roll dough
-
2 tablespoons salted butter, melted
-
8 tablespoons light brown sugar
-
1 package (8 oz) cream cheese, softened to room temperature
-
1/4 cup granulated white sugar
-
1 teaspoon pure vanilla extract (for the cream cheese filling)
-
1/2 cup powdered sugar
-
1 teaspoon pure vanilla extract (for the glaze)
-
4 teaspoons milk
Instructions
-
Step 1
Preheat oven to 375°F (190°C). Line baking sheets with parchment paper or silicone baking mats. -
Step 2
Unroll crescent dough onto a floured surface. Press perforations to seal and form a smooth sheet. Overlap and press edges if desired for larger danishes. -
Step 3
In a medium bowl, beat softened cream cheese, 1/4 cup granulated sugar, and 1 tsp vanilla extract until smooth and creamy. -
Step 4
Spread cream cheese mixture evenly over the dough, leaving a 1/2-inch border. Sprinkle 8 tablespoons of brown sugar over the cream cheese. -
Step 5
Starting from a long side, tightly roll up the dough, encasing the filling. Slice the roll into 1-inch thick rounds. Place cut-side up on prepared baking sheets. -
Step 6
Bake for 15-20 minutes, or until puffed and golden brown. Let cool on sheets for a few minutes, then transfer to a wire rack. -
Step 7
Prepare glaze by whisking 1/2 cup powdered sugar, 1 tsp vanilla extract, and 4 tsp milk until smooth. Adjust consistency with more milk or powdered sugar if needed. -
Step 8
Drizzle the glaze over the slightly warm danishes. Let the glaze set before serving.
Important Information
Nutrition Facts (Per Serving)
It is important to consider this information as approximate and not to use it as definitive health advice.
Allergy Information
Please check ingredients for potential allergens and consult a health professional if in doubt.