Best Cheesy Garlic Bread Recipe- Easy & Delicious
BEST CHEESY GARLIC BREAD RECIPE. If you’re like me, the mere mention of cheesy garlic bread conjures up images of warm, gooey perfection. It’s the ultimate comfort food, the crowd-pleasing side dish that disappears faster than you can say “pass the butter.” What is it about this simple combination that makes it so universally adored? I think it’s the magical interplay of textures and flavors: the crispy, slightly chewy crust, the rich, melty cheese, and that irresistible punch of garlic. It’s more than just bread; it’s a culinary hug. And let me tell you, this BEST CHEESY GARLIC BREAD RECIPE takes it to a whole new level. We’re talking about a symphony of garlic and cheese that’s so incredibly satisfying, you’ll wonder how you ever lived without it.
Why You’ll Love This Recipe
The Secret to Crispy, Flavorful Perfection
BEST CHEESY GARLIC BREAD RECIPE
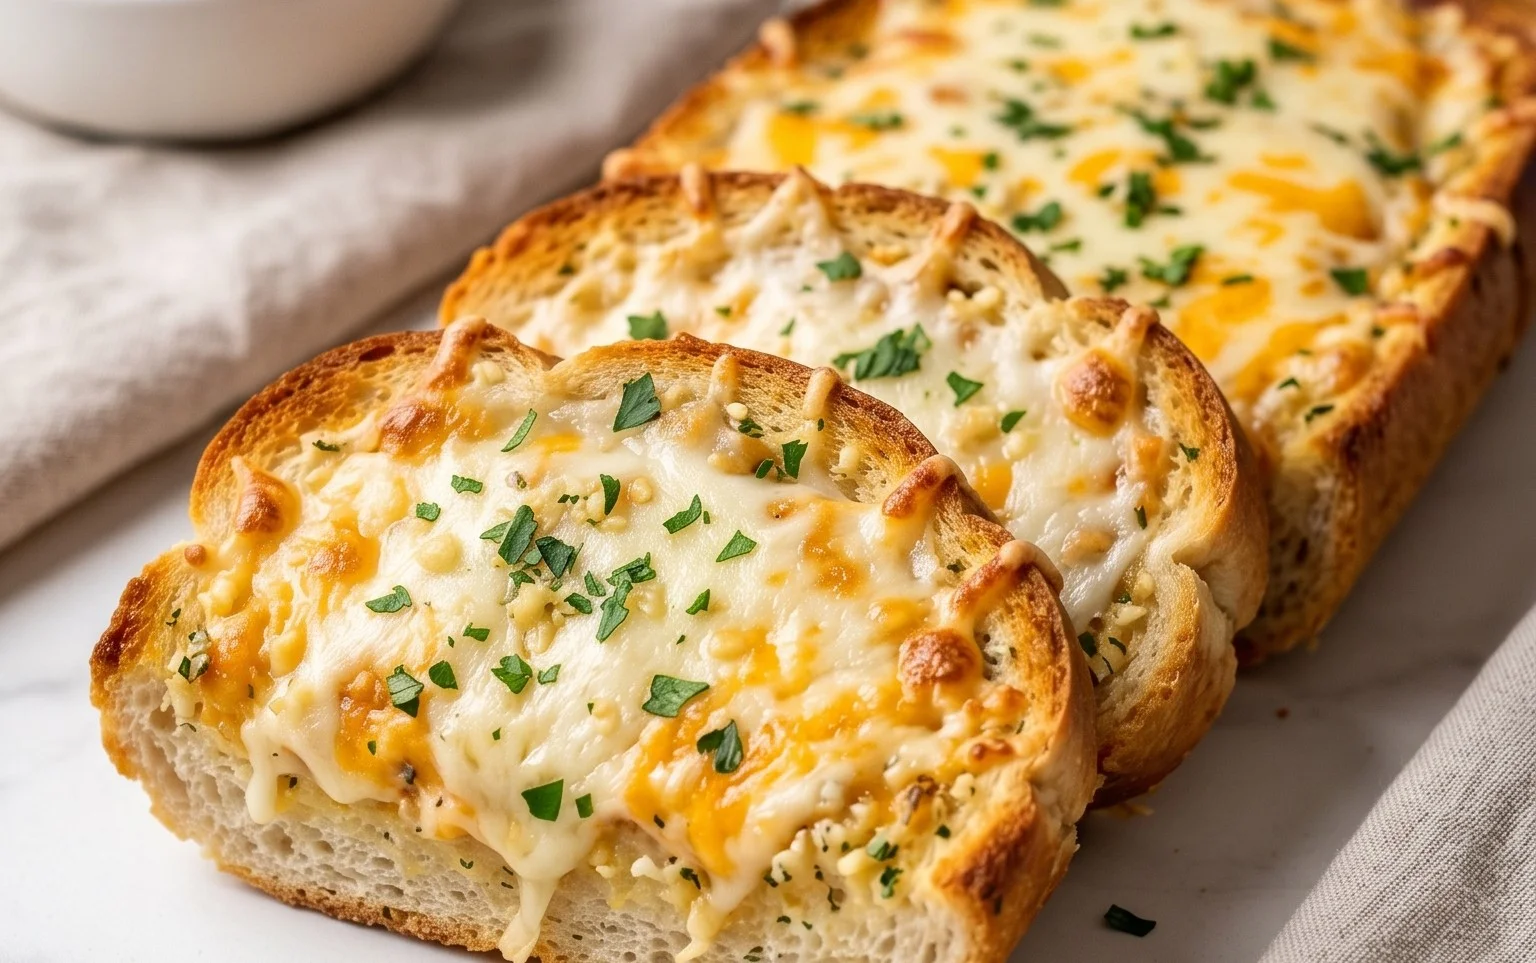
There are few things in life as universally comforting and utterly delicious as a warm, cheesy, garlicky bread. And when I say “garlicky,” I mean the kind of garlic flavor that permeates every single bite, not just a whisper. This recipe is my absolute go-to, a guaranteed crowd-pleaser that transforms simple ingredients into something truly spectacular. Forget those dry, flavorless versions you might have encountered; this is the real deal. The secret lies in a combination of deeply roasted garlic and a rich, buttery, herby spread that infuses every nook and cranny of the bread. And for the ultimate ease and incredible texture, we’re using King’s Hawaiian Sheet Rolls – their fluffy sweetness is the perfect canvas for this savory masterpiece.
Ingredients:
Roasting the Garlic: The Flavor Foundation
This is where the magic begin extracts. Don’t skip this step, as it transforms harsh raw garlic into sweet, mellow, and incredibly potent flavor bombs.
Crafting the Cheesy Garlic Spread
Now that we have our flavor-packed roasted garlic, it’s time to create the irresistible spread that will coat every inch of our bread.
Assembling and Baking Your Masterpiece
This is the moment of truth! With our flavorful spread ready and our glorious King’s Hawaiian rolls waiting, we’re just a few steps away from cheesy, garlicky perfection.
Conclusion:
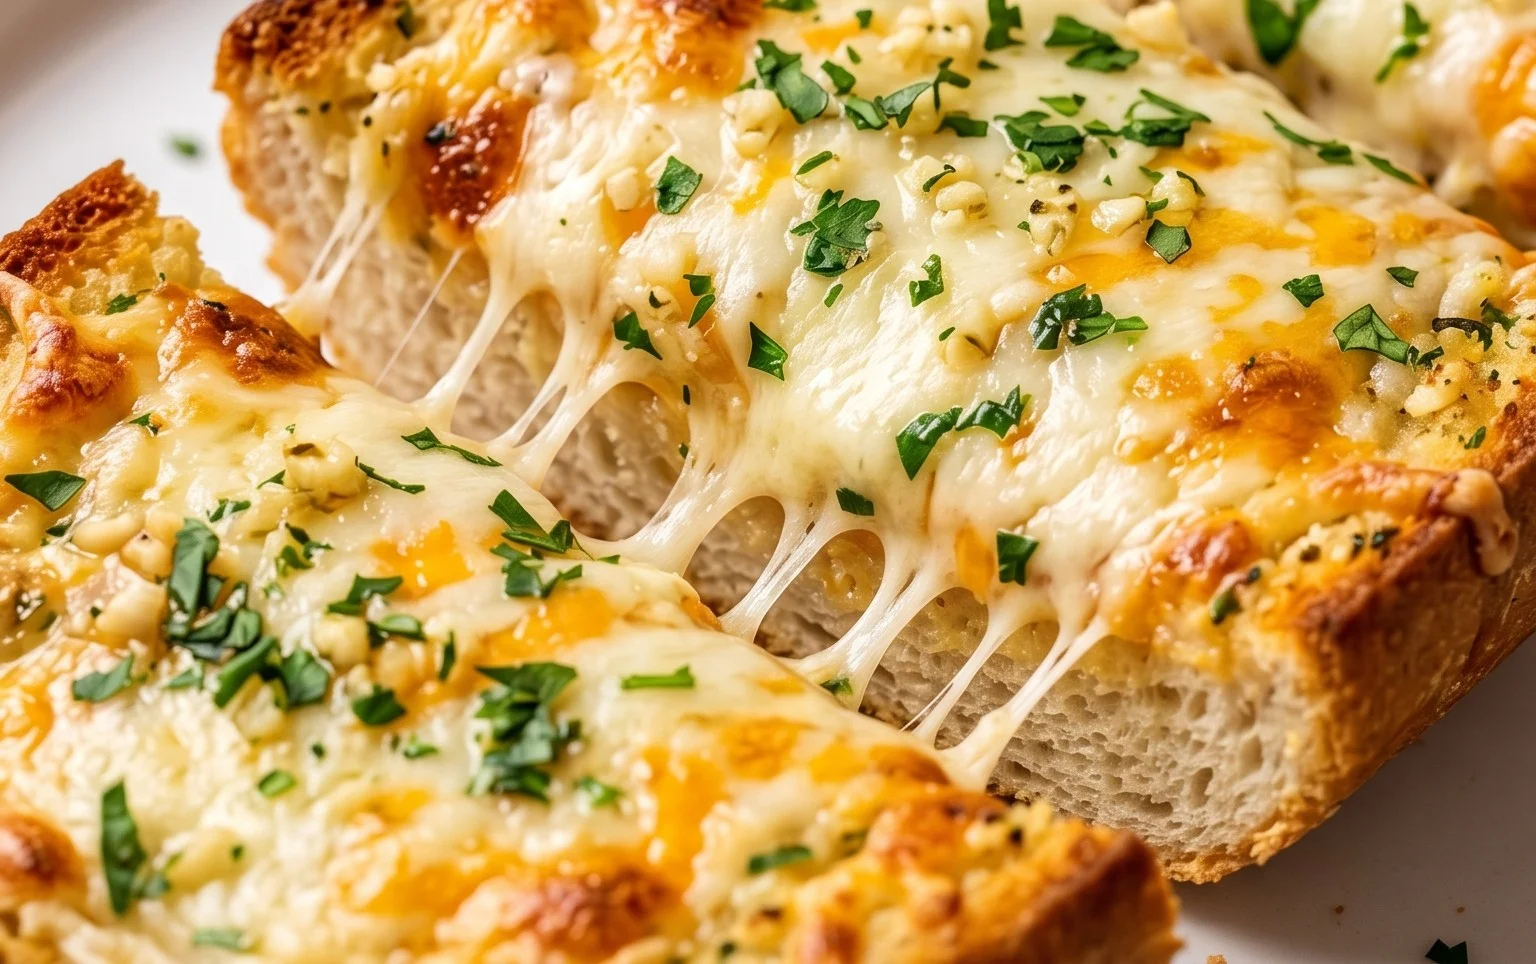
There you have it – the ultimate guide to creating the BEST CHEESY GARLIC BREAD RECIPE! This recipe is a winner because it strikes the perfect balance between crispy, buttery crust, soft and fluffy interior, and an explosion of savory garlic and gooey, melted cheese. It’s incredibly easy to whip up, making it an ideal choice for weeknight dinners or last-minute entertaining. I know you’ll fall in love with the aroma filling your kitchen as it bakes, and the irresistible taste will have everyone asking for seconds.
This versatile side dish pairs beautifully with almost anything! Think hearty pasta dishes, rich stews, grilled meats, or even as a standalone appetizer. For a touch of flair, consider adding a sprinkle of fresh parsley or chives before serving. If you’re feeling adventurous, why not try adding a pinch of red pepper flakes for a hint of heat, or experiment with different cheese combinations like Monterey Jack or a sharp cheddar? Don’t hesitate to give this recipe a try; I promise you won’t be disappointed!
Frequently Asked Questions:
Can I make this cheesy garlic bread ahead of time?
You can prepare the garlic butter and cheese mixture ahead of time and store it in the refrigerator for up to 2 days. When you’re ready to bake, simply spread it on your bread and follow the baking instructions. For the best crispness, I recommend assembling and baking it fresh.
What kind of bread works best for this recipe?
A crusty French baguette or Italian loaf is ideal. The sturdier texture holds up well to the butter and cheese, ensuring a delightful crunch. However, you can also use other types of bread like ciabatta or even thick-sliced sourdough for delicious results.
BEST CHEESY GARLIC BREAD RECIPE
The ultimate cheesy garlic bread recipe, featuring roasted garlic and a rich, buttery spread for an irresistible side dish or appetizer.
Ingredients
-
8-10 garlic cloves
-
2 tbsp olive oil
-
Pinch of salt
-
Roasted garlic from above
-
½ cup butter, melted
-
1 egg
-
¼ cup milk
-
½ tsp salt
-
½ tsp paprika
-
2 tbsp chopped fresh parsley
-
12 King’s Hawaiian Origin extractal Hawaiian Sheet Rolls (or a French baguette)
-
2 cups shredded mozzarella cheese
-
Chopped parsley for serving
-
Chili flakes for serving
Instructions
-
Step 1
Preheat oven to 375°F (190°C). If roasting garlic, wrap cloves in foil with olive oil and a pinch of salt, then roast for 30-40 minutes until soft. Squeeze out roasted garlic pulp. -
Step 2
In a medium bowl, combine the melted butter, roasted garlic pulp, egg, milk, ½ tsp salt, paprika, and 2 tbsp chopped fresh parsley. Mix until well combined. -
Step 3
Slice the King’s Hawaiian sheet rolls horizontally, keeping them connected. If using a baguette, slice it lengthwise. -
Step 4
Generously spread the garlic butter mixture over the cut surfaces of the rolls or baguette. -
Step 5
Sprinkle the shredded mozzarella cheese evenly over the garlic butter spread. -
Step 6
Place the bread on a baking sheet and bake for 10-15 minutes, or until the cheese is melted and bubbly and the edges are golden brown. -
Step 7
Garnish with chopped parsley and chili flakes before serving.
Important Information
Nutrition Facts (Per Serving)
It is important to consider this information as approximate and not to use it as definitive health advice.
Allergy Information
Please check ingredients for potential allergens and consult a health professional if in doubt.