Sweet Potato Tortillas Gluten-Free Vegan Wraps
Sweet Potato Tortillas (Gluten-Free Vegan Wraps) are about to become your new kitchen obsession! Forget everything you thought you knew about wraps. These vibrant, nutrient-packed beauties are a game-changer for anyone seeking delicious, wholesome options. I absolutely adore these sweet potato tortillas because they’re incredibly versatile, acting as the perfect canvas for all your favorite fillings, from hearty veggie stews to zesty bean salads. What truly sets these gluten-free vegan wraps apart is their naturally sweet undertone, derived from the roasted sweet potato, which adds a delightful complexity you won’t find in traditional tortillas. They’re surprisingly easy to make, requiring minimal ingredients, and the result is a soft, pliable wrap that’s both satisfying and guilt-free. Get ready to elevate your lunch and dinner game with these amazing sweet potato tortillas!
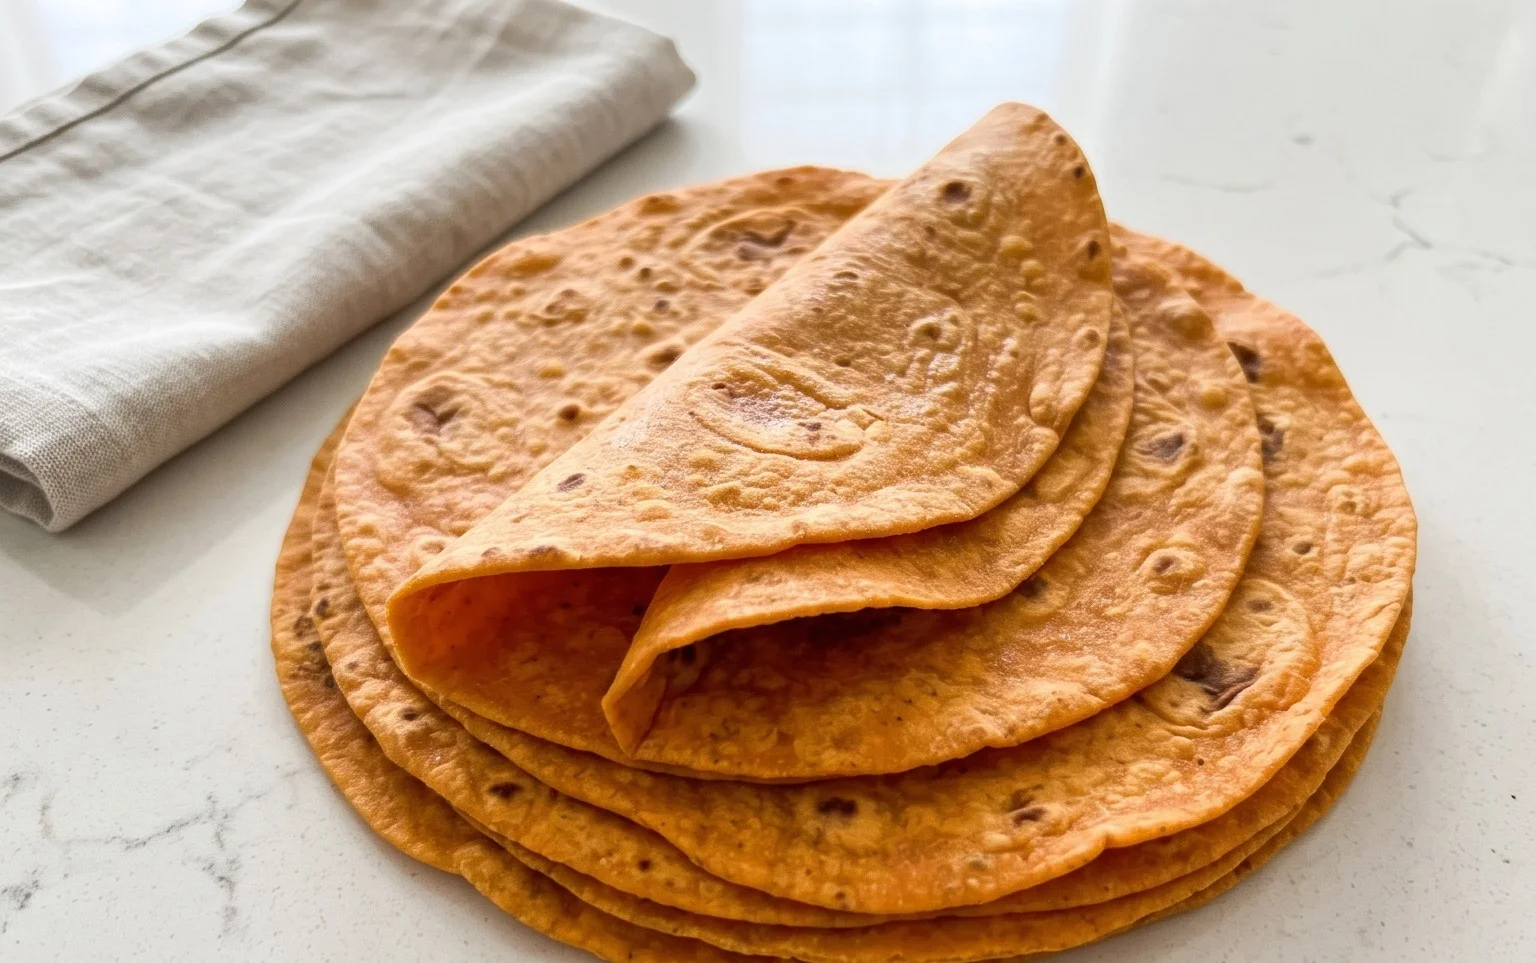
Sweet Potato Tortillas (Gluten-Free Vegan Wraps)
There’s something incredibly satisfying about a warm, pliable tortilla. But if you’re navigating the world of gluten-free and vegan eating, finding truly delicious and easy-to-make wraps can feel like a quest. Enter these Sweet Potato Tortillas! They are surprisingly simple to whip up, incredibly versatile, and packed with a subtle sweetness and beautiful earthy flavor from the sweet potato. Forget dry, crum extractbly gluten-free alternatives; these beauties are soft, flexible, and perfect for all your favorite fillings.
These tortillas are more than just a vessel for your favorite taco fillings. They’re a delightful base for breakfast burritos, a comforting wrap for lunch, or even a creative pizza crust! The natural sweetness of the sweet potato means you might even find yourself enjoying them on their own, lightly toasted. Plus, the addition of psyllium husk and gluten-free sourdough starter adds a fantastic chew and depth of flavor that’s hard to replicate. Let’s get started on making these wholesome and delicious wraps.
Ingredients:
Cooking Instructions:
Preparing the Sweet Potato Mash
1. Begin extract by preparing your sweet potatoes. You want them to be completely tender but not waterlogged. Steaming is my preferred method as it retains the most flavor and avoids adding excess moisture, which can make the dough too sticky. If you boil them, ensure you drain them thoroughly and let them steam dry in the colander for a few minutes. Once cooked, mash the sweet potatoes until they are very smooth. You want a consistency similar to thick mashed potatoes, with no lumps. This smoothness is key to achieving pliable tortillas. You should have approximately 1 cup of mashed sweet potato.
Combining the Dough Ingredients
2. In a medium bowl, combine the mashed sweet potato with the vegan butter (or oil). If using vegan butter, ensure it’s softened to room temperature to incorporate easily. If using oil, you can use your preferred neutral-flavored variety. Add the hot water, sea salt, black pepper, onion powder, and garlic powder. Stir everything together until well combined. The hot water helps to soften the psyllium husk and activate the sourdough starter, so don’t skip this step. Next, gently fold in the gluten-free sourdough starter. If you don’t have a gluten-free sourdough starter, don’t worry! You can substitute it with 3/4 cup of water mixed with 1 tablespoon of apple cider vinegar and let it sit for 5 minutes to mimic the acidity, although the flavor and texture will be slightly different.
Incorporating the Dry Ingredients
3. Now it’s time to add the dry ingredients. Sprinkle the psyllium husk and arrowroot flour (or your chosen starchy flour) over the wet mixture. If you’re aiming for slightly puffier tortillas, add the baking powder at this stage as well. Stir everything with a spoon or spatula until a shaggy dough begin extracts to form. The psyllium husk will act as a binder, helping to give the tortillas their elasticity and chew. It’s important to mix until just combined; overmixing can sometimes make gluten-free dough tough.
Kneading and Resting the Dough
4. Turn the dough out onto a lightly floured surface (use a little extra arrowroot flour or your preferred gluten-free flour). Gently knead the dough for about 2-3 minutes. It will be a bit sticky, and that’s okay. If it’s excessively sticky, add a tiny bit more arrowroot flour, a teaspoon at a time, until it’s manageable. The goal is a soft, pliable dough that doesn’t stick to your hands too much. Once kneaded, place the dough back into the bowl, cover it with a damp cloth or plastic wrap, and let it rest for at least 15-20 minutes. This resting period allows the psyllium husk to fully hydrate, making the dough easier to work with and resulting in a better texture for your tortillas.
Shaping and Cooking the Tortillas
5. Divide the rested dough into 6-8 equal portions, depending on how large you want your tortillas. Roll each portion into a ball. Take one ball at a time and place it between two pieces of parchment paper. Using a rolling pin, roll out the dough as thinly and evenly as possible, aiming for about 6-8 inches in diameter. The thinner you roll them, the more pliable they will be. You might need to gently peel the dough away from the parchment paper a couple of times and re-roll slightly if it sticks.
6. Heat a dry, non-stick skillet or a cast-iron griddle over medium heat. Carefully place one of the rolled tortillas onto the hot skillet. Cook for about 1-2 minutes per side, or until you see small bubbles forming on the surface and the tortilla is lightly golden brown in spots. Don’t overcook them, as this will make them brittle. Immediately after cooking, place the finished tortilla in a clean kitchen towel and wrap it up. This steaming action within the towel is crucial for keeping the tortillas soft and flexible. Repeat this process with the remaining dough balls, stacking the cooked tortillas in the towel as you go.
Enjoy your delicious, homemade Sweet Potato Tortillas! They are best served warm and are perfect for a variety of culinary creations.
Conclusion:
You’ve now got the secret to creating delicious, wholesome, and incredibly versatile Sweet Potato Tortillas (Gluten-Free Vegan Wraps)! These vibrant wraps are a game-changer for anyone looking for a healthier, allergen-friendly alternative to traditional tortillas. Their naturally sweet flavor, tender texture, and beautiful color make them a joy to prepare and even more delightful to eat. They’re perfect for a quick weeknight meal, a healthy lunch option, or even a creative appetizer. Don’t be afraid to experiment with different fillings – the possibilities are endless! I truly encourage you to give these sweet potato tortillas a try; you’ll be amazed at how easy they are to make and how satisfying they are. They are a fantastic way to incorporate more nutrient-rich sweet potatoes into your diet while enjoying all your favorite wrap fillings.
Frequently Asked Questions:
Q: How should I store these sweet potato tortillas?
A: Once cooled completely, store your sweet potato tortillas in an airtight container or a resealable bag in the refrigerator for up to 3-4 days. You can also freeze them for longer storage; simply place parchment paper between each tortilla to prevent sticking and freeze. Reheat gently in a dry skillet or a warm oven.
Q: Can I make these tortillas without a food processor?
A: Yes, you can! If you don’t have a food processor, you can mash the cooked sweet potato very thoroughly with a fork or potato masher until it’s as smooth as possible. Ensure there are no large lumps before proceeding with the recipe.
Q: What are some good filling ideas for these wraps?
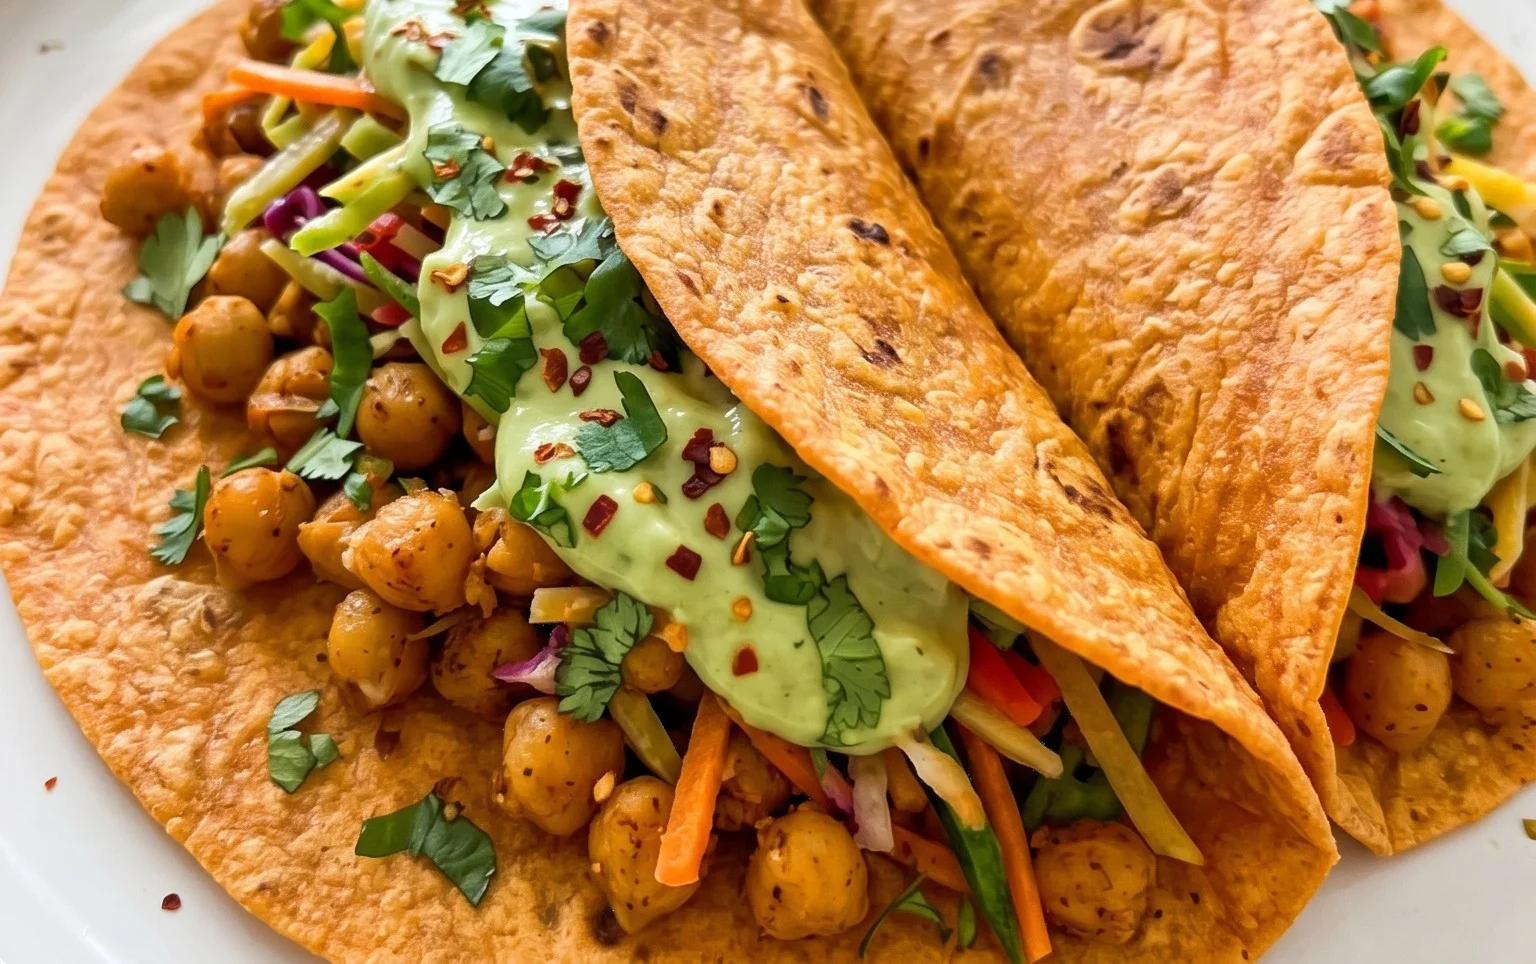
A: These wraps are incredibly versatile! Try them with seasoned black beans and salsa, seasoned tofu or tempeh, avocado and sprouts, hummus and roasted vegetables, or even a sweet filling like cinnamon-spiced apple slices and a drizzle of maple syrup. They also work beautifully as a base for breakfast burritos with scrambled tofu and veggies.
Sweet Potato Tortillas (Gluten-Free Vegan Wraps)
Delicious and flexible gluten-free and vegan wraps made with sweet potato. Perfect for a healthy and customizable meal.
Ingredients
-
2 small sweet potatoes – steamed or boiled (no liquid / mashed)
-
2 tbsp vegan butter
-
1-2 tbsp hot water
-
3/4 tsp sea salt
-
1/4 tsp black pepper
-
1/2 tsp onion powder
-
1/2 tsp garlic powder
-
3/4 cup gluten free sourdough starter
-
2 tsp psyllium husk
-
2-3 tbsp arrowroot flour
-
1/2 tsp baking powder
Instructions
-
Step 1
Mash the cooked sweet potatoes thoroughly until smooth. Ensure there is no liquid. -
Step 2
In a bowl, combine the mashed sweet potato with vegan butter, hot water, sea salt, black pepper, onion powder, and garlic powder. Mix well. -
Step 3
Stir in the gluten-free sourdough starter and psyllium husk until well combined. -
Step 4
Gradually add the arrowroot flour and baking powder (if using), mixing until a soft, pliable dough forms. Add more arrowroot flour if the dough is too sticky. -
Step 5
Divide the dough into 4-6 equal portions and roll each into a ball. -
Step 6
On a lightly floured surface (using arrowroot flour), roll out each dough ball very thinly into a tortilla shape. You can also press them between two pieces of parchment paper. -
Step 7
Heat a lightly oiled skillet or griddle over medium heat. Cook each tortilla for 2-3 minutes per side, until lightly golden and cooked through.
Important Information
Nutrition Facts (Per Serving)
It is important to consider this information as approximate and not to use it as definitive health advice.
Allergy Information
Please check ingredients for potential allergens and consult a health professional if in doubt.