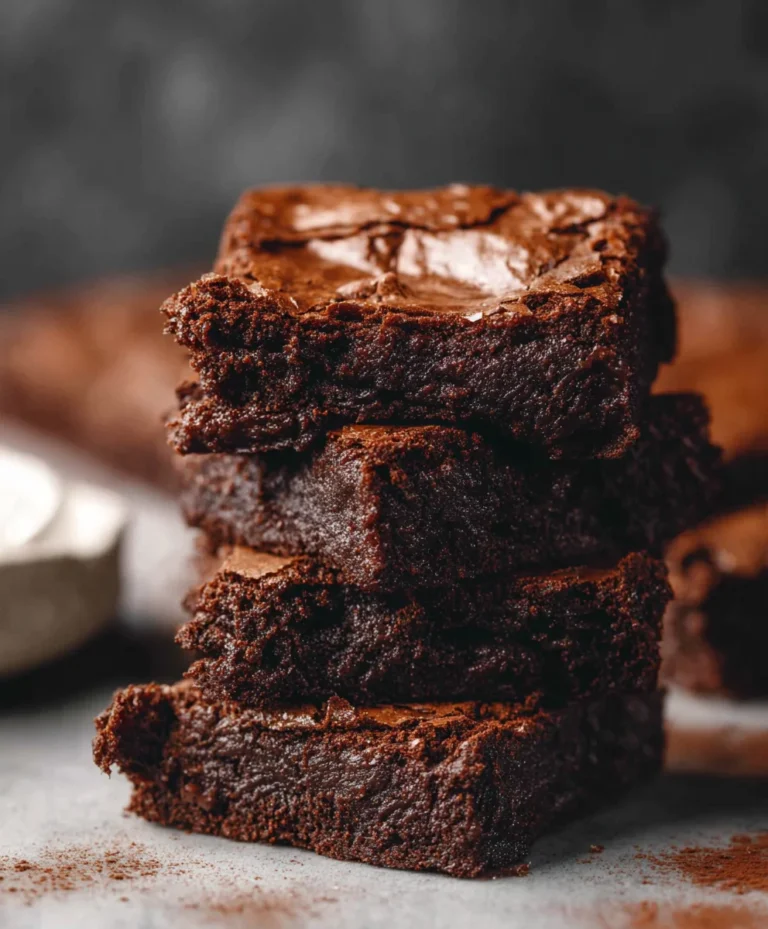
Buster Bar Ice Cream Dessert- Copycat Treat
Buster Bar Ice Cream Dessert is the nostalgic treat that instantly transports us back to carefree summer days and childhood joy. If you’ve ever found yourself craving that perfect combination of creamy, chocolatey, and nutty goodness, then you’re in the right place! This Buster Bar Ice Cream Dessert isn’t just any frozen delight; it’s an experience. What makes this particular iteration so beloved? It’s the masterful layering of flavors and textures – a smooth, rich ice cream base embraced by a crisp, chocolatey shell and studded with crunchy peanuts. It’s the kind of dessert that elicits smiles with every spoonful, a symphony of sweet satisfaction that’s surprisingly simple to recreate in your own kitchen. Get ready to ditch the store-bought versions and indulge in homemade bliss!
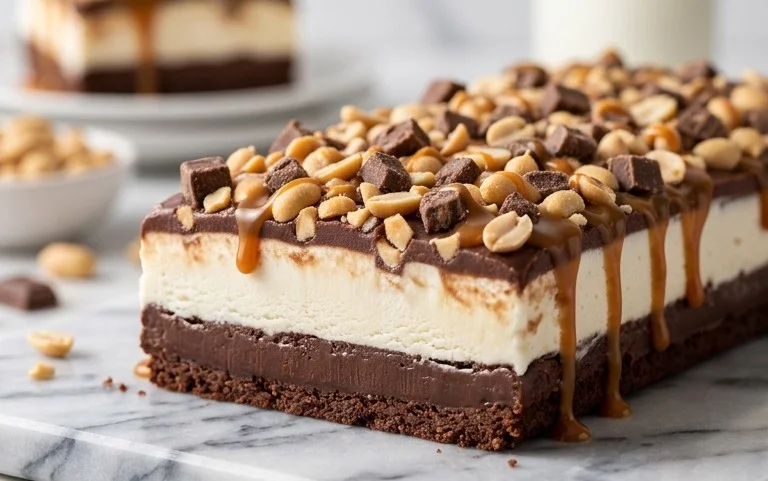
The Ultimate Buster Bar Ice Cream Dessert: A Nostalgic Treat!
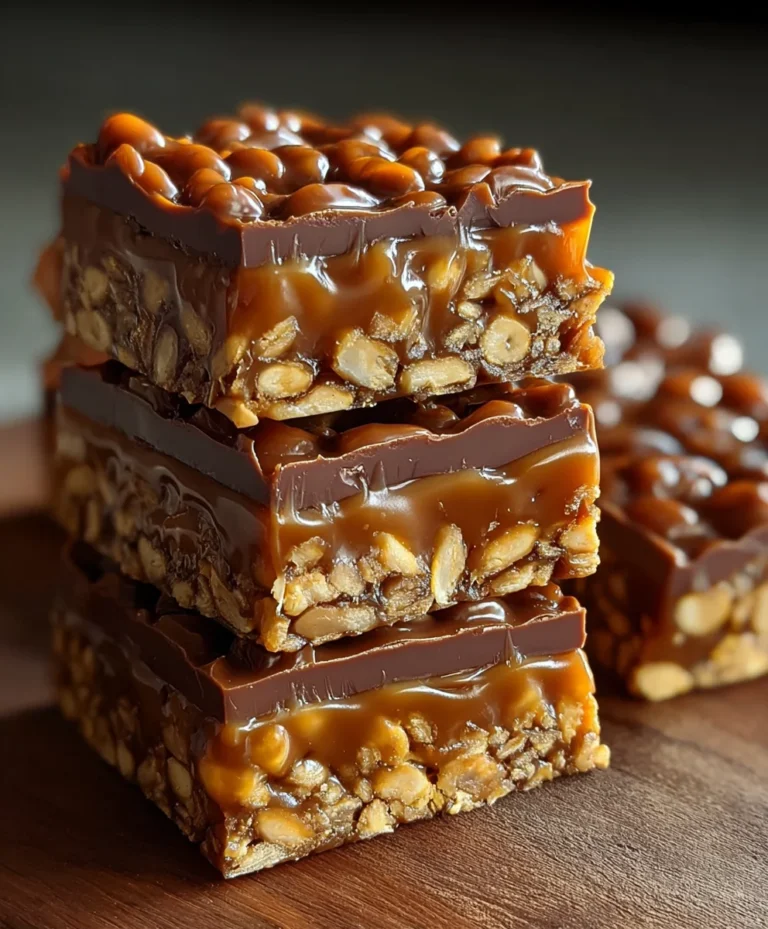
Are you ready to relive a childhood favorite with a homemade twist? This Buster Bar Ice Cream Dessert is a glorious symphony of crunchy chocolate, creamy ice cream, and salty peanuts, all enrobed in a rich, chocolatey shell. It’s reminiscent of those iconic ice cream truck treats, but with the added joy of being made right in your own kitchen. This dessert is surprisingly simple to put together, making it perfect for a fun family activity or a show-stopping addition to any gathering. Get ready to impress your friends and family with this wonderfully decadent creation!
Ingredients:
Crafting the Buster Bar Base
The foundation of our Buster Bar is a delightful, cookie-crum extractb crust that provides a satisfying crunch with every bite. We’ll start by transforming those beloved Oreo cookies into a fine crum extractb. The easiest way to do this is to place the whole cookies in a food processor and pulse until they are finely ground. If you don’t have a food processor, don’t worry! You can also place the cookies in a sturdy zip-top bag, seal it well, and then crush them with a rolling pin or the bottom of a heavy pan. Aim for a texture that’s mostly fine crum extractbs with a few slightly larger pieces for extra texture.
Once your Oreos are crushed, we’ll combine them with melted butter. In a medium bowl, pour the melted butter over the crushed Oreo crum extractbs. Stir everything together with a fork until all the crum extractbs are moistened and the mixture resembles wet sand. This is crucial for ensuring your crust holds together well. Now, take a 9×13 inch baking dish or a similar sized freezer-safe container. Press the Oreo and butter mixture evenly into the bottom of the dish, forming a solid layer. You can use the back of a spoon or a flat-bottomed glass to really compact the crust, making it firm and less likely to crum extractble when you serve the dessert. Place this prepared crust into the freezer for at least 15-20 minutes to allow it to firm up while you prepare the next layer.
Layering the Creamy Goodness
Now comes the star of the show: the ice cream! For this recipe, we need our vanilla ice cream to be softened, not completely melted. This means taking it out of the freezer about 15-20 minutes before you plan to use it, depending on your room temperature. You want it to be scoopable and spreadable, but still firm enough to hold its shape. Once softened, scoop the vanilla ice cream evenly over the chilled Oreo crust. You can gently spread it with a spatula to create a smooth, even layer. Try not to overwork the ice cream, as this can lead to a less creamy texture.
The next step adds a delightful nutty surprise to our Buster Bar. We’ll be using Spanish peanuts for this recipe. While the ice cream is still slightly soft, scatter the whole Spanish peanuts evenly over the top of the vanilla ice cream layer. You want a generous amount of peanuts to ensure you get that satisfying crunch and salty counterpoint to the sweet ice cream in every bite. Don’t press them in too deeply, just let them nestle on top. Once the peanuts are in place, gently cover the dish with plastic wrap or a lid and return it to the freezer. It’s important to let this layer freeze solid, which will take at least 2-3 hours, but overnight is even better for a firmer result.
Whipping Up the Luscious Chocolate Shell
This is where the magic truly happens – creating that irresistible chocolate coating that defines the Buster Bar experience. We’ll start by making a ganache-like sauce that will harden beautifully when chilled. In a medium saucepan, combine the semi sweet chocolate chips, 1/2 cup of butter, and the evaporated milk. Place the saucepan over low heat, stirring constantly. You want the butter to melt and the chocolate chips to slowly dissolve into the milk. It’s crucial to use low heat and stir continuously to prevent the chocolate from scorching or seizing. Scrape down the sides and bottom of the pan frequently to ensure everything melts smoothly and evenly.
Continue stirring until the mixture is completely smooth and glossy, with no visible lumps of chocolate. Once it’s perfectly smooth, remove the saucepan from the heat. Now, we’ll incorporate the powdered confectioner’s sugar. Gradually whisk in the powdered sugar, a little at a time, until it’s fully incorporated and the sauce thickens slightly. This step is what gives the shell its distinctive texture and sweetness. It might seem a little thick, but as it cools slightly, it will become the perfect consistency for drizzling. Allow the chocolate mixture to cool for about 10-15 minutes, stirring occasionally. You want it to be warm and pourable, but not so hot that it will melt the ice cream.
Assembling and Freezing Your Masterpiece
With our ice cream base frozen solid and our chocolate shell cooled to the perfect temperature, it’s time for the final assembly. Take the frozen ice cream and peanut layer out of the freezer. Carefully pour the slightly cooled chocolate mixture evenly over the top of the ice cream. Use a spatula to gently spread it to the edges, ensuring a complete and even coating. Work relatively quickly at this stage to prevent the chocolate from hardening too much before you’ve covered the entire surface.
Once the entire dessert is covered in chocolate, it’s time to let it firm up. Cover the dish tightly with plastic wrap and then with aluminum foil for extra protection against freezer burn. Return the Buster Bar Ice Cream Dessert to the freezer for at least another 2-3 hours, or until the chocolate shell is completely firm and set. The longer it chills, the easier it will be to cut and serve. When you’re ready to enjoy, allow the dessert to sit at room temperature for a few minutes to soften slightly, making it easier to slice into bars. Use a sharp knife, perhaps warmed in hot water and dried, to cut it into individual servings. Enjoy the delightful crunch of the crust, the cool creaminess of the ice cream, the satisfying bite of the peanuts, and that perfect chocolatey shell. It’s a truly unforgettable treat!
Conclusion:
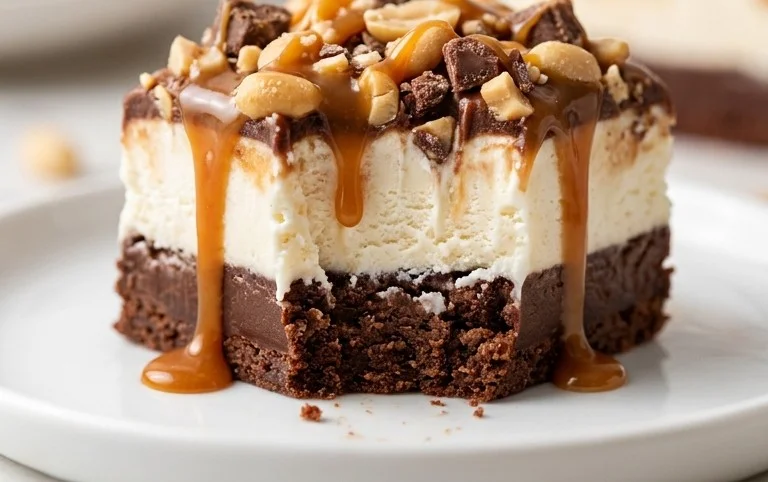
So there you have it – your guide to creating the most delightful Buster Bar Ice Cream Dessert right in your own kitchen! This recipe is truly a winner because it strikes that perfect balance between nostalgic, satisfyingly familiar flavors and an incredibly simple preparation. It’s the kind of dessert that brings smiles to everyone’s faces, whether you’re a seasoned baker or just starting out. Imagin extracte the crunchy chocolate coating, the creamy ice cream center, and that hint of caramel – pure bliss! I love serving this Buster Bar Ice Cream Dessert at BBQs, potlucks, or simply as a special treat after a busy week. It’s also wonderfully versatile!
Feel free to experiment with different ice cream flavors for a personalized touch – mint chocolate chip, strawberry, or even coffee would be fantastic. You could also sprinkle on chopped nuts, mini chocolate chips, or even a drizzle of extra caramel sauce before the chocolate sets for added texture and flavor. I wholeheartedly encourage you to give this recipe a try. It’s a guaranteed crowd-pleaser and so much fun to make. Let me know how yours turns out!
Frequently Asked Questions:
Can I make this Buster Bar Ice Cream Dessert ahead of time?
Absolutely! This dessert is perfect for making ahead. Once you’ve coated them in chocolate and they’ve set, you can store them in an airtight container in the freezer for up to two weeks. Just let them sit at room temperature for a few minutes before serving to soften slightly.
What’s the best way to get a smooth, even chocolate coating?
For the smoothest coating, ensure your melted chocolate is completely smooth and fluid. Using good quality chocolate chips or chopped bar chocolate and adding a tablespoon of coconut oil or vegetable oil to the melted chocolate can help achieve a beautiful, glossy finish that coats the ice cream evenly.
Buster Bar Ice Cream Dessert
A classic no-bake ice cream dessert featuring layers of crushed Oreos, peanut butter fudge, and chocolate.
Ingredients
-
1 14.3 oz pkg. of Oreo cookies, crushed
-
1/2 C butter, melted
-
1/2 gal. vanilla ice cream, softened
-
1 lb. Spanish peanuts
-
2 C powdered confectioner’s sugar
-
12 oz semi sweet chocolate chips
-
1/2 C butter
-
12 oz evaporated milk
Instructions
-
Step 1
Mix crushed Oreo cookies and 1/2 C melted butter. Press into the bottom of a 9×13 inch pan. -
Step 2
Spread softened vanilla ice cream evenly over the cookie crust. -
Step 3
In a saucepan, combine chocolate chips, 1/2 C butter, and evaporated milk. Heat over low heat, stirring until smooth. -
Step 4
Stir in powdered sugar and Spanish peanuts into the chocolate mixture. -
Step 5
Pour the peanut butter fudge mixture over the ice cream layer. -
Step 6
Freeze for at least 4 hours, or until firm.
Important Information
Nutrition Facts (Per Serving)
It is important to consider this information as approximate and not to use it as definitive health advice.
Allergy Information
Please check ingredients for potential allergens and consult a health professional if in doubt.