Easy Sweet Sour Chicken Recipe-Quick Weeknight Meal
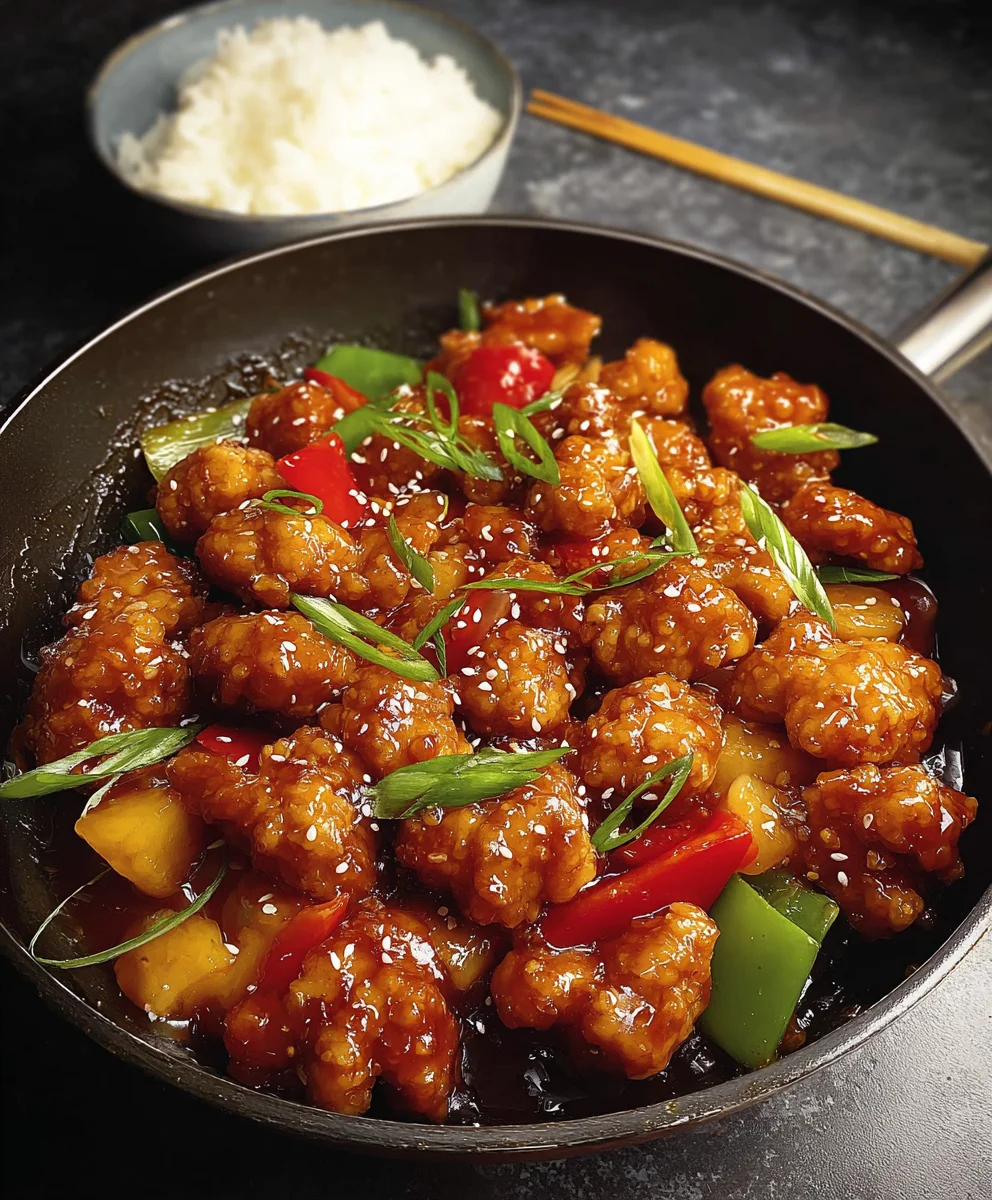
Sweet and Sour Chicken is a culinary icon, a dish that instantly transports us to a place of vibrant flavors and comforting familiarity. It’s the perfect marriage of tangy and sweet, with tender pieces of chicken coated in a glossy, irresistible sauce that’s both zingy and deeply satisfying. So, what makes this classic so universally beloved? It’s the sheer delightful balance! The bright, acidic notes of vinegar cut through the richness, while the sweetness from sugar or honey provides a comforting counterpoint. This isn’t just any takeout staple; our take on Sweet and Sour Chicken elevates it with fresh ingredients and a depth of flavor that will have you reaching for seconds. Get ready to master this crowd-pleaser and bring a taste of pure joy to your dinner table!
Ingredients:
- 3 tablespoons cane or white vinegar (you can also use rice vinegar or apple cider vinegar if that’s what you have on hand)
- 1/4 cup ketchup
- 1/4 cup granulated sugar
- 1/2 cup water
- 1/4 teaspoon red pepper flakes (this is optional, but adds a nice little kick if you like a bit of heat)
- 1 tablespoon soy sauce
- 2 teaspoons cornstarch (for the sauce)
- 12 ounces boneless, skinless chicken thighs or breasts, cut into 1-inch pieces
- 1 egg white, lightly beaten
- 1/4 cup all-purpose flour
- 1/4 cup cornstarch (for the chicken coating)
- 1 teaspoon baking powder
- Salt and freshly ground black pepper, to taste
- 1 medium white or yellow onion, cut into 1-inch pieces
- 1/2 red bell pepper (which should yield about 1 cup when cut), cut into 1-inch pieces
Preparing the Sweet and Sour Sauce
Making the Sauce Base
Let’s start by getting our vibrant sweet and sour sauce ready. In a medium saucepan, we’re going to combine the key elements that will bring that classic tangy sweetness. First, add the 3 tablespoons of cane or white vinegar. This is our sour component, and it provides a good balance to the sweetness that will follow. Next, pour in the 1/4 cup of ketchup. Ketchup is crucial here not only for its tomato flavor but also for its texture and its own underlying sweetness. Then, add the 1/4 cup of granulated sugar. This is where the ‘sweet’ in sweet and sour really comes into play. For our liquid base, add the 1/2 cup of water. Finally, if you enjoy a subtle warmth, toss in the 1/4 teaspoon of red pepper flakes. Don’t worry if you’re sensitive to spice; you can omit this entirely or use just a pinch. This combination will form the foundation of our delicious sauce.
Thickening the Sauce
Now that our sauce base is in the saucepan, it’s time to bring it to a simmer and thicken it up. Place the saucepan over medium heat and stir everything together until the sugar has completely dissolved. Once dissolved, bring the mixture to a gentle simmer. In a small bowl, whisk together the 2 teaspoons of cornstarch with a tablespoon or two of cold water until it forms a smooth slurry with no lumps. This is important to prevent a clumpy sauce. Gradually pour this cornstarch slurry into the simmering sauce while continuously whisking. Continue to whisk and cook for about 1-2 minutes, or until the sauce has thickened to your desired consistency. It should be thick enough to coat the back of a spoon nicely. Once it has thickened, stir in the 1 tablespoon of soy sauce for that essential umami depth and color. Take the sauce off the heat and set it aside. You can cover it to keep it warm while you prepare the chicken and vegetables.
Coating and Frying the Chicken
Preparing the Chicken for Frying
While the sauce is resting, let’s get our chicken ready for its golden-brown crispiness. Take your 12 ounces of boneless, skinless chicken pieces, which you’ve already cut into approximately 1-inch cubes. In a medium bowl, place the chicken pieces. Pour the lightly beaten egg white over the chicken. The egg white acts as a binder, helping the coating to stick. Season the chicken generously with salt and freshly ground black pepper. Toss everything gently to ensure each piece of chicken is evenly coated with the egg white and seasoning. This initial coating is vital for a truly delicious crunch.
Creating the Crispy Coating
In a separate shallow dish or bowl, we’re going to prepare our dry coating mixture. Combine the 1/4 cup of all-purpose flour, the 1/4 cup of cornstarch, and the 1 teaspoon of baking powder. Whisk these ingredients together thoroughly. The baking powder is a secret weapon here; it helps to make the coating extra light and airy, leading to a satisfying crisp. Now, add the seasoned chicken pieces, one by one, into this dry mixture. Toss them around, ensuring each piece is completely coated. You want a nice, even layer of the flour and cornstarch mixture on all sides. If the coating seems a bit dry or isn’t sticking well, you can dip the chicken back into the egg white briefly before re-coating it in the flour mixture. This double-dipping technique can lead to an even crispier exterior.
Frying to Perfection
Now for the fun part: frying! You’ll need a large skillet or a wok for this, and you’ll want to heat about 1/2 inch of cooking oil (like vegetable, canola, or peanut oil) over medium-high heat. The oil is ready when a tiny piece of coating sizzles immediately upon contact. Carefully add the coated chicken pieces to the hot oil in a single layer. Do not overcrowd the pan; you may need to fry the chicken in batches to ensure even cooking and crisping. Fry the chicken for about 3-4 minutes per side, or until it’s golden brown and cooked through. Use a slotted spoon or tongs to remove the fried chicken from the oil and place it on a wire rack set over a baking sheet. This allows excess oil to drain off, keeping the chicken wonderfully crisp. Repeat with any remaining chicken.
Bringin extractg it All Together
Stir-Frying the Vegetables
With our chicken perfectly fried and our sauce ready, it’s time to add the fresh elements. In the same skillet you used for frying (you can pour out most of the oil, leaving about 1 tablespoon), add the 1 medium onion, cut into 1-inch pieces, and the 1/2 red bell pepper, also cut into 1-inch pieces. Stir-fry the vegetables over medium-high heat for about 3-4 minutes. You want them to be tender-crisp, meaning they should have a slight bite to them and still be vibrant in color. Don’t overcook them; they should not be mushy. This quick stir-fry will bring out their natural sweetness and slightly soften them.
The Grand Finnon-alcoholic ale: Combining and Serving
Now, it’s time to unite all our components. Add the fried chicken pieces back into the skillet with the stir-fried vegetables. Give the sauce a quick stir, and then pour it evenly over the chicken and vegetables. Gently toss everything together until the chicken and vegetables are thoroughly coated in the glossy sweet and sour sauce. Cook for another minute or two, just until everything is heated through and the sauce has clung beautifully to the ingredients. Be careful not to cook too long at this stage, as you don’t want the fried coating on the chicken to become soggy. Serve your delicious Sweet and Sour Chicken immediately over steamed rice, garnished with a sprinkle of sesame seeds or some chopped green onions if you have them. Enjoy the perfect balance of savory, sweet, and tangy!
Conclusion:
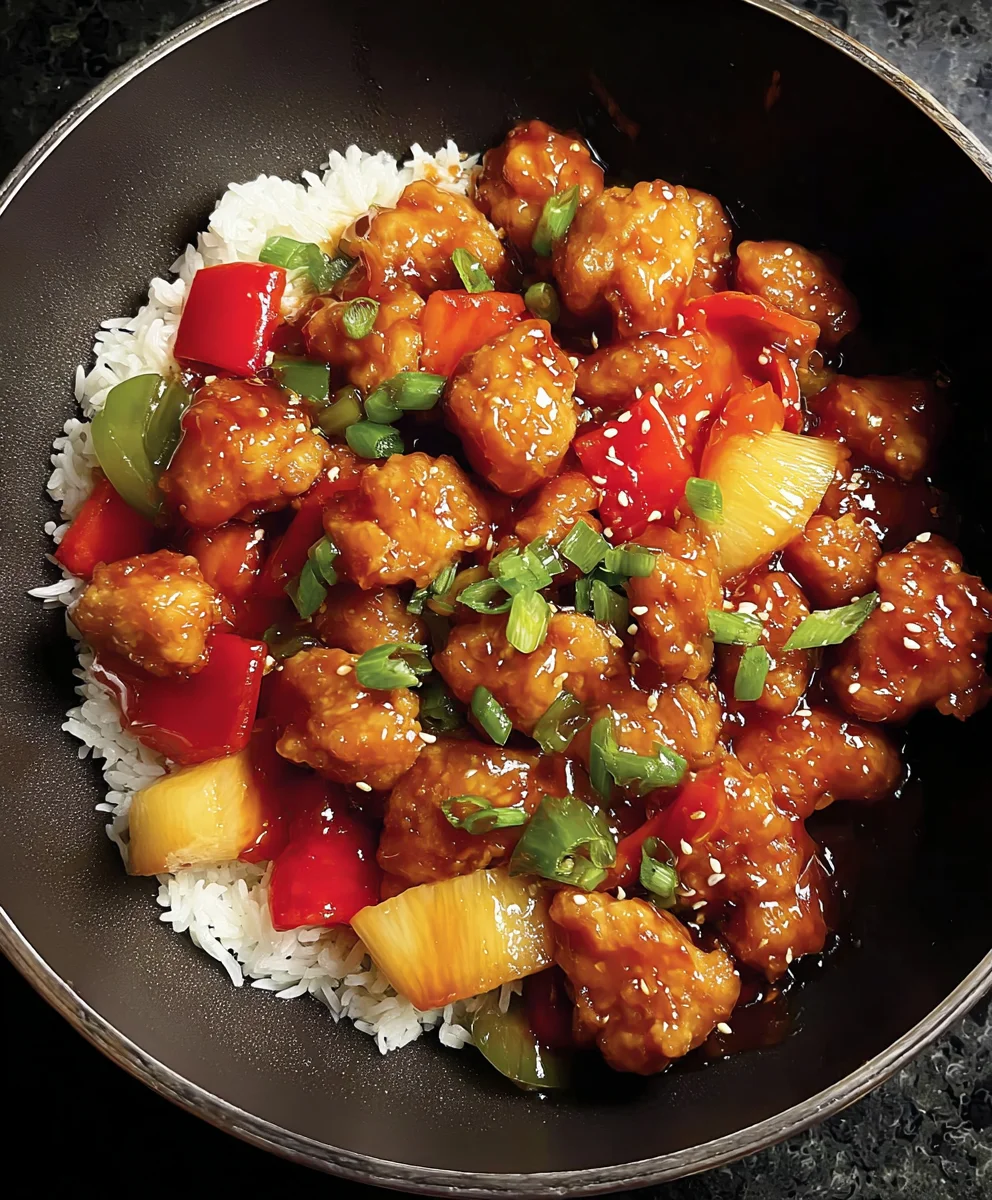
We’ve reached the end of our culinary adventure in crafting the perfect Sweet and Sour Chicken! This recipe delivers that delightful balance of tangy, sweet, and savory flavors that makes it a perennial crowd-pleaser. The crispy chicken, tossed in a vibrant sauce with colorful vegetables, is truly a feast for both the eyes and the palate. I hope you’ve enjoyed preparing and will savor every bite of this classic dish. Don’t be afraid to experiment and make it your own; the beauty of home cooking lies in personalization!
To elevate your dining experience, I highly recommend serving your Sweet and Sour Chicken over fluffy steamed jasmine rice, which perfectly soaks up that delicious sauce. A side of steamed broccoli or a light, crisp Asian-inspired salad would also be wonderful accompaniments. Feel free to get creative with your vegetable choices; bell peppers of any color, pineapple chunks, and snow peas are all excellent additions that enhance both flavor and texture.
Remember, the key to success with Sweet and Sour Chicken is in the quality of your ingredients and the careful layering of flavors. So, gather your loved ones, present this masterpiece, and bask in the compliments! Happy cooking!
Frequently Asked Questions about Sweet and Sour Chicken:
Q1: How can I make the chicken extra crispy?
To achieve a wonderfully crispy texture for your Sweet and Sour Chicken, ensure your chicken pieces are thoroughly dried before coating them in the cornstarch mixture. Frying in hot oil at the correct temperature (around 350°F or 175°C) is also crucial. Don’t overcrowd the pan; fry in batches to maintain oil temperature and allow each piece to crisp up without steaming.
Q2: Can I make the sauce ahead of time?
Yes, absolutely! The sweet and sour sauce for Sweet and Sour Chicken can be made a day or two in advance and stored in an airtight container in the refrigerator. This is a great time-saver if you’re planning a busy weeknight meal. Simply reheat the sauce gently on the stovetop before tossing it with your cooked chicken and vegetables.
Easy Sweet Sour Chicken Recipe-Quick Weeknight Meal
A quick and easy sweet and sour chicken recipe perfect for a weeknight meal, featuring crispy chicken and tender-crisp vegetables coated in a classic tangy sauce.
Ingredients
-
3 tablespoons cane or white vinegar
-
1/4 cup ketchup
-
1/4 cup granulated sugar
-
1/2 cup water
-
1/4 teaspoon red pepper flakes (optional)
-
1 tablespoon soy sauce
-
2 teaspoons cornstarch
-
12 ounces boneless, skinless chicken thighs or breasts, cut into 1-inch pieces
-
1 egg white, lightly beaten
-
1/4 cup all-purpose flour
-
1/4 cup cornstarch
-
1 teaspoon baking powder
-
Salt and freshly ground black pepper, to taste
-
1 medium white or yellow onion, cut into 1-inch pieces
-
1/2 red bell pepper, cut into 1-inch pieces
Instructions
-
Step 1
Prepare the sweet and sour sauce: In a saucepan, combine vinegar, ketchup, sugar, water, and optional red pepper flakes. Bring to a simmer over medium heat until sugar dissolves. Whisk cornstarch with a tablespoon of water to form a slurry, then gradually add to the simmering sauce while whisking until thickened. Stir in soy sauce and set aside. -
Step 2
Prepare the chicken: Season chicken pieces with salt and pepper. Toss with lightly beaten egg white to coat. In a separate dish, combine flour, cornstarch, and baking powder. Dredge the seasoned chicken in the flour mixture, ensuring each piece is fully coated. Double-dip if needed for extra crispiness. -
Step 3
Fry the chicken: Heat about 1/2 inch of cooking oil in a large skillet or wok over medium-high heat. Carefully add coated chicken pieces in a single layer, frying in batches if necessary. Cook for 3-4 minutes per side until golden brown and cooked through. Remove chicken and drain on a wire rack. -
Step 4
Stir-fry the vegetables: Pour out most of the oil from the skillet, leaving about 1 tablespoon. Add the cut onion and red bell pepper to the skillet and stir-fry over medium-high heat for 3-4 minutes until tender-crisp. -
Step 5
Combine and serve: Add the fried chicken back to the skillet with the vegetables. Pour the prepared sweet and sour sauce over everything and gently toss to coat. Cook for another 1-2 minutes until heated through. Serve immediately over steamed rice.
Important Information
Nutrition Facts (Per Serving)
It is important to consider this information as approximate and not to use it as definitive health advice.
Allergy Information
Please check ingredients for potential allergens and consult a health professional if in doubt.