Garlic Butter Beef – Easy & Delicious Recipe
Garlic Butter Chicken is more than just a meal; it’s a symphony of rich, savory flavors that dance on your palate and warm you from the inside out. Who doesn’t adore tender, juicy chicken bathed in a luscious, fragrant sauce? This dish has earned its place in kitchens worldwide because it consistently delivers comfort and culinary satisfaction with every single bite. What truly sets this Garlic Butter Chicken apart is the perfect balance – the pungent punch of garlic harmoniously melds with the creamy, decadent butter, creating a coating that is both bold and incredibly smooth. It’s the kind of recipe that feels fancy enough for a special occasion but is surprisingly straightforward to make on a weeknight. Get ready to discover your new go-to for a truly unforgettable chicken experience!
Why You’ll Love This Recipe
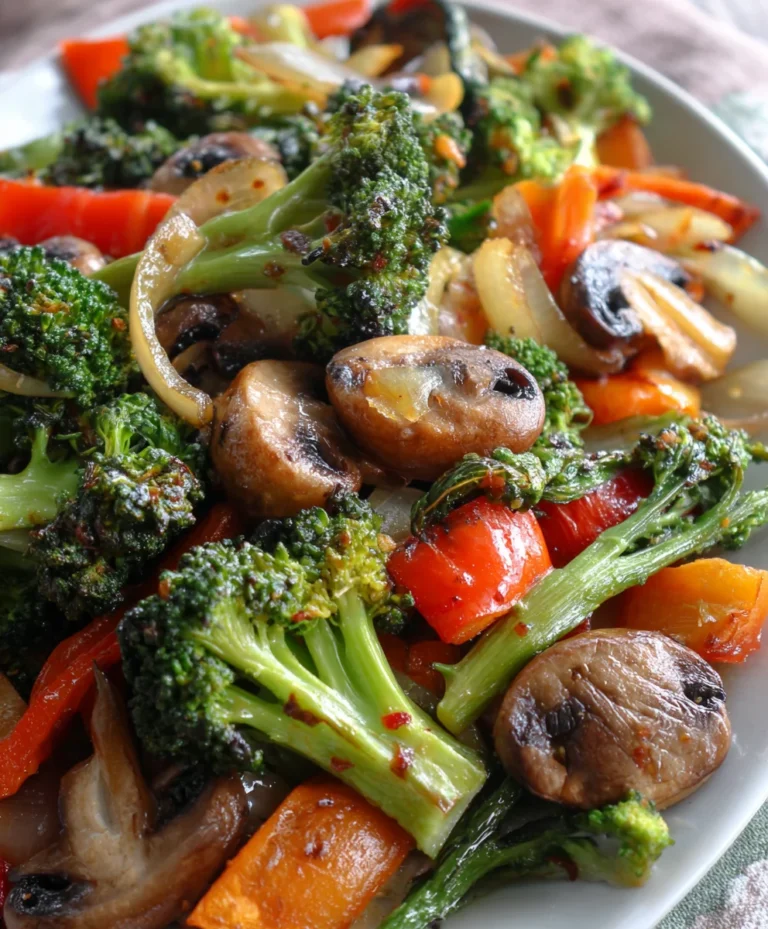
We all crave those dishes that are both incredibly delicious and reassuringly simple, and this Garlic Butter Chicken absolutely nails it. It’s the epitome of comfort food, offering that satisfying, home-cooked goodness that makes you feel instantly happy. The aroma alone, as the garlic and butter work their magic, is enough to get everyone gathering in the kitchen. It’s versatile enough to be served over fluffy rice, with creamy mashed potatoes, or alongside a crisp, fresh salad, making it adaptable to any mood or meal plan. This is the kind of meal that brings smiles to faces and leaves everyone asking for seconds.
What Makes This Garlic Butter Chicken Special
The magic of this particular Garlic Butter Chicken lies in its expertly crafted sauce. We’re not just talking about a quick stir-fry; this recipe focuses on creating a truly luxurious and deeply flavorful emulsion. The secret is in how the garlic is treated – gently sautéed to release its full aromatic potential without becoming bitter, then lovingly combined with high-quality butter until it melts into pure, golden perfection. We also incorporate a touch of brightness, perhaps from a squeeze of lemon or a sprinkle of fresh herbs, to cut through the richness and elevate the entire dish. This thoughtful layering of flavors ensures that every morsel of chicken is coated in a sauce that is simply divine.
Ingredients:
- 2 pounds boneless, skinless chicken thighs
- 8 tablespoons unsalted butter
- 6 cloves garlic, minced
- 1 teaspoon dried oregano
- 1 teaspoon dried thyme
- 1/2 teaspoon salt
- 1/4 teaspoon black pepper
- 1/4 cup chicken broth
- 2 tablespoons fresh lemon juice
- 2 tablespoons chopped fresh parsley, for garnish
- 1 tablespoon olive oil
Preparing the Chicken
Trimming and Seasoning
The foundation of a truly delicious Garlic Butter Chicken starts with the chicken itself. For this recipe, we’re using boneless, skinless chicken thighs. Thighs are fantastic because they are naturally more flavorful and forgiving than breasts, staying wonderfully moist even with a little overcooking. Begin extract by patting your chicken thighs thoroughly dry with paper towels. This step is crucial for achieving a beautiful sear later on, as excess moisture will steam the chicken rather than brown it. Once dry, trim away any excess fat or connective tissue you don’t desire. Don’t worry about perfectly uniform pieces; a little variation adds character.
Next, we season generously. In a medium bowl, combine the salt and black pepper. Sprinkle this mixture evenly over all sides of the chicken thighs, ensuring each piece is coated. This initial seasoning awakens the natural flavors of the chicken and provides a savory base for our garlic butter sauce. Let the chicken sit at room temperature for about 15-20 minutes while you prepare the other components. This brief resting period helps the chicken cook more evenly.
Creating the Garlic Butter Sauce
Melting the Butter and Sautéing Garlic
Now for the star of the show: the garlic butter sauce! This is where all the magic happens. In a large skillet, preferably a cast-iron or heavy-bottomed stainless steel pan, melt the 8 tablespoons of unsalted butter over medium heat. We want the butter to melt gently and start to foam slightly, but not brown at this stage. This gentle heat ensures we don’t burn the delicate garlic that’s coming next.
Once the butter is melted and shimmering, add the 6 cloves of minced garlic to the skillet. Cook the garlic for about 1-2 minutes, stirring constantly. You’re looking for the garlic to become fragrant and just slightly golden. Be very careful here; burnt garlic is bitter and will ruin the dish. The aroma that fills your kitchen at this point is simply divine! This quick sauté infuses the butter with that incredible garlic essence.
Building the Flavor Base
With the garlic nicely fragrant, it’s time to add our dried herbs and remaining seasonings. Stir in the dried oregano and dried thyme. Cook for another 30 seconds, just until the herbs release their aromatic oils into the butter. This brief toasting of the herbs intensifies their flavor. The combination of garlic and herbs in melted butter is a classic for a reason.
Deglazing and Finishing the Sauce
Now, we introduce the chicken broth. Pour in the 1/4 cup of chicken broth. This liquid will help deglaze the pan, lifting any flavorful browned bits from the bottom of the skillet, and will form the base of our sauce. Stir well, scraping up any fond from the pan with your spoon. Bring the mixture to a gentle simmer. Let it bubble for about 1 minute to allow the flavors to meld. Finally, stir in the 2 tablespoons of fresh lemon juice. The acidity of the lemon juice brightens the entire sauce, cutting through the richness of the butter and adding a lovely tang. Taste the sauce and adjust seasoning if necessary with a pinch more salt or pepper.
Cooking the Chicken
Searing the Chicken
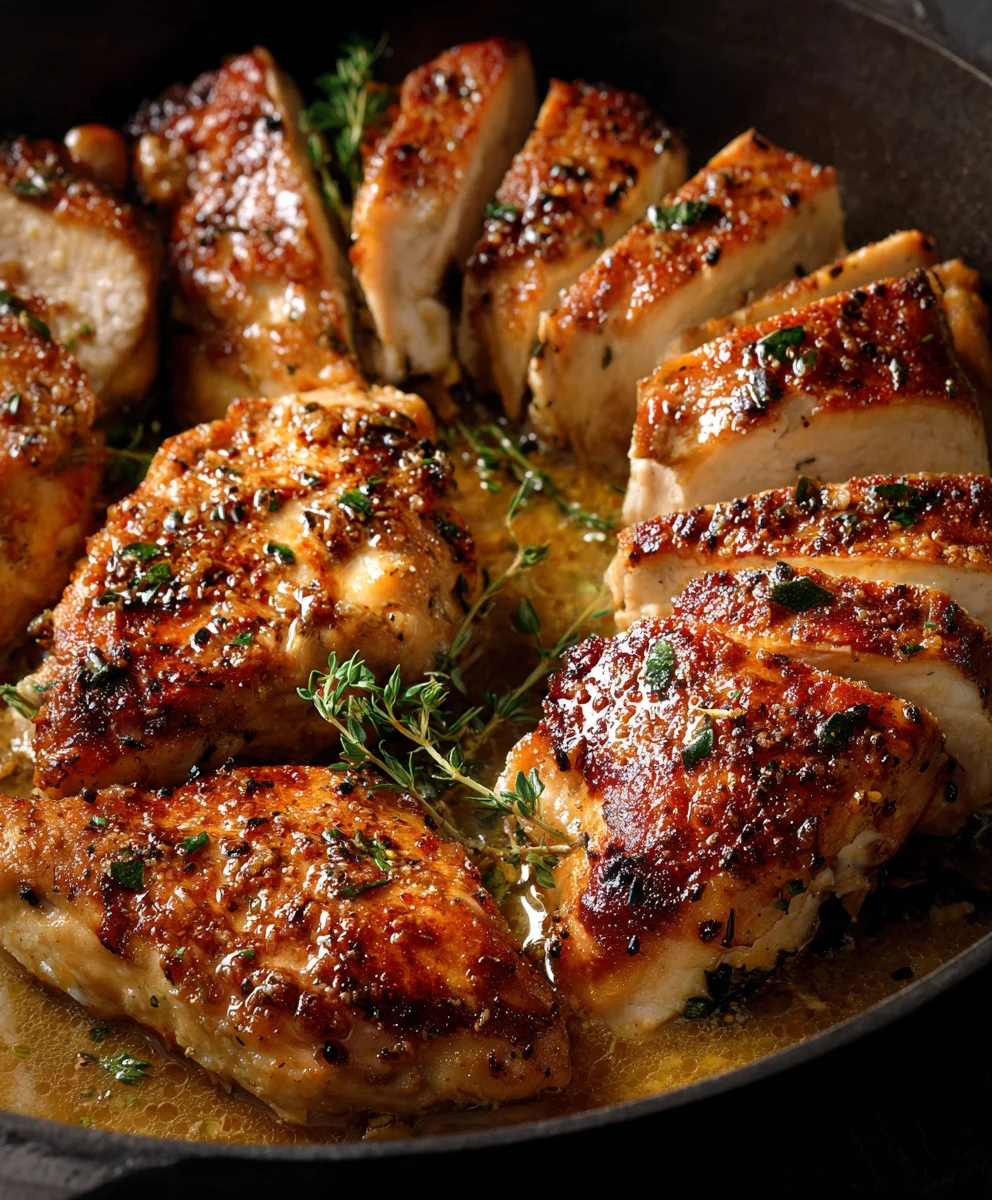
Heat the 1 tablespoon of olive oil in a separate large skillet over medium-high heat. We’re going to sear the chicken thighs first to develop a delicious crust before finishing them in the sauce. Add the seasoned chicken thighs to the hot skillet, making sure not to overcrowd the pan. If necessary, cook in batches to allow for proper browning. Sear the chicken for 3-4 minutes per side, until a beautiful golden-brown crust forms. This searing step is essential for both flavor and texture.
Simmering in the Sauce
Once both sides of the chicken are nicely seared, carefully transfer the chicken thighs directly into the skillet with the garlic butter sauce. Reduce the heat to medium-low, cover the skillet, and let the chicken simmer gently in the sauce for 10-15 minutes, or until the chicken is cooked through and reaches an internal temperature of 165°F (74°C). The thighs should be tender and easily pierced with a fork. Baste the chicken with the sauce periodically during this simmering phase to ensure it absorbs all those wonderful flavors.
Final Touches and Serving
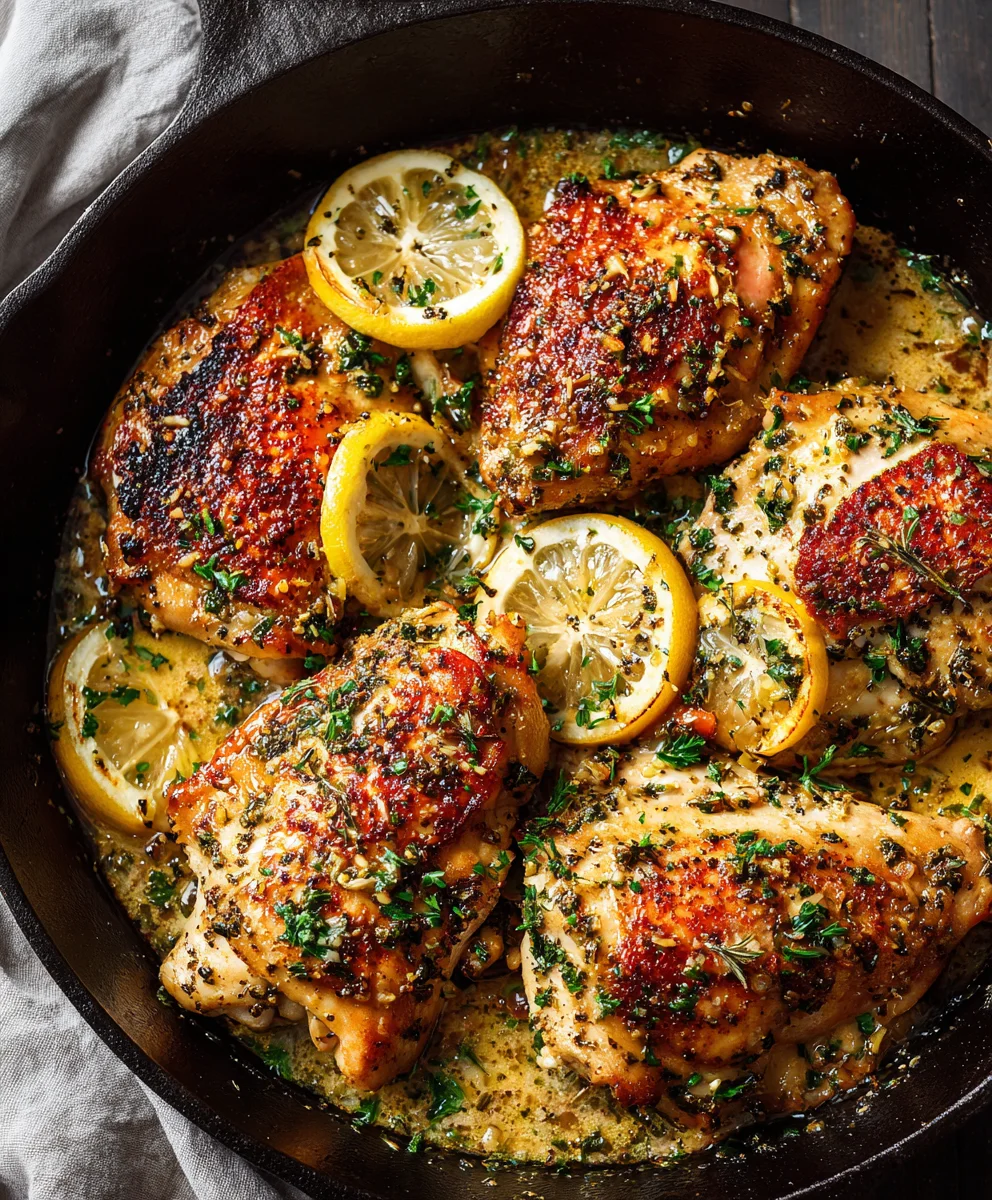
Once the chicken is cooked and tender, remove the skillet from the heat. The sauce should have thickened slightly. If you prefer a thicker sauce, you can remove the chicken to a plate and increase the heat to medium, letting the sauce simmer and reduce for a few more minutes until it reaches your desired consistency. Stir in the chopped fresh parsley just before serving. This adds a burst of fresh color and herbaceousness that perfectly complements the rich garlic butter. Serve the Garlic Butter Chicken immediately, spooning generous amounts of the luscious garlic butter sauce over each piece of chicken. It’s absolutely divine served over rice, pasta, or with crusty bread for dipping into that glorious sauce.
Conclusion:
And there you have it! Your very own delicious Garlic Butter Chicken is ready to be enjoyed. This recipe is all about bringin extractg simple, comforting flavors together for a truly satisfying meal. The combination of tender chicken bathed in a rich, aromatic garlic butter sauce is a classic for a reason, and now you can recreate that restaurant-quality taste in your own kitchen. We’ve walked through each step, from preparing the chicken to achieving that perfect golden sear and infusing it with that irresistible garlic butter goodness. Don’t be afraid to get creative with your sides; this Garlic Butter Chicken pairs beautifully with creamy mashed potatoes, fluffy rice, or a fresh, crisp salad. For variations, consider adding a touch of lemon zest for brightness or a pinch of red pepper flakes for a subtle kick. Most importantly, have fun in the kitchen and savor every bite!
Frequently Asked Questions:
Can I make this Garlic Butter Chicken ahead of time?
While it’s best enjoyed fresh, you can prepare some elements ahead. You can pre-chop your garlic and herbs, and even marinate the chicken for up to a few hours. However, the sauce is best made right before serving to maintain its optimal consistency and flavor.
What kind of chicken is best for this recipe?
Boneless, skinless chicken thighs or breasts work wonderfully for this Garlic Butter Chicken. Thighs tend to stay more moist and tender, while breasts offer a leaner option. Ensure they are cut into uniform pieces for even cooking.
How can I thicken the garlic butter sauce if it’s too thin?
If your sauce is thinner than you’d like, you can create a slurry by whisking together a teaspoon of cornstarch with two tablespoons of cold water. Gradually add this slurry to the simmering sauce, stirring constantly until it thickens to your desired consistency.
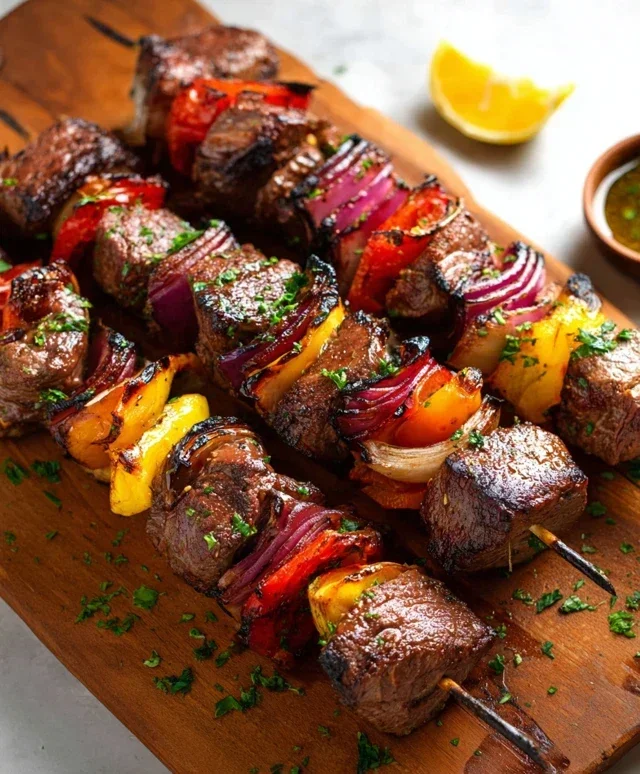
Garlic Butter Beef
An easy and delicious recipe for tender beef coated in a rich garlic butter sauce.
Ingredients
-
2 pounds boneless beef sirloin steak, cut into 1-inch cubes
-
8 tablespoons unsalted butter
-
6 cloves garlic, minced
-
1 teaspoon dried oregano
-
1 teaspoon dried thyme
-
1/2 teaspoon salt
-
1/4 teaspoon black pepper
-
1/4 cup beef broth
-
2 tablespoons fresh lemon juice
-
2 tablespoons chopped fresh parsley, for garnish
-
1 tablespoon olive oil
Instructions
-
Step 1
Pat the beef cubes thoroughly dry with paper towels. This step is crucial for achieving a beautiful sear. Trim away any excess fat or connective tissue. In a medium bowl, combine the salt and black pepper. Sprinkle this mixture evenly over all sides of the beef cubes. Let the beef sit at room temperature for about 15-20 minutes while you prepare the other components. This brief resting period helps the beef cook more evenly. -
Step 2
In a large skillet, preferably a cast-iron or heavy-bottomed stainless steel pan, melt the 8 tablespoons of unsalted butter over medium heat. Once the butter is melted and shimmering, add the 6 cloves of minced garlic to the skillet. Cook the garlic for about 1-2 minutes, stirring constantly, until fragrant and just slightly golden. Be careful not to burn the garlic. -
Step 3
Stir in the dried oregano and dried thyme. Cook for another 30 seconds, just until the herbs release their aromatic oils into the butter. Pour in the 1/4 cup of beef broth. Stir well, scraping up any browned bits from the bottom of the pan. Bring the mixture to a gentle simmer and let it bubble for about 1 minute to allow the flavors to meld. Finally, stir in the 2 tablespoons of fresh lemon juice. -
Step 4
Heat the 1 tablespoon of olive oil in a separate large skillet over medium-high heat. Add the seasoned beef cubes to the hot skillet, making sure not to overcrowd the pan. If necessary, cook in batches to allow for proper browning. Sear the beef for 3-4 minutes per side, until a beautiful golden-brown crust forms. -
Step 5
Once the beef is nicely seared, carefully transfer the beef cubes directly into the skillet with the garlic butter sauce. Reduce the heat to medium-low, cover the skillet, and let the beef simmer gently in the sauce for 5-8 minutes, or until cooked to your desired doneness. Baste the beef with the sauce periodically. -
Step 6
Once the beef is cooked and tender, remove the skillet from the heat. Stir in the chopped fresh parsley just before serving. Serve the Garlic Butter Beef immediately, spooning generous amounts of the luscious garlic butter sauce over each piece of beef.
Important Information
Nutrition Facts (Per Serving)
It is important to consider this information as approximate and not to use it as definitive health advice.
Allergy Information
Please check ingredients for potential allergens and consult a health professional if in doubt.