Dreamy Pink Blue Coquette Party Treats-Easy Recipe
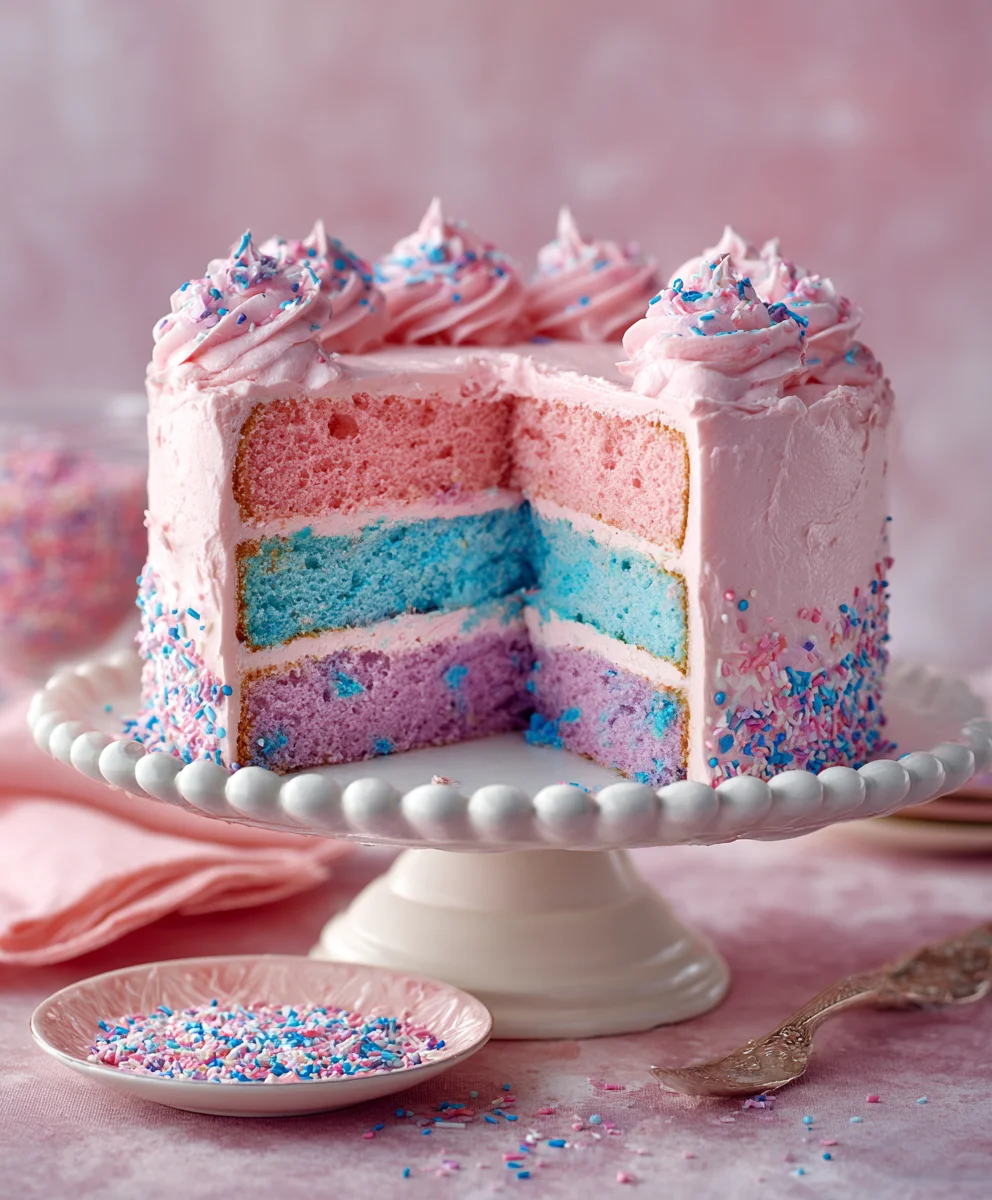
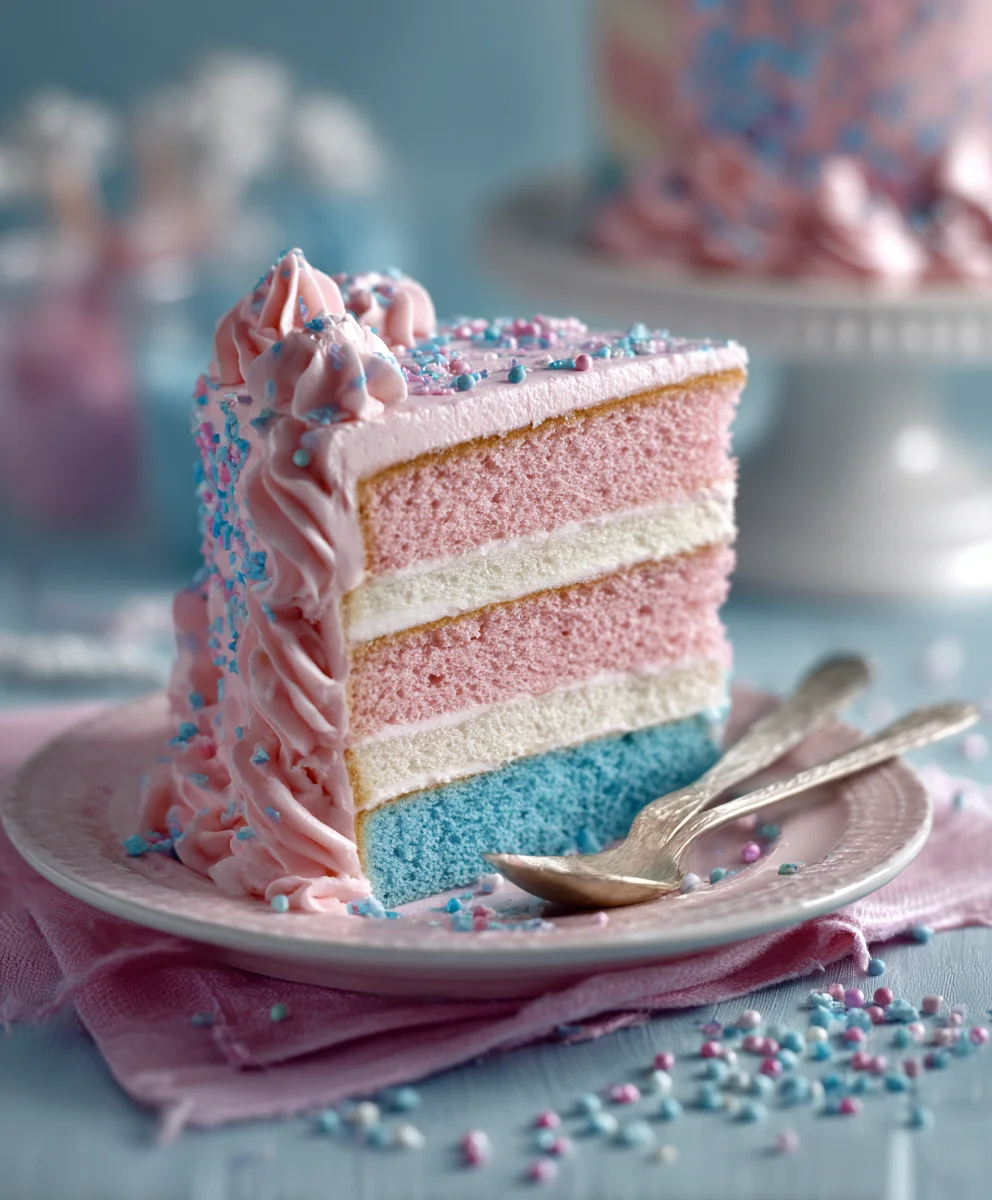
Dreamy Pink & Blue Coquette Party desserts are more than just a treat; they’re an experience, a whimsical journey into a world of delicate flavors and enchanting aesthetics. Imagin extracte a celebration where every bite evokes a sense of playful romance and sophisticated charm. That’s precisely the magic we’re conjuring today! People adore these confections because they tap into a delightful fantasy, transforming ordinary moments into something truly extraordinary. They’re perfect for birthdays, bridal showers, or simply when you want to add a touch of enchantment to your day. What makes the Dreamy Pink & Blue Coquette Party so special is the harmonious blend of visual appeal and delectable taste. The soft, pastel hues of pink and blue create a visually stunning tableau, while the carefully selected ingredients promise a symphony of delightful flavors that will leave your guests utterly captivated. Get ready to whisk yourself away to a land of sweet indulgence!
Ingredients:
- 1 cup unsalted butter, softened
- 1 1/2 cups granulated sugar
- 2 large eggs
- 1 teaspoon vanilla extract
- 3 cups all-purpose flour
- 1 teaspoon baking powder
- 1/2 teaspoon salt
- 1/2 teaspoon cream of tartar
- Pink food coloring
- Blue food coloring
- Optional: Sprinkles in coordinating pink and blue shades
Preparing the Dough
Step 1: Creaming the Butter and Sugar
The foundation of any great cookie is the creaming of the butter and sugar. In a large mixing bowl, or the bowl of your stand mixer fitted with the paddle attachment, add the softened unsalted butter. Ensure your butter is truly softened – it should yield easily to gentle pressure, but not be melted. This is crucial for incorporating air, which contributes to a tender cookie. Add the granulated sugar to the softened butter. Begin extract mixing on medium speed until the mixture is light and fluffy, and the color has lightened considerably, resembling pnon-alcoholic ale yellow clouds. This process usually takes about 3-5 minutes. Scrape down the sides and bottom of the bowl periodically to ensure all the butter and sugar are evenly incorporated. This step is vital for both texture and sweetness distribution.
Step 2: Incorporating Wet Ingredients
Once the butter and sugar are perfectly creamed, it’s time to add the eggs and vanilla extract. Add the two large eggs, one at a time, beating well after each addition. Make sure each egg is fully incorporated before adding the next. This helps to emulsify the mixture properly, preventing a greasy or separated dough. After the eggs, mix in the vanilla extract. The vanilla will lend a beautiful aroma and subtle flavor to our cookies. Continue to mix until everything is just combined. Overmixing at this stage can lead to tough cookies, so be mindful.
Step 3: Combining Dry Ingredients
In a separate medium bowl, whisk together the all-purpose flour, baking powder, salt, and cream of tartar. Whisking these dry ingredients together ensures that the leavening agents (baking powder) and salt are evenly distributed throughout the flour. This prevents pockets of saltiness or uneven rising in your cookies. The cream of tartar acts as a stabilizer and also helps to create a slightly crisper cookie, which is wonderful for cut-out shapes.
Step 4: Combining Wet and Dry Ingredients
Gradually add the dry ingredient mixture to the wet ingredients in the stand mixer gin extractl. Begin mixing on low speed until the flour is almost fully incorporated. Be careful not to overmix here; just mix until there are no visible streaks of dry flour. Once the dough starts to come together, you can switch to mixing by hand with a spatula or continue on the lowest mixer speed for just a few more seconds. The dough should be soft but not sticky. If the dough seems too sticky, you can add a tablespoon of flour at a time, but do so sparingly.
Dividing and Coloring the Dough
Step 5: Dividing and Coloring for Coquette Colors
This is where our Dreamy Pink & Blue Coquette Party theme truly comes to life! Divide the cookie dough into three equal portions. Leave one portion plain (this will be our base white or can be lightly tinted). In a small bowl, place the second portion of dough and add a few drops of pink food coloring. Use a spatula or your hands (wear gloves if you don’t want stained fingers!) to knead the color in until it’s evenly distributed and a vibrant pink. Repeat this process with the third portion of dough, using blue food coloring to achieve a lovely blue hue. For a more marbled effect, you can lightly swirl the colors together instead of fully combining them. Aim for pastel or vibrant shades depending on your desired coquette aesthetic.
Chilling and Shaping
Step 6: Chilling the Dough for Easy Handling
Wrap each portion of colored dough tightly in plastic wrap. Gently flatten each disc into a round shape. Refrigerate the dough for at least 2 hours, or until firm. Chilling the dough is a critical step for cut-out cookies. It firms up the butter, making the dough easier to roll out without sticking and, more importantly, it helps the cookies hold their shape beautifully during baking, preventing them from spreading too much. You can also chill the dough overnight if that’s more convenient.
Rolling and Cutting
Step 7: Rolling and Cutting Out the Shapes
Once the dough is well-chilled and firm, unwrap your colored dough discs. Lightly flour your work surface and your rolling pin. Take one disc of dough gin extracta time and begin rolling it out to about 1/4 inch thickness. If you’re aiming for a marbled effect, gently stack the different colored dough pieces on top of each other and roll them together, or simply roll each color separately and then layer them before cutting. For classic coquette shapes, use your favorite cookie cutters – think hearts, bows, scallops, or delicate floral designs. If you’re not using cutters, you can also create simple squares or circles. As you cut out the cookies, carefully place them onto baking sheets lined with parchment paper, leaving about 1-2 inches of space between each cookie. Re-roll scraps of dough only once or twice to avoid making them tough. If the dough becomes too soft while working, pop it back in the refrigerator for 10-15 minutes.
Baking the Dreamy Cookies
Step 8: Baking for Perfect Texture
Preheat your oven to 350°F (175°C). Place the baking sheets with the cut-out cookies into the preheated oven. Bake for 8-12 minutes, or until the edges of the cookies are lightly golden brown and the centers are set. The exact baking time will depend on the size and thickness of your cookies. For smaller, thinner cookies, they may bake closer to 8 minutes, while larger, thicker cookies might need the full 10-12 minutes. Keep a close eye on them to prevent overbaking, which can lead to dry, hard cookies. You want them to be tender and slightly soft in the center.
Cooling and Decorating
Step 9: Cooling and Adding Finishing Touches
Once baked, carefully remove the baking sheets from the oven. Let the cookies cool on the baking sheets for 2-3 minutes before transferring them to a wire rack to cool completely. This initial cooling on the sheet helps them firm up enough to be moved without breaking. Once completely cool, you can decorate them. For a true Dreamy Pink & Blue Coquette Party aesthetic, consider simple royal icing in coordinating colors, edible glitter, or sprinkle them with tiny pink and blue sugar crystals or edible pearls. This is where your creativity can shine! These cookies are perfect for any festive occasion, adding a touch of whimsical charm.
Conclusion:
And there you have it – your guide to creating the most enchanting Dreamy Pink & Blue Coquette Party imagin extractable! This recipe isn’t just about food; it’s about crafting an experience. From the delicate pastel hues to the playful presentation, this party spread is designed to delight and impress your guests. We’ve covered everything from the visually stunning desserts to the light and refreshing savory bites, all curated to fit the whimsical and elegant theme.
To truly elevate your Dreamy Pink & Blue Coquette Party, consider serving these treats alongside a sparkling rosé or a lavender-infused lemonade. The sweet and floral notes will perfectly complement the flavors and aesthetics of your spread. For variations, feel free to experiment with different berry combinations in the trifles, or swap out the macarons for mini cheesecakes adorned with edible flowers. The possibilities are as endless as gin extractr imagination!
Don’t be intimidated by the pretty presentation; remember, the joy is in the creation. Embrace the fun, experiment with colors, and most importantly, enjoy thegin extractocess of bringing this magical Dreamy Pink & Blue Coquette Party to life. Your guests will be talking about your culinary artistry long after the last bite!
Frequently Asked Questions:
Q1: Can I prepare any elements of the Dreamy Pink & Blue Coquette Party in advance?
Absolutely! Many components of the Dreamy Pink & Blue Coquette Party can be prepped ahead of time. The cakes can be baked a day or two in advance and stored at room temperature, and frostings can be made and refrigerated. The fruit for the trifles can be washed and sliced, and the cookie dough can be prepared and chilled. This will significantly reduce your stress on the day of the party, allowing you more time to focus on assembly and last-minute touches.
Q2: Are there any gluten-free or vegan alternatives for the Dreamy Pink & Blue Coquette Party recipes?
Yes, there are! For gluten-free options, you can easily substitute gluten-free flour blends in most of the baked goods, and opt for naturally gluten-free items like fresh fruit and some candies. For vegan alternatives, many recipes can be adapted using plant-based butter, egg substitutes, and dairy-free milk. For instance, you can create vegan frosting with coconut cream and vegan butter, and use aquafaba for meringues. It’s always a good idea to check specific recipe conversions for the best results.
Dreamy Pink Blue Coquette Party Treats-Easy Recipe
Easy coquette-themed sugar cookies with dreamy pink and blue swirls, perfect for parties.
Ingredients
-
1 cup unsalted butter, softened
-
1 1/2 cups granulated sugar
-
2 large eggs
-
1 teaspoon vanilla extract
-
3 cups all-purpose flour
-
1 teaspoon baking powder
-
1/2 teaspoon salt
-
1/2 teaspoon cream of tartar
-
Pink food coloring
-
Blue food coloring
-
Optional: Sprinkles in coordinating pink and blue shades
Instructions
-
Step 1
In a large mixing bowl, cream together softened unsalted butter and granulated sugar until light and fluffy, about 3-5 minutes. -
Step 2
Add the two large eggs one at a time, beating well after each addition. Mix in the vanilla extract until just combined. -
Step 3
In a separate bowl, whisk together all-purpose flour, baking powder, salt, and cream of tartar. -
Step 4
Gradually add the dry ingredients to the wet ingredients, mixing on low speed until just combined. The dough should be soft but not sticky. -
Step 5
Divide the dough into three equal portions. Tint one portion pink and another blue with food coloring. Leave the third portion plain or lightly tinted. -
Step 6
Wrap each dough portion tightly in plastic wrap, flatten into discs, and refrigerate for at least 2 hours until firm. -
Step 7
Lightly flour a surface and roll out one color of dough to about 1/4 inch thickness. Layer or swirl different colors as desired. Cut out shapes using cookie cutters. -
Step 8
Place cookies on parchment-lined baking sheets and bake in a preheated oven at 350°F (175°C) for 8-12 minutes, or until edges are lightly golden. -
Step 9
Let cookies cool on baking sheets for 2-3 minutes before transferring to a wire rack to cool completely. Decorate as desired with icing, glitter, or sprinkles.
Important Information
Nutrition Facts (Per Serving)
It is important to consider this information as approximate and not to use it as definitive health advice.
Allergy Information
Please check ingredients for potential allergens and consult a health professional if in doubt.