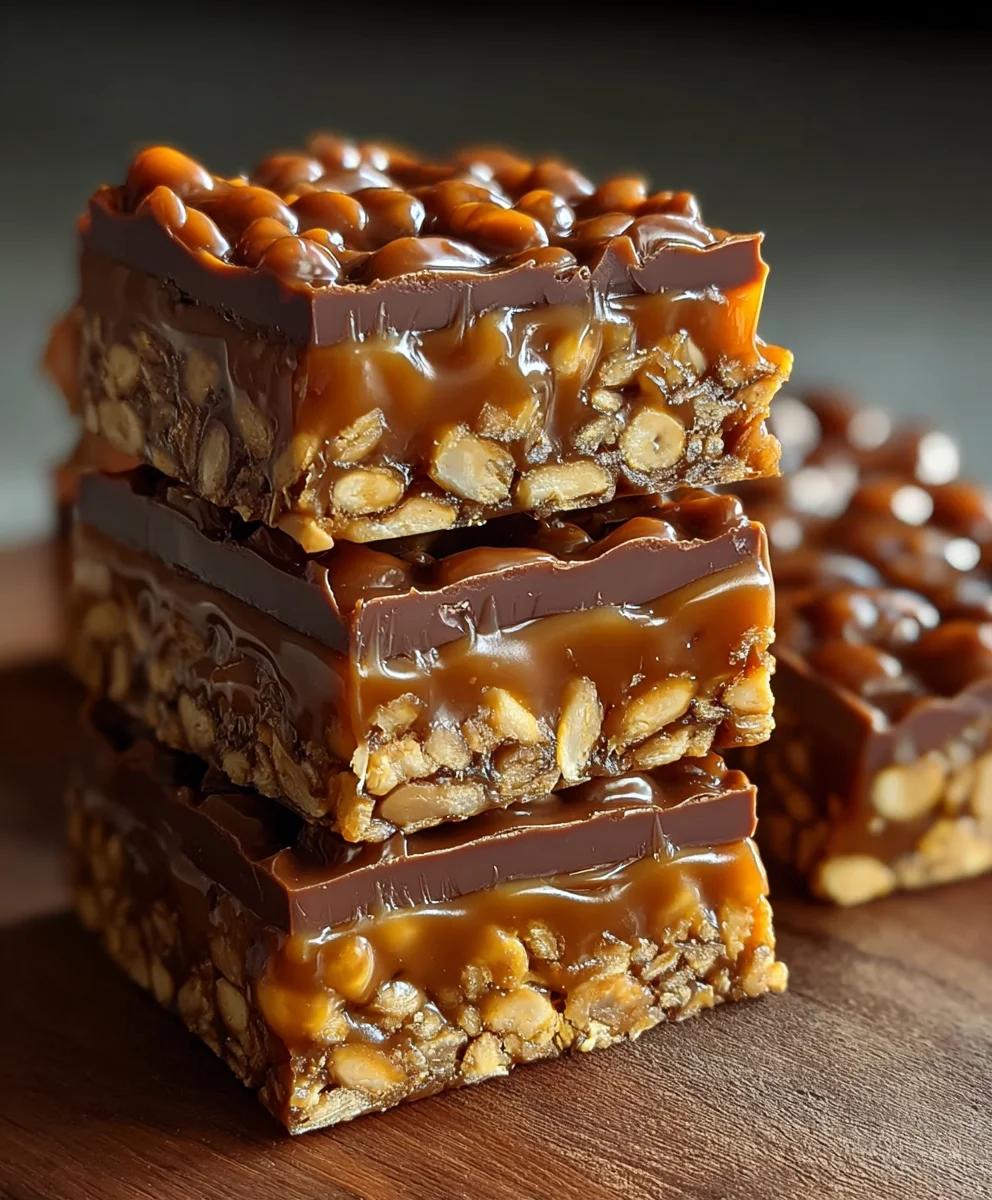
Caramel Fudge Crunch Bars-Easy Sweet Treat
Caramel Fudge Crunch Bars are more than just a sweet treat; they are an experience. Imagin extracte a symphony of textures and flavors dancing on your palate – the deep, rich cocoa of a decadent fudge layer, the satisfying chew of gooey caramel, and the delightful, unexpected crunch that makes these bars utterly irresistible. It’s no wonder so many of us are drawn to them! They evoke childhood memories, holiday gatherings, and those special moments of indulgence. What truly sets these Caramel Fudge Crunch Bars apart is the perfect balance achieved between these distinct components. It’s not just about sweetness; it’s about the harmony of creamy, chewy, and crispy. Each bite offers a complex yet comforting profile that will have you reaching for another, and then another, before you even realize it!
Ingredients:
- ½ tin (200g) condensed milk
- 100g light brown sugar
- 60g butter (salted or unsalted)
- 1½ tablespoons golden syrup or honey
- 100g white chocolate, broken into chunks
- 650g milk or dark chocolate, divided
- 75g Rice Krispies cereal
Making the Caramel Base
Step 1: Prepare Your Pan
The first crucial step for achieving perfectly formed Caramel Fudge Crunch Bars is to prepare your baking tin. I like to use a 20cm x 20cm (8-inch x 8-inch) square tin. Line it thoroughly with parchment paper, making sure to leave some overhang on all sides. This parchment paper “sling” will make lifting the finished bars out of the tin incredibly easy, preventing any sticking and allowing for clean cuts later on. You can use a little bit of butter or cooking spray to help the parchment paper stick to the tin initially if you find it tricky. Ensure the paper is as smooth as possible to avoid wrinkles in your caramel.
Step 2: Melt and Combine the Caramel Ingredients
Now, let’s get that glorious caramel base started. In a medium, heavy-bottomed saucepan, combine the condensed milk, light brown sugar, butter, and golden syrup (or honey). Using a heavy-bottomed pan is important here to ensure even heat distribution and prevent scorching the caramel, which can happen quite easily if the heat is too intense or uneven. Place the saucepan over medium-low heat. Stir constantly with a wooden spoon or heatproof spatula. You want to ensure the sugar dissolves completely and the butter melts smoothly into the mixture. Keep stirring gently, but consistently, as the mixture begin extracts to warm. It will gradually thicken and turn a beautiful golden-brown colour. This process usually takes around 8-10 minutes. Be patient; rushing this stage can lead to a grainy texture.
Step 3: Cook the Caramel to the Right Consistency
Once all the ingredients are well combined and the sugar has dissolved, continue to cook the caramel mixture over medium-low heat, stirring almost constantly. This is where the magic happens and the caramel develops its characteristic chewy texture. You’re looking for the caramel to reach a specific stage, often referred to as the “soft ball” stage, though for these bars, we want it slightly thicker. A good visual cue is when the mixture starts to pull away from the sides of the pan as you stir. Another test is to drop a tiny amount of caramel into a glass of cold water; it should form a soft, pliable ball. Be very careful at this stage as the caramel will be extremely hot. Cooking it for approximately 10-12 minutes from when it starts to thicken should yield the perfect consistency for your bars.
Incorporating the Chocolate and Crunch
Step 4: Fold in the Chocolate and Rice Krispies
Once your caramel has reached the desired consistency and is off the heat, it’s time to add the luxurious chocolate and the essential crunch. Add the white chocolate chunks to the hot caramel. Stir them in vigorously. The residual heat from the caramel will melt the white chocolate, creating a wonderfully smooth, fudgy texture that will bind everything together. Once the white chocolate is almost completely melted and incorporated, gently fold in the Rice Krispies cereal. Be careful not to overmix at this point, as you want to keep the Rice Krispies as intact as possible to preserve their satisfying crunch. You’re just aiming to coat them evenly with the caramel and melted white chocolate mixture.
Step 5: Add the Milk or Dark Chocolate and Press into the Tin
Now for the pièce de résistance: the main chocolate coating. We need to divide the 650g of milk or dark chocolate. Reserve about 150g of this chocolate. Melt the remaining 500g of chocolate gently. You can do this either in a heatproof bowl set over a saucepan of simmering water (a bain-marie) or in the microwave in short bursts (30-second intervals), stirring between each burst, until smooth. Once melted, pour this chocolate over the Rice Krispies and caramel mixture in your prepared tin. Using a spatula, spread it out as evenly as possible to form the bottom chocolate layer of your bars. Once this layer is spread, pour the remaining 150g of melted chocolate over the top. Use your spatula to spread this final chocolate layer to cover the entire surface of the bars. You can even give the tin a gentle tap on the counter to help create a smooth, even top surface.
Step 6: Chill and Cut Your Caramel Fudge Crunch Bars
With your bars assembled, it’s time for them to set. Place the tin in the refrigerator for at least 2-3 hours, or until the chocolate is completely firm. The chilling time is essential to allow the chocolate to harden properly and the caramel to set, making it much easier to cut clean slices. Once fully chilled, use the parchment paper overhang to lift the entire slab out of the tin onto a cutting board. Now, using a sharp knife, cut the slab into your desired bar shapes. For neat cuts, you can warm your knife under hot water, dry it thoroughly, and then cut. Repeat this process for each cut. Store your finished Caramel Fudge Crunch Bars in an airtight container at room temperature or in the refrigerator if you prefer them extra firm. Enjoy your homemade, incredibly satisfying treat!
Conclusion:
There you have it – the ultimate guide to creating delicious Caramel Fudge Crunch Bars! We’ve walked through each step, from achieving that perfect fudgy base to the satisfying crunch of toasted nuts and crispy rice cereal. These bars are a delightful treat for any occasion, whether it’s a special celebration, a casual get-together, or just a well-deserved indulgence for yourself. The combination of rich chocolate, gooey caramel, and delightful texture is truly irresistible.
For serving, I love cutting them into neat squares and presenting them on a platter alongside a glass of cold milk or a warm cup of coffee. They also make a fantastic addition to a dessert buffet or as a homemade gift. Don’t be afraid to experiment with variations! You could swap out the nuts for something like toasted almonds or even add a sprinkle of sea salt on top for an extra flavor kick. Remember, baking is all about having fun and making it your own.
I truly hope you enjoy making and devouring these Caramel Fudge Crunch Bars as much as I do. Happy baking!
Frequently Asked Questions:
Q: Can I make the Caramel Fudge Crunch Bars ahead of time?
Absolutely! Caramel Fudge Crunch Bars are perfect for making in advance. In fact, they often taste even better after they’ve had a chance to sit for a few hours or overnight, allowing the flavors to meld together beautifully. Store them in an airtight container at room temperature for up to 3-4 days.
Q: What if I don’t have crispy rice cereal? Can I substitute something else for the Caramel Fudge Crunch Bars?
While crispy rice cereal provides a classic crunch, you can get creative with substitutions for your Caramel Fudge Crunch Bars. Toasted oats (rolled oats work well), crushed grabeef ham crackers, or even puffed wheat cereal can offer a similar textural element. Ensure whatever you choose is relatively dry and not too finely ground to maintain that satisfying crunch.
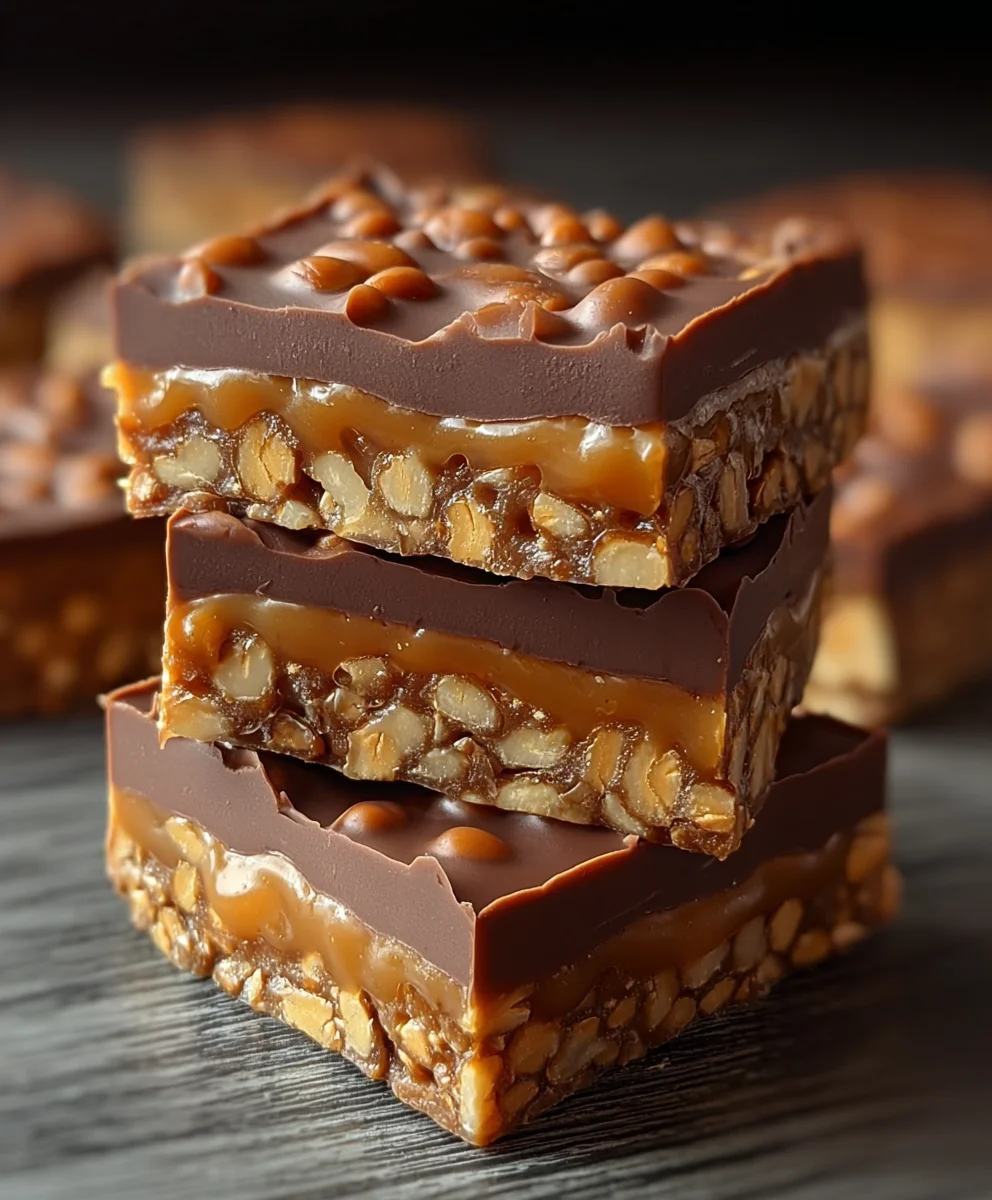
Caramel Fudge Crunch Bars-Easy Sweet Treat
An easy and delightful no-bake treat featuring a chewy caramel base, crunchy cereal, and rich chocolate.
Ingredients
-
½ tin (200g) condensed milk
-
100g light brown sugar
-
60g butter (salted or unsalted)
-
1½ tablespoons golden syrup or honey
-
100g white chocolate, broken into chunks
-
650g milk or dark chocolate, divided
-
75g Rice Krispies cereal
Instructions
-
Step 1
Prepare a 20cm x 20cm (8-inch x 8-inch) square baking tin by lining it thoroughly with parchment paper, leaving an overhang on all sides to create a sling for easy removal. -
Step 2
In a heavy-bottomed saucepan over medium-low heat, combine condensed milk, light brown sugar, butter, and golden syrup (or honey). Stir constantly until the sugar dissolves and the butter melts. Continue stirring gently for 8-10 minutes until the mixture thickens and turns golden-brown. -
Step 3
Continue cooking the caramel over medium-low heat, stirring almost constantly, for approximately 10-12 minutes, or until it reaches a thick consistency that pulls away from the sides of the pan. -
Step 4
Remove the caramel from the heat. Stir in the white chocolate chunks until almost completely melted. Then, gently fold in the Rice Krispies cereal, coating them evenly without overmixing. -
Step 5
Melt 500g of the milk or dark chocolate. Pour this melted chocolate over the Rice Krispies and caramel mixture in the prepared tin, spreading it evenly to form the bottom layer. Pour the remaining 150g of melted chocolate over the top and spread to cover. -
Step 6
Chill the tin in the refrigerator for at least 2-3 hours, or until the chocolate is completely firm. Lift the slab out using the parchment paper, and cut into desired bar shapes using a sharp knife (warm the knife under hot water and dry it for cleaner cuts).
Important Information
Nutrition Facts (Per Serving)
It is important to consider this information as approximate and not to use it as definitive health advice.
Allergy Information
Please check ingredients for potential allergens and consult a health professional if in doubt.