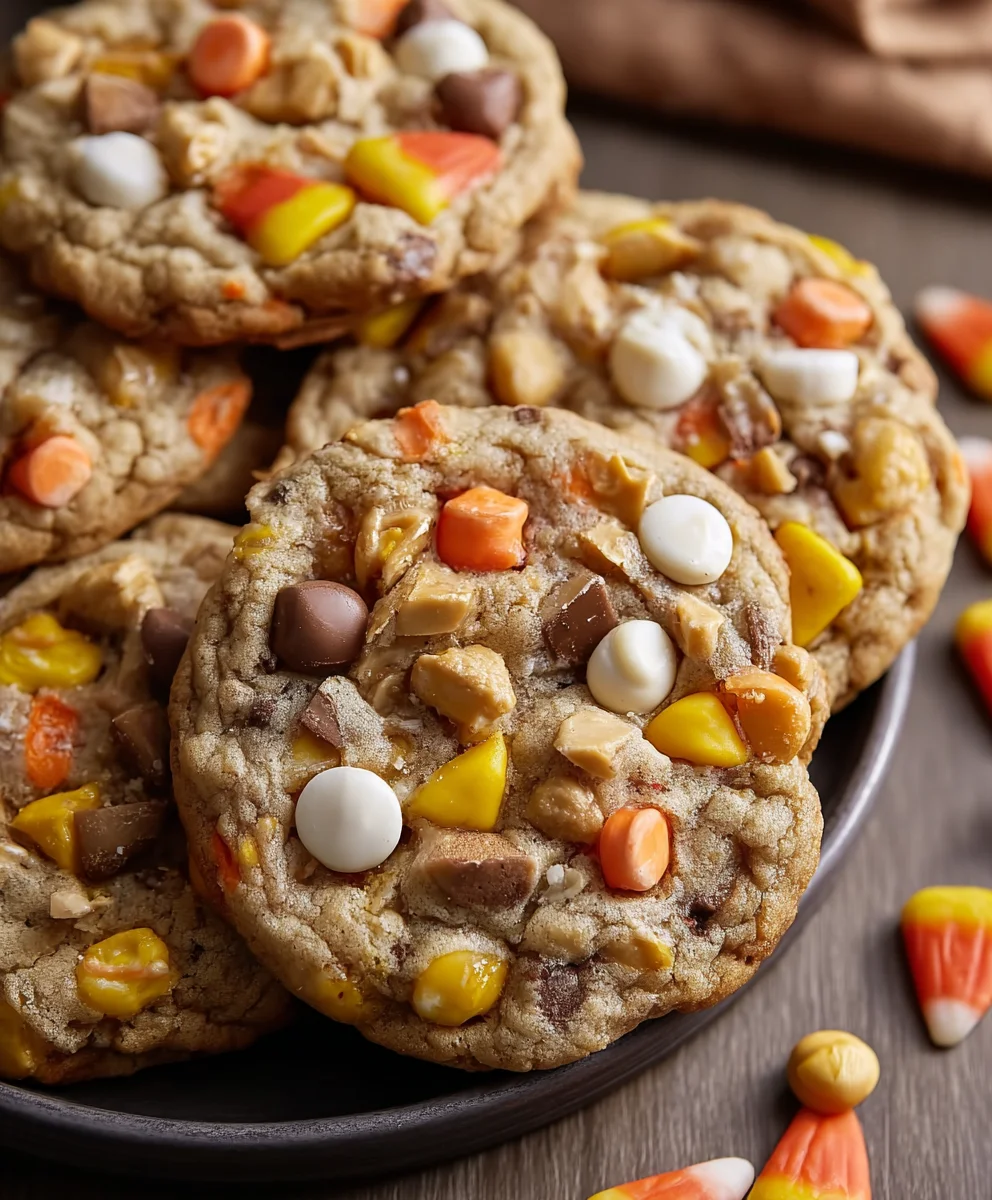
Candy Corn Trail Mix Cookies-Easy Festive Treat
Candy Corn Trail Mix Cookies are the ultimate sweet and salty sensation, guaranteed to disappear from your cookie jar faster than you can say “trick or treat!” We all know the irresistible allure of a good trail mix – that perfect harmony of crunchy, chewy, and sweet elements that keeps you reaching for more. Now, imagin extracte all that delightful texture and flavor packed into a soft, chewy, perfectly baked cookie. That’s exactly what these Candy Corn Trail Mix Cookies deliver! They’re not just a dessert; they’re an experience. The subtle sweetness of the candy corn plays beautifully with the salty crunch of pretzels and the creamy richness of chocolate chips, creating a symphony for your taste buds. What makes them truly special is their adaptability; you can easily customize the “trail mix” components to suit your favorite combinations, but the core magic of these Candy Corn Trail Mix Cookies lies in their ability to evoke nostalgic comfort and pure, unadulterated joy in every single bite. Get ready to wow your friends and family with this incredibly easy yet impressively delicious creation!
Ingredients:
- ½ cup unsalted butter, for browning
- ½ cup + 2 tablespoons packed light brown sugar
- 2 tablespoons granulated sugar
- 1 large egg, at room temperature
- 1 teaspoon pure vanilla extract
- 1¼ cups all-purpose flour, spooned and leveled
- ½ teaspoon baking soda
- ½ teaspoon salt
- ½ cup semi-sweet chocolate chips, plus extra for topping
- 2 tablespoons lightly salted peanuts, crushed
- 2 tablespoons pretzels, crushed
- Candy corn for topping (added after baking)
Browning the Butter
Step 1: Prepare the Butter for Browning
First, let’s get our unsalted butter ready for browning. This crucial step adds a wonderful nutty depth and richness to our Candy Corn Trail Mix Cookies. Take your ½ cup of unsalted butter and place it in a light-colored, medium saucepan over medium heat. A light-colored pan is important because it allows you to easily see the color of the butter as it browns, preventing it from burning. As the butter melts, it will begin extract to foam. Keep a close eye on it, and try not to stir it too much at this stage; a gentle swirl of the pan is usually sufficient.
Step 2: Browning the Butter to Golden Perfection
Continue to cook the butter, swirling the pan occasionally, until it stops foaming and the milk solids at the bottom of the pan turn a beautiful golden-brown color. You’ll also notice a distinct, rich, nutty aroma developing. This entire process should take about 5 to 8 minutes. Once you see those golden-brown specks and smell that amazing aroma, immediately remove the pan from the heat. Carefully pour the browned butter into a heatproof bowl, making sure to scrape in all those flavorful brown bits. Let it cool for about 10 to 15 minutes, or until it’s no longer piping hot but still warm. This resting period is important so you don’t scramble the egg in the next step.
Mixing the Cookie Dough
Step 3: Creaming the Sugars and Butter
In a large mixing bowl, combine the cooled browned butter with the ½ cup + 2 tablespoons of packed light brown sugar and the 2 tablespoons of granulated sugar. Using an electric mixer (or a sturdy whisk and some elbow grease), cream these ingredients together until the mixture is light, fluffy, and well combined. This creaming process incorporates air into the dough, which contributes to the cookie’s texture. Next, beat in the room temperature large egg and the 1 teaspoon of vanilla extract until everything is smoothly incorporated. Make sure your egg is at room temperature; this helps it emulsify better with the butter and sugar mixture, leading to a more cohesive dough.
Step 4: Incorporating Dry Ingredients and Add-ins
In a separate medium bowl, whisk together the 1¼ cups of all-purpose flour, ½ teaspoon of baking soda, and ½ teaspoon of salt. Whisking the dry ingredients helps to distribute the leavening agent (baking soda) and salt evenly throughout the flour, ensuring consistent results. Gradually add this dry mixture to the wet ingredients in the large mixing bowl, mixing on low speed or by hand until just combined. Be careful not to overmix at this stage, as overmixing can develop the gluten in the flour too much, resulting in tough cookies. Once the flour is mostly incorporated, gently fold in the ½ cup of semi-sweet chocolate chips, the 2 tablespoons of crushed lightly salted peanuts, and the 2 tablespoons of crushed pretzels. Fold them in until they are evenly distributed throughout the dough.
Baking and Decorating
Step 5: Shaping, Baking, and the Candy Corn Touch
Preheat your oven to 350°F (175°C). Line baking sheets with parchment paper or silicone baking mats to prevent sticking. Drop rounded tablespoons of dough onto the prepared baking sheets, leaving about 2 inches of space between each cookie to allow for spreading. If you’d like some extra chocolatey goodness, press a few more semi-sweet chocolate chips onto the tops of the dough balls. Bake for 10 to 12 minutes, or until the edges are golden brown and the centers are still slightly soft. The cookies will continue to cook on the baking sheet as they cool.
Allow the cookies to cool on the baking sheets for about 5 minutes before transferring them to a wire rack to cool completely. While the cookies are still warm from the oven (but not so hot that they melt the candy corn instantly), gently press a few pieces of candy corn into the tops of each cookie. The warmth of the cookie will help the candy corn adhere. The contrast of the sweet, chewy candy corn with the rich, chocolatey, and slightly salty cookie is what makes these Candy Corn Trail Mix Cookies so uniquely delicious and perfect for any occasion where a bit of festive fun is desired. Enjoy!
Conclusion:
We hope you’ve enjoyed learning how to make these delightful Candy Corn Trail Mix Cookies! This recipe is a fantastic way to add a festive touch to any occasion, especially during the fall season. The combination of sweet and salty, crunchy and chewy, makes these cookies a crowd-pleaser. They are perfect for bake snon-alcoholic ales, holiday gatherings, or simply as a fun afternoon treat.
For serving suggestions, these Candy Corn Trail Mix Cookies are wonderful on their own, but they also pair beautifully with a cold glass of milk or a warm cup of coffee. Consider decorating them with a simple drizzle of melted white chocolate or a sprinkle of extra candy corn for an added visual appeal.
Don’t be afraid to get creative with variations! You can swap out some of the trail mix components for your favorite nuts, dried fruits, or even small chocolate chips. For a richer flavor, try adding a teaspoon of vanilla extract or a pinch of cinnamon to the dough. The possibilities are endless, allowing you to truly make these Candy Corn Trail Mix Cookies your own. We encourage you to bake a batch (or two!) and share the joy. Happy baking!
Frequently Asked Questions:
Can I make Candy Corn Trail Mix Cookies ahead of time?
Yes, absolutely! These Candy Corn Trail Mix Cookies can be stored in an airtight container at room temperature for up to 3-4 days. For longer storage, you can freeze the baked cookies for up to 2 months. This makes them perfect for preparing in advance for parties or events.
What can I substitute for candy corn if I don’t have it?
If you can’t find candy corn or prefer not to use it, you have a few options. You could use other colorful candies like M&M’s, Reese’s Pieces, or even chopped gummy bears. For a less sweet and more savory twist, you could omit the candy corn and add extra nuts or pretzel pieces to the trail mix.
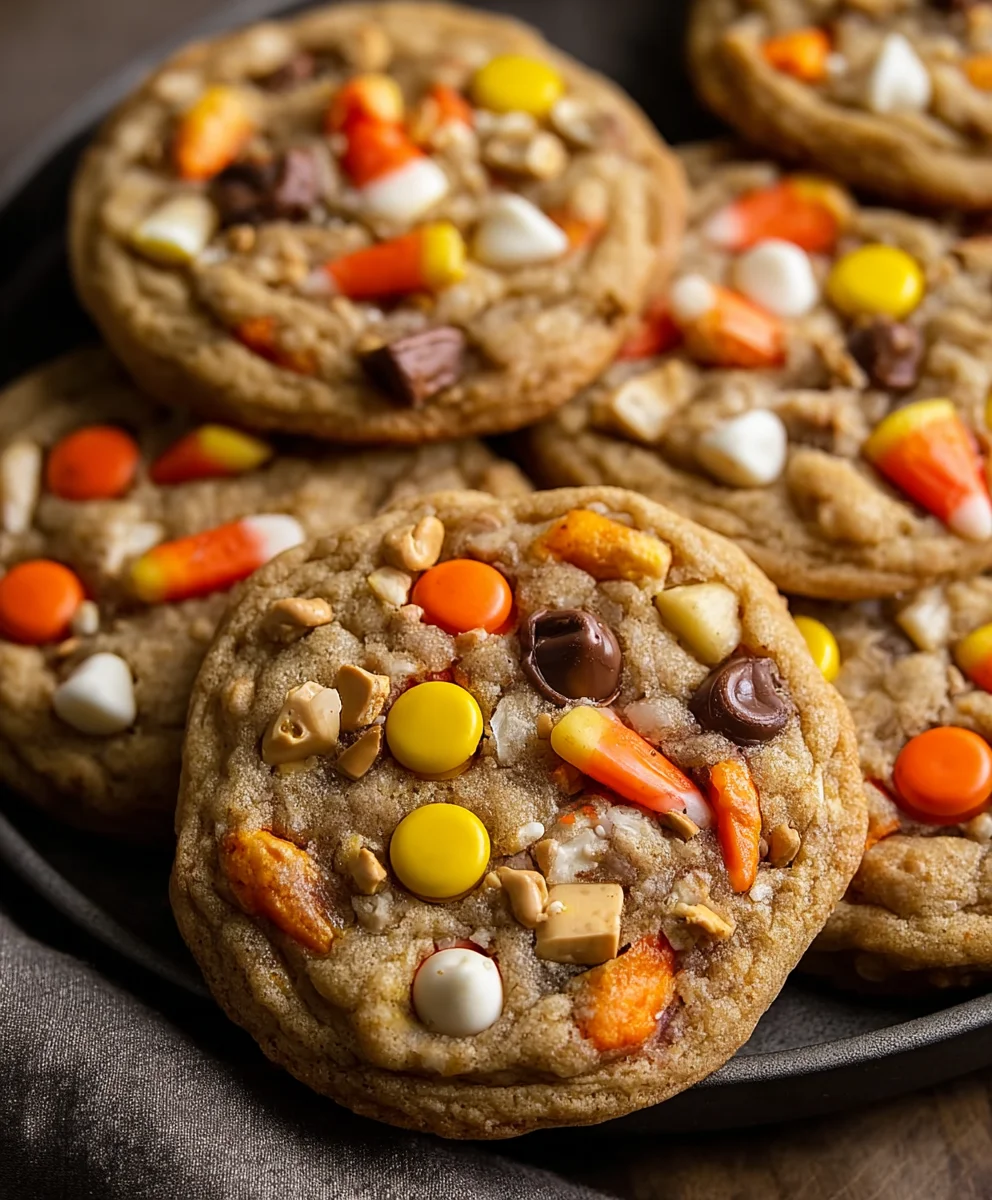
Candy Corn Trail Mix Cookies-Easy Festive Treat
Delicious and easy festive cookies featuring a trail mix of chocolate chips, peanuts, pretzels, and topped with candy corn.
Ingredients
-
½ cup unsalted butter, for browning
-
½ cup + 2 tablespoons packed light brown sugar
-
2 tablespoons granulated sugar
-
1 large egg, at room temperature
-
1 teaspoon pure vanilla extract
-
1¼ cups all-purpose flour, spooned and leveled
-
½ teaspoon baking soda
-
½ teaspoon salt
-
½ cup semi-sweet chocolate chips, plus extra for topping
-
2 tablespoons lightly salted peanuts, crushed
-
2 tablespoons pretzels, crushed
-
Candy corn for topping (added after baking)
Instructions
-
Step 1
Melt ½ cup unsalted butter in a light-colored, medium saucepan over medium heat until it foams. Continue to cook, swirling occasionally, until milk solids turn golden-brown and a nutty aroma develops (about 5-8 minutes). Pour into a heatproof bowl, scraping in brown bits, and let cool for 10-15 minutes until warm. -
Step 2
In a large mixing bowl, cream the cooled browned butter with ½ cup + 2 tablespoons packed light brown sugar and 2 tablespoons granulated sugar until light and fluffy. Beat in 1 large room temperature egg and 1 teaspoon vanilla extract until smooth. -
Step 3
In a separate bowl, whisk together 1¼ cups all-purpose flour, ½ teaspoon baking soda, and ½ teaspoon salt. Gradually add dry ingredients to wet ingredients, mixing until just combined. Do not overmix. -
Step 4
Gently fold in ½ cup semi-sweet chocolate chips, 2 tablespoons crushed peanuts, and 2 tablespoons crushed pretzels until evenly distributed. -
Step 5
Preheat oven to 350°F (175°C). Line baking sheets with parchment paper. Drop rounded tablespoons of dough onto sheets, leaving 2 inches between cookies. Press extra chocolate chips onto tops if desired. -
Step 6
Bake for 10-12 minutes, until edges are golden brown and centers are slightly soft. Let cool on baking sheets for 5 minutes before transferring to a wire rack to cool completely. -
Step 7
While cookies are still warm, gently press candy corn pieces onto the tops. The warmth will help them adhere. Enjoy!
Important Information
Nutrition Facts (Per Serving)
It is important to consider this information as approximate and not to use it as definitive health advice.
Allergy Information
Please check ingredients for potential allergens and consult a health professional if in doubt.