Easy Baked Yogurt – Creamy Delicious & Simple
Baked Yogurt is one of those culinary secrets that, once discovered, will forever change your dessert game. Forget fussy custards and temperamental cheesecakes; this is a simple yet profoundly satisfying treat that’s surprisingly easy to master. Imagin extracte a dessert that’s both luxuriously creamy and delightfully light, with a subtle tang that cuts through its sweetness. That’s the magic of baked yogurt. It’s the perfect canvas for a myriad of toppings, from fresh berries and a drizzle of honey to a sprinkle of toasted nuts or a dollop of fruit compote. What makes baked yogurt truly special is its inherent versatility and its ability to elevate humble ingredients into something elegant. This recipe will guide you through creating a perfectly set, golden-topped baked yogurt that will impress your guests and become a staple in your repertoire.
Ingredients:
- 2 cups Greek yogurt
- 4 large eggs
- 1/4 cup maple syrup (or honey)
- 1 teaspoon vanilla extract
- 3 tablespoons cornstarch
- 1 1/2 cups berries (divided)
Preparing the Baked Yogurt Mixture
-
Preheating and Pan Preparation
Begin extract by preheating your oven to 350°F (175°C). This ensures the oven is at the perfect temperature for even baking when your mixture is ready. Next, prepare your baking dish. A standard 8×8 inch baking dish is ideal for this recipe, but a 9-inch pie plate will also work. Lightly grease the inside of your chosen dish with a little butter or cooking spray. This step is crucial to prevent the baked yogurt from sticking, making it easy to serve and clean up afterward. If you’re using a ceramic or glass dish, greasing is especially important.
-
Combining Wet Ingredients and Sweetener
In a large mixing bowl, add your 2 cups of Greek yogurt. Ensure it’s full-fat for the richest flavor and creamiest texture; while lower-fat versions can work, the result might be slightly less indulgent. To this, crack in your 4 large eggs. Whisk the yogurt and eggs together vigorously until they are thoroughly combined and the mixture is smooth. This process incorporates air, which helps create a lighter texture. Next, pour in your 1/4 cup of maple syrup. If you prefer, you can substitute honey for the maple syrup, but note that honey will impart a slightly different, more floral flavor. Add the 1 teaspoon of vanilla extract. The vanilla adds a beautiful aroma and depth of flavor that complementsgin extracte tanginess of the yogurt and the sweetness of the syrup. Continue whisking until all these wet ingredients are perfectly blended.
-
Incorporating Dry Ingredients and Flavor Enhancers
Now it’s time to introduce the dry ingredients. Sprinkle the 3 tablespoons of cornstarch over the wet mixture. Cornstarch acts as a thickener, helping the baked yogurt set into a delightful, custard-like consistency. It’s important to add it gradually and whisk continuously to avoid lumps. If you notice any small clumps forming, don’t worry; continue whisking, and they should eventually dissolve. Some people like to sift the cornstarch in, which can further help prevent lumps, but careful whisking is usually sufficient. Once the cornstarch is mostly incorporated, give everything a final, thorough whisk to ensure a homogenous batter. The batter should be thick but pourable, with no visible lumps of cornstarch.
-
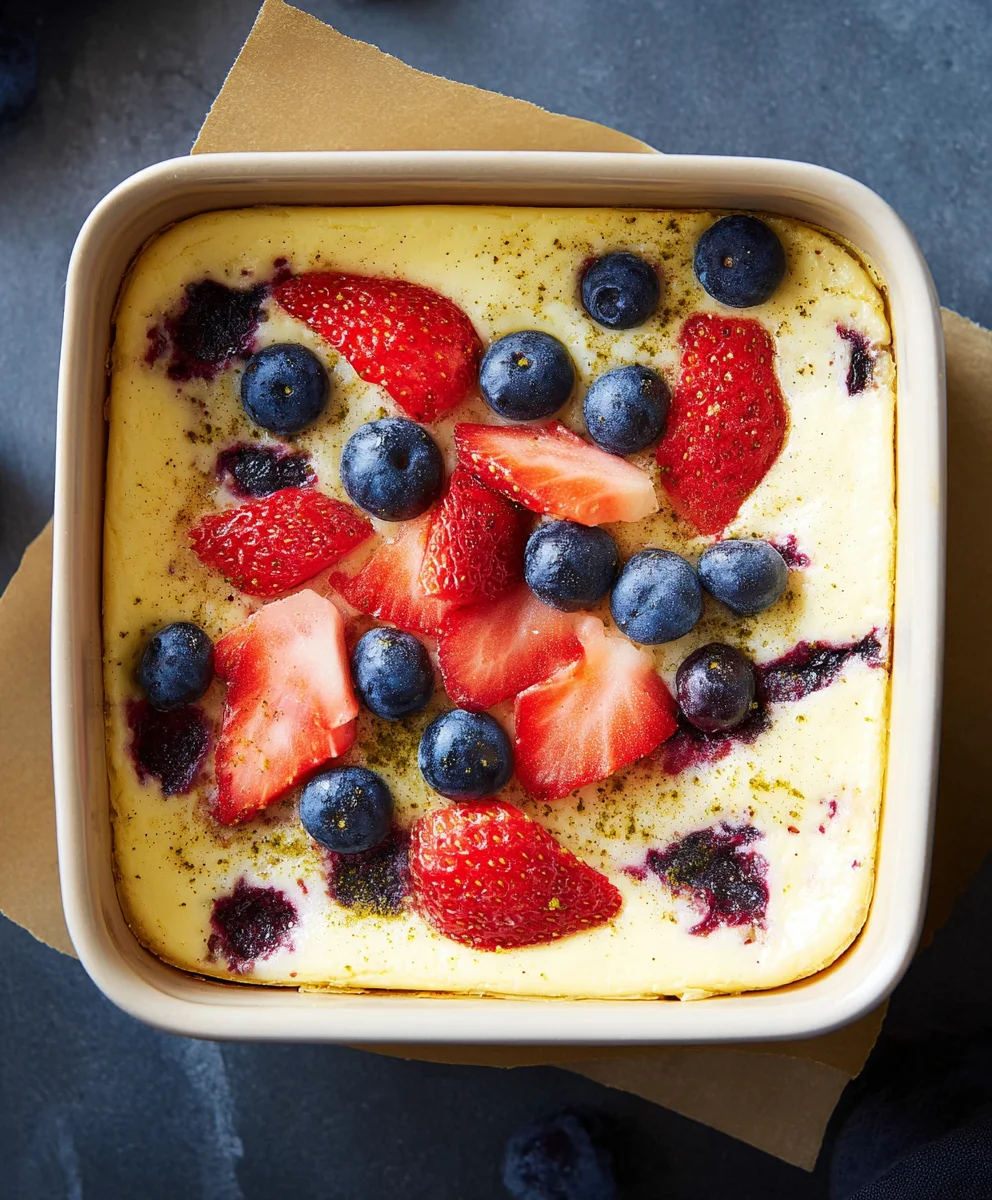
Adding the Berries and Initial Baking
Take 1 cup of your 1 1/2 cups of berries and gently fold them into the yogurt mixture. You can use a mix of your favorite berries – strawberries, blueberries, raspberries, blackberries, or a combination. Try not to overmix at this stage; you want the berries to remain relatively intact so they burst with flavor when baked. Pour the batter evenly into your prepared baking dish. Then, scatter the remaining 1/2 cup of berries over the top of the batter. This creates a beautiful visual appeal and ensures a delightful berry topping. Place the baking dish into the preheated oven.
-
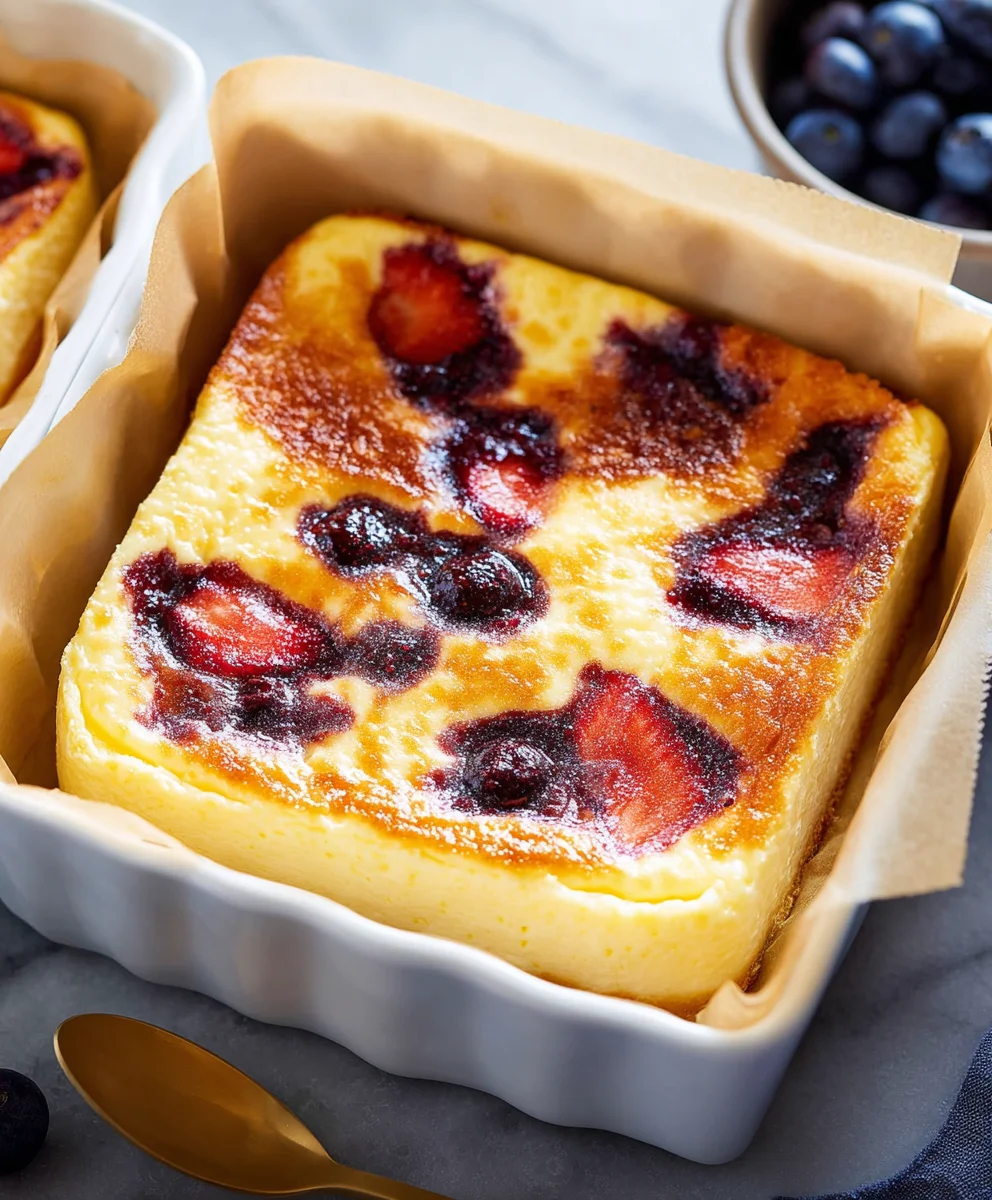
Baking to Perfection and Cooling
Bake for approximately 35-45 minutes, or until the edges are set and lightly golden brown, and the center is mostly firm with a slight jiggle. A good test for doneness is to gently shake the dish; the center should feel mostly set, not watery. Be careful not to overbake, as this can lead to a dry or rubbery texture. Once baked, carefully remove the dish from the oven. Allow the baked yogurt to cool in the dish on a wire rack for at least 20-30 minutes. This cooling period is essential for the dessert to fully set and develop its final texture. It will continue to firm up as it cools. For the best results, chill the baked yogurt in the refrigerator for at least 2 hours, or preferably until completely cold, before serving. Chilling transforms the texture into a wonderfully creamy and refreshing treat.
Conclusion:
You’ve done it! With this simple guide, you’re well on your way to creating delicious and perfectly Baked Yogurt. This recipe is wonderfully versatile, allowing for endless customization. The slightly tangy, custardy texture of Baked Yogurt makes it a delightful dessert or even a decadent breakfast. We hope you enjoy the process as much as the final product!
For serving, consider a drizzle of honey, a scattering of fresh berries, a sprinkle of toasted nuts, or even a dollop of whipped cream. The possibilities are truly limitless. Don’t be afraid to experiment with different flavorings when you make your Baked Yogurt – vanilla extract is a classic, but a hint of cinnamon, cardamom, or even a touch of citrus zest can elevate it beautifully.
We encourage you to share your creations and any unique twists you’ve discovered. Baking should be a joyous and creative experience, and we’re thrilled to have guided you through making this delightful Baked Yogurt. Now go forth and bake!
Frequently Asked Questions about Baked Yogurt:
Q: Can I make Baked Yogurt ahead of time?
A: Absolutely! Baked Yogurt can be made a day or two in advance and stored in the refrigerator. It’s delicious served chilled or gently reheated.
Q: What kind of yogurt is best for Baked Yogurt?
A: Full-fat plain yogurt, such as Greek yogurt or regular plain yogurt, tends to yield the creamiest and most satisfying results for Baked Yogurt. The fat content helps with texture.
Q: My Baked Yogurt is a little watery, what went wrong?
A: This can sometimes happen if the yogurt wasn’t strained properly beforehand, or if the oven temperature was too low. Ensuring your yogurt is thick and using the recommended oven temperature will help prevent this for future Baked Yogurt attempts.
Easy Baked Yogurt – Creamy Delicious & Simple
A simple and delicious baked yogurt recipe with a creamy texture and sweet berry topping.
Ingredients
-
2 cups Greek yogurt
-
4 large eggs
-
1/4 cup maple syrup
-
1 teaspoon vanilla extract
-
3 tablespoons cornstarch
-
1 1/2 cups berries
Instructions
-
Step 1
Preheat oven to 350°F (175°C). Lightly grease an 8×8 inch baking dish or 9-inch pie plate. -
Step 2
In a large bowl, whisk together Greek yogurt, eggs, maple syrup, and vanilla extract until smooth. -
Step 3
Gradually whisk in cornstarch until fully incorporated and no lumps remain. The batter should be thick but pourable. -
Step 4
Gently fold in 1 cup of berries into the yogurt mixture. Pour the batter into the prepared baking dish and scatter the remaining 1/2 cup of berries over the top. -
Step 5
Bake for 35-45 minutes, or until the edges are set and lightly golden, and the center is mostly firm with a slight jiggle. Cool for 20-30 minutes on a wire rack, then chill in the refrigerator for at least 2 hours before serving.
Important Information
Nutrition Facts (Per Serving)
It is important to consider this information as approximate and not to use it as definitive health advice.
Allergy Information
Please check ingredients for potential allergens and consult a health professional if in doubt.