Easiest Bread Recipe Ever-Foolproof Baking
The Easiest Bread in the Entire World isn’t just a title; it’s a promise fulfilled. We’ve all dreamt of warm, crusty bread straight from the oven, the kind that fills your kitchen with an irresistible aroma. But the thought of kneading, proofing, and complicated steps often makes us shy away from homemade bread. That’s where this recipe comes in. It’s a revelation for novice bakers and a delightful shortcut for seasoned pros. People adore this bread because it delivers exceptional results with minimal effort, proving that gourmet taste doesn’t require a culinary degree. What truly sets this loaf apart is its foolproof nature and incredibly simple ingredient list. Prepare to be amazed as you create your very own artisanal bread, embodying “The Easiest Bread in the Entire World,” with a satisfyingly chewy interior and a beautifully golden, crisp crust. It’s perfect for begin extractners and anyone who craves delicious, homemade bread without the fuss.
Ingredients:
- 3 cups all-purpose flour
- 1 ½ teaspoons salt
- ½ teaspoon instant yeast
- 1 ½ cups lukewarm water (about 105-115°F)
- Additional flour for dusting
The Easiest Bread in the Entire World: Simple Steps to Delicious Homemade Loaves
This recipe truly lives up to its name. It requires minimal effort and ingredients, making it perfect for begin extractners or anyone craving fresh, crusty bread without a fuss. The magic lies in its simplicity and the long fermentation time, which develops incredible flavor and a wonderfully airy crum extractb.
Mixing the Dough
The first step in creating “The Easiest Bread in the Entire World” is to combine our dry ingredients. In a large mixing bowl, add the 3 cups of all-purpose flour. To this, we’ll add 1 ½ teaspoons of salt, which is crucial for both flavor and controlling the yeast activity. Finally, sprinkle in ½ teaspoon of instant yeast. Instant yeast doesn’t require proofing, meaning you can mix it directly with the flour and salt. Give these dry ingredients a good whisk together to ensure they are evenly distributed. This is important for consistent rising throughout the dough.
Now, it’s time to introduce the wet ingredient. Measure out 1 ½ cups of lukewarm water. The temperature of the water is important; it should feel comfortably warm to the touch, similar to a baby’s bathwater. Water that is too hot can kill the yeast, and water that is too cold won’t activate it properly. Pour the lukewarm water into the bowl with the dry ingredients. Using a wooden spoon or a spatula, mix everything together until just combined. You’ll notice that the dough will be very shaggy and wet – that’s exactly what we’re aiming for. Don’t be tempted to add more flour at this stage; resist the urge to knead the dough. We are not developing gluten through kneading here; the long fermentation will do that work for us. The key to this no-knead method is to get all the flour hydrated. Once everything is roughly incorporated, cover the bowl tightly with plastic wrap or a damp kitchen towel.
The Long, Flavorful Fermentation
This is where the magic of “The Easiest Bread in the Entire World” really happens. Let the covered dough rest at room temperature for at least 12 hours, or up to 18 hours. This extended fermentation period is what develops the complex flavors and the characteristirum extractpen crumb structure. During this time, the yeast will work its wonders, producing carbon dioxide gas that will make the dough rise and the enzymes in the flour will break down starches into sugars, contributing to flavor and browning. You’ll see the dough puff up considerably and become dotted with small bubbles. It’s quite satisfying to witness this transformation. If your kitchen is very warm, you might opt for the shorter end of the time range. Conversely, if your kitchen is cooler, the longer fermentation is beneficial. The dough should look significantly larger and airier after this rest.
Shaping the Loaf (Minimal Effort!)
After the long fermentation, gently uncover the dough. You’ll notice it’s very bubbly and has expanded. Now, we’re going to lightly flour a clean work surface. You’ll need a little extra flour for this step to prevent sticking. Carefully scrape the dough out of the bowl onto the floured surface. It will be very sticky and wet – again, this is normal. Try to handle it as little as possible. With lightly floured hands, gently fold the edges of the dough towards the center a few times, creating a rough ball. Don’t overwork it; we just want to give it some structure. The goal is to create a cohesive shape without degassing it too much. Think of it like gently tucking it in.
Once you have a roughly shaped ball, you can either place it directly onto a piece of parchment paper for easier transfer into the hot pot, or, if you’re feeling adventurous, you can shape it into a more defined boule (round loaf) or batard (oval loaf). If you are shaping it, continue to use minimal handling. The key is to create a smooth-ish surface on top. Then, either place your shaped loaf onto the parchment paper or directly onto a lightly floured surface for its second rise.
The Second Rise and Preheating
Once your dough is shaped, loosely cover it again with plastic wrap or a kitchen towel and let it rest for another 30 minutes to 1 hour. This second rise, also known as proofing, allows the dough to relax and puff up a bit more before baking. While the dough is resting for this second phase, it’s time to preheat your oven and, crucially, your cooking vessel. Place a 4 to 6-quart heavy oven-safe pot with a lid (like a Dutch oven or cast-iron pot) into the oven. Preheat the oven to 450°F (230°C). Allowing the pot to preheat in the oven for at least 30 minutes ensures it’s screaming hot, which is essential for achieving that glorious, crispy crust on your “Easiest Bread in the Entire World.” The intense heat from the pot creates steam around the dough as it bakes, mimicking a professional baker’s oven and giving the bread its signature crackly exterior and even bake.
Baking to Perfection
After the second rise, your dough should look visibly puffier. Carefully remove the preheated pot from the oven using oven mitts. If you placed your dough on parchment paper, carefully lift the parchment paper with the dough and gently lower it into the hot pot. If you didn’t use parchment, carefully use your floured hands or a bench scraper to transfer the dough into the hot pot. Be very cautious as the pot is extremely hot. Place the lid back on the pot. This trapped steam is what allows the bread to rise fully and develop a beautiful crust. Return the covered pot to the hot oven. Bake for 30 minutes with the lid on.
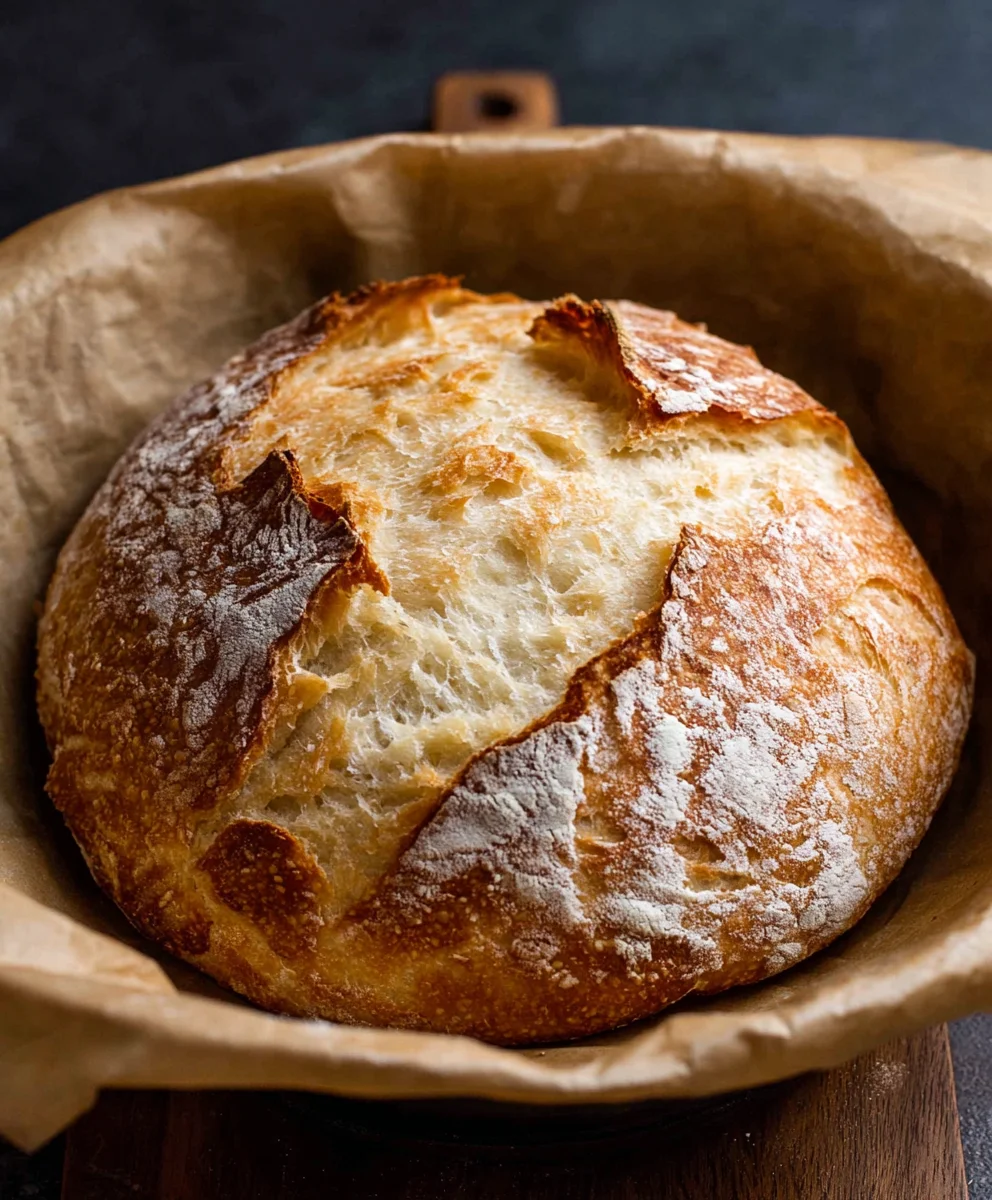
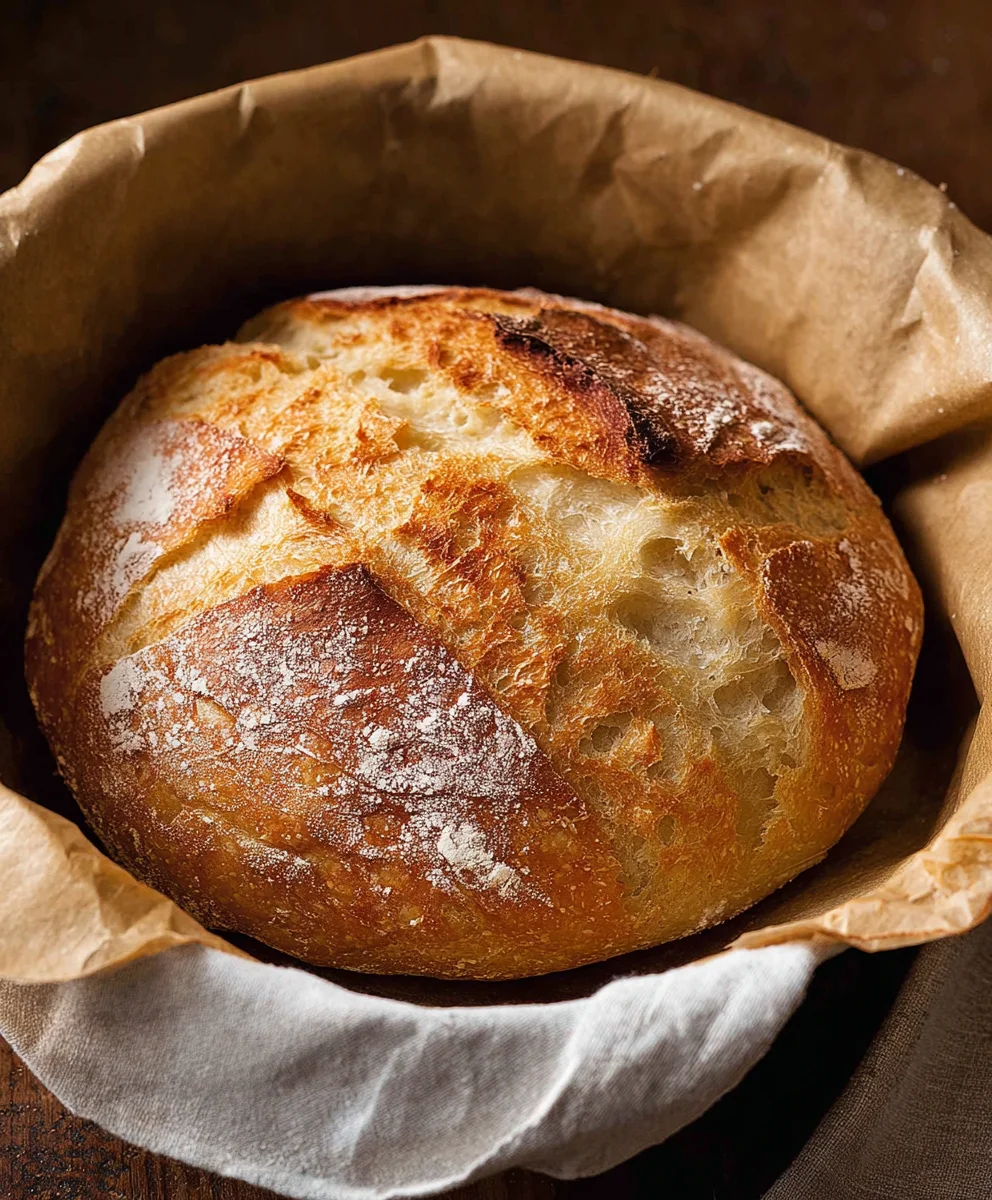
After 30 minutes, carefully remove the lid from the pot. You’ll be greeted by a beautifully risen, pnon-alcoholic ale loaf. Continue baking for another 15-25 minutes, or until the crust is a deep golden brown and the internal temperature of the bread reaches 200-210°F (93-99°C) when tested with an instant-read thermometer. The exact baking time will depend on your oven and the size of your pot. Once baked, carefully remove the bread from the pot and place it on a wire rack to cool completely. Resist the temptation to slice into it immediately! Allowing the bread to cool allows the internal structure to set and moisture to redistribute, resulting in a better texture. The aroma filling your kitchen will be an incredible reward for your minimal effort.
Conclusion:
And there you have it – The Easiest Bread in the Entire World! This recipe truly lives up to its name, offering a foolproof path to freshly baked, crusty bread with minimal effort. We’ve demystified the bread-making process, proving that delicious homemade bread is accessible to everyone, regardless of their baking experience. The aroma that fills your kitchen as this bread bakes is simply divine, and the taste is even better. Don’t be afraid to experiment and make this recipe your own!
For serving suggestions, this rustic loaf is incredibly versatile. It’s perfect as a side for soups and stews, fantastic for making gourmet sandwiches, or simply delightful when toasted and spread with butter or your favorite jam. For variations, consider adding herbs like rosemary or thyme to the dough for an aromatic twist, or mix in a handful of seeds like sunflower or poppy seeds for added texture and flavor. You could even incorporate a touch of garlic powder for a savory kick. We encourage you to bake this The Easiest Bread in the Entire World today and discover the joy of homemade bread!
Frequently Asked Questions about The Easiest Bread in the Entire World:
Can I make this bread ahead of time?
Absolutely! While it’s best enjoyed fresh, you can bake The Easiest Bread in the Entire World a day in advance. Once cooled, store it in a paper bag or a bread box at room temperature to maintain its crust. To refresh it, simply pop a slice in the toaster or warm it in a low oven for a few minutes.
What kind of flour is best for this recipe?
For The Easiest Bread in the Entire World, all-purpose flour works wonderfully and is readily available. You can also experiment with bread flour for a chewier crust, or even a blend of all-purpose and whole wheat flour for a slightly nuttier flavor. Just ensure you measure your flour correctly to avoid a dry or dense loaf.
Easiest Bread Recipe Ever-Foolproof Baking
A truly simple and foolproof bread recipe that requires minimal effort and ingredients, perfect for beginners or anyone craving fresh, crusty bread. The long fermentation develops incredible flavor and an airy crumb.
Ingredients
-
3 cups all-purpose flour
-
1 ½ teaspoons salt
-
½ teaspoon instant yeast
-
1 ½ cups lukewarm water (about 105-115°F)
-
Additional flour for dusting
Instructions
-
Step 1
In a large mixing bowl, combine 3 cups all-purpose flour, 1 ½ teaspoons salt, and ½ teaspoon instant yeast. Whisk together until evenly distributed. -
Step 2
Pour in 1 ½ cups of lukewarm water. Mix with a wooden spoon or spatula until just combined into a shaggy, wet dough. Cover tightly with plastic wrap or a damp kitchen towel. -
Step 3
Let the dough rest at room temperature for at least 12 hours, or up to 18 hours, for a long, flavorful fermentation. The dough will puff up considerably and become bubbly. -
Step 4
Lightly flour a clean work surface. Gently scrape the dough out and handle it as little as possible. With lightly floured hands, gently fold the edges towards the center a few times to create a rough ball. Place onto parchment paper or a lightly floured surface for the second rise. -
Step 5
Loosely cover the shaped dough and let it rest for another 30 minutes to 1 hour. While it rises, preheat your oven to 450°F (230°C) with a 4-6 quart heavy oven-safe pot with a lid inside for at least 30 minutes. -
Step 6
Carefully remove the preheated pot from the oven. Gently transfer the dough into the hot pot (using parchment paper if applicable). Place the lid back on and bake for 30 minutes. -
Step 7
Remove the lid and continue baking for another 15-25 minutes, or until the crust is deep golden brown and the internal temperature reaches 200-210°F (93-99°C). Cool completely on a wire rack before slicing.
Important Information
Nutrition Facts (Per Serving)
It is important to consider this information as approximate and not to use it as definitive health advice.
Allergy Information
Please check ingredients for potential allergens and consult a health professional if in doubt.