Crispy Chewy Chocolate Chip Cookies Recipe
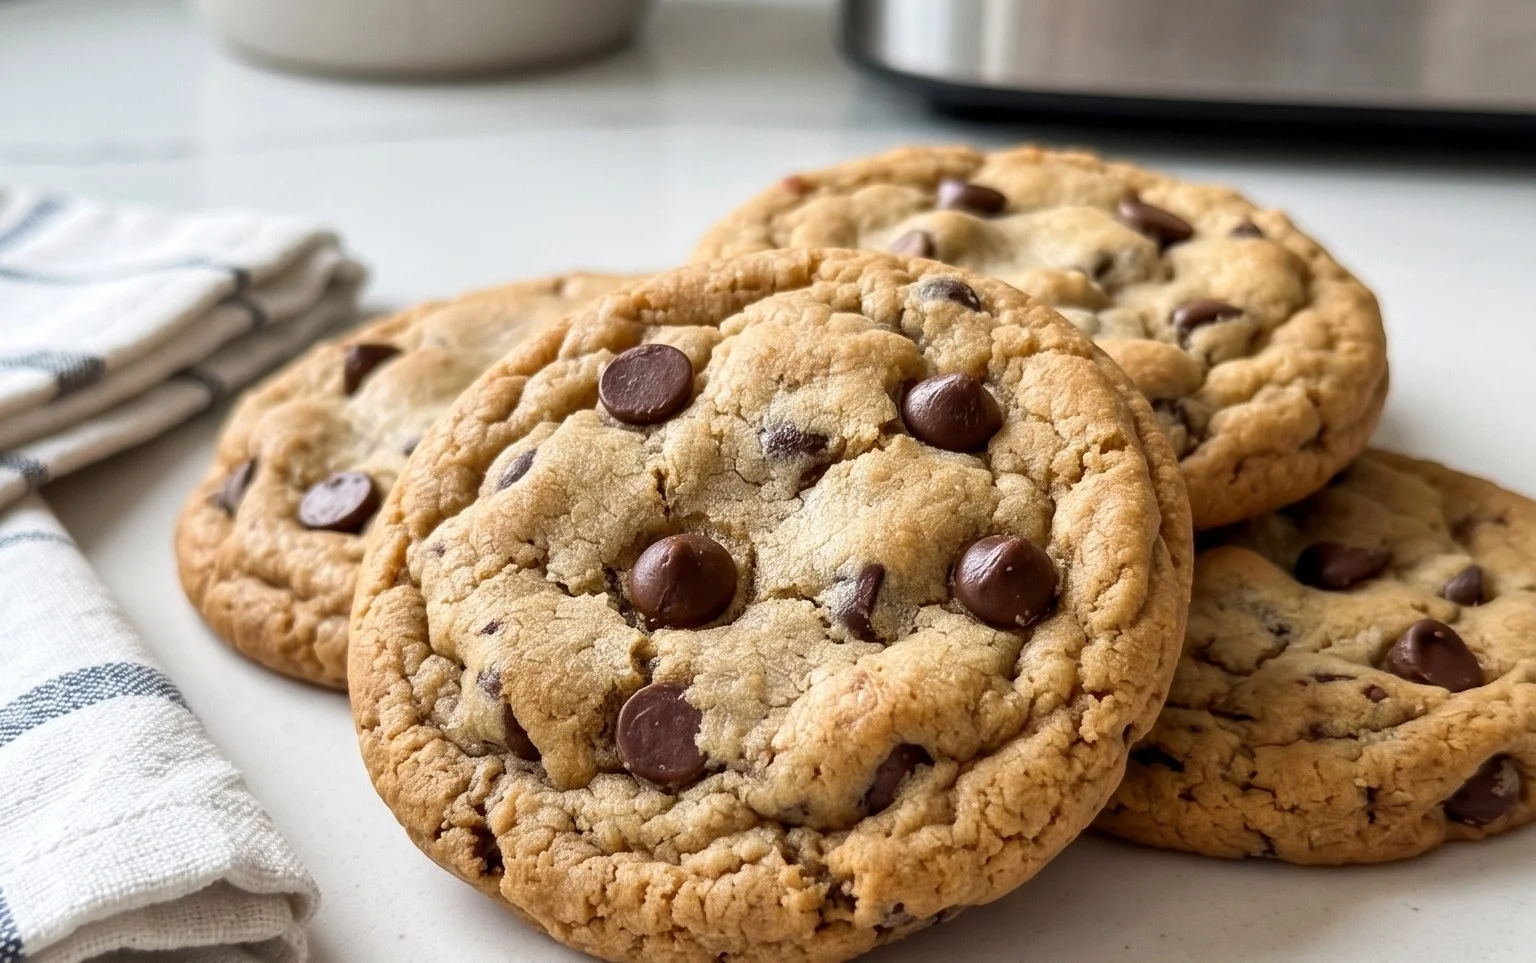
Crispy and chewy chocolate chip cookies are the undisputed cbeef hampions of the dessert world, and for good reason! Who doesn’t adore that perfect balance: a satisfying crunch around the edges giving way to a wonderfully soft, gooey center? It’s a texture symphony that makes each bite an absolute delight. These aren’t just any cookies; they’re a hug in edible form, a nostalgic taste of childhood, and the ultimate comfort food. What makes this particular recipe so special is its ability to consistently deliver that ideal combination every single time. Forget dry, crum extractbly failures or overly flat discs; these crispy and chewy chocolate chip cookies will become your go-to for impressing friends, treating yourself, or simply making any day a little brighter. Get ready to experience cookie perfection!
Crispy and Chewy Chocolate Chip Cookies
There’s nothing quite like a warm, freshly baked chocolate chip cookie. It’s a universal comfort, a nostalgic treat that brings smiles to faces of all ages. But achieving that perfect balance of crispy edges and a delightfully chewy center can sometimes feel like a culinary quest. Today, we’re embarking on that quest together, and I’m thrilled to share my go-to recipe for chocolate chip cookies that consistently deliver on both texture and flavor. These are the cookies that disappear from the plate in record time, the ones people ask for again and again. Get ready to fill your kitchen with the irresistible aroma of baking chocolate and butter – let’s make some magic!
This recipe is designed to be straightforward, even for begin extractner bakers, but it’s the little details and quality ingredients that truly elevate these cookies. We’re going for a cookie that has a satisfying crunch when you bite into the edges, yielding to a soft, slightly gooey interior studded with melty chocolate chips. The combination of sugars is key here, as is the precise amount of baking soda and the chilling time. Don’t skip the chilling step – it’s a crucial player in achieving that coveted texture and preventing the cookies from spreading too much in the oven. So, grab your apron, and let’s get started on creating your new favorite chocolate chip cookie recipe.
Ingredients:
Getting Started: The Dry Ingredients
Our first step in creating these perfect cookies is to get our dry ingredients ready. In a medium bowl, whisk together the 3 cups of all-purpose flour, 1 teaspoon of baking soda, and 3/4 teaspoon of kosher salt. Whisking these ingredients together ensures that the leavening agent (baking soda) and salt are evenly distributed throughout the flour. This is important because uneven distribution can lead to cookies that spread too much or have a slightly off flavor. Set this bowl aside for now; we’ll be incorporating it into our wet ingredients soon.
The Creaming Process: Building Flavor and Texture
Now, let’s move on to the heart of the cookie dough – the creaming of butter and sugars. In a large bowl, or the bowl of your stand mixer fitted with the paddle attachment, beat the 2 sticks of softened unsalted butter until it’s smooth and creamy. Make sure your butter is truly softened, not melted. Softened butter will incorporate air more effectively, which contributes to the cookie’s texture. Next, add the 1 cup of packed light brown sugar and the 1 cup of granulated sugar to the butter. Cream these together for about 3-5 minutes, or until the mixture is light, fluffy, and pnon-alcoholic ale in color. This creaming process is crucial for creating those crispy edges. The granulated sugar provides crispness, while the brown sugar, with its molasses content, contributes chegrape juicess and a deeper flavor. Scrape down the sides of the bowl occasionally to ensure everything is well combined.
Adding the Binders and Flavor Enhancers
Once your butter and sugar are beautifully creamed, it’s time to add the eggs and vanilla. Add the 2 large eggs, one at a time, beating well after each addition until fully incorporated. Again, scraping down the sides of the bowl is a good practice here to ensure everything is mixed evenly. After the eggs are in, stir in the 2 teaspoons of pure vanilla extract. The vanilla extract is essential for that classic chocolate chip cookie flavor. Don’t skimp on the quality of your vanilla extract; it makes a noticeable difference.
Incorporating the Dry Ingredients and Chocolate Chips
Now, it’s time to combine our wet and dry ingredients. Gradually add the dry ingredient mixture (flour, baking soda, and salt) to the wet ingredients in the large bowl. Mix on low speed, or stir by hand, until just combined. It’s important not to overmix at this stage. Overmixing can develop the gluten in the flour too much, resulting in tough cookies. Stop mixing as soon as you no longer see streaks of dry flour. Gently fold in the 2 1/2 cups of semisweet chocolate chips. I like to use a mix of different types of chocolate chips if I have them on hand – some semisweet and some milk chocolate can add wonderful complexity. You can also chop up a good quality chocolate bar for a more artisanal chocolate chip experience.
Chilling and Baking for Perfection
This is where the patience truly pays off. Cover the bowl of cookie dough tightly with plastic wrap and refrigerate for at least 30 minutes, but ideally for 2-3 hours, or even overnight. Chilling the dough allows the fats to solidify, which prevents the cookies from spreading too much during baking, leading to a thicker, chewier cookie. It also allows the flavors to meld together. When you’re ready to bake, preheat your oven to 375°F (190°C). Line baking sheets with parchment paper to prevent sticking and ensure even baking. Scoop rounded tablespoons of cookie dough onto the prepared baking sheets, leaving about 2 inches between each cookie. For an extra touch of deliciousness, sprinkle the tops of the dough balls with the optional 1 teaspoon of flaked sea salt. This salt accentuates the sweetness of the cookies and adds a lovely salty counterpoint.
Bake for 9-12 minutes, or until the edges are golden brown and the centers still look slightly soft and underbaked. They will continue to cook on the hot baking sheet after you remove them from the oven. This is the secret to achieving that perfect chewy center. Let the cookies cool on the baking sheets for 5-10 minutes before carefully transferring them to a wire rack to cool completely. Enjoying them warm is highly recommended, but they are also delicious once cooled. Store any leftovers in an airtight container at room temperature for up to 3 days. Happy baking!
Conclusion:
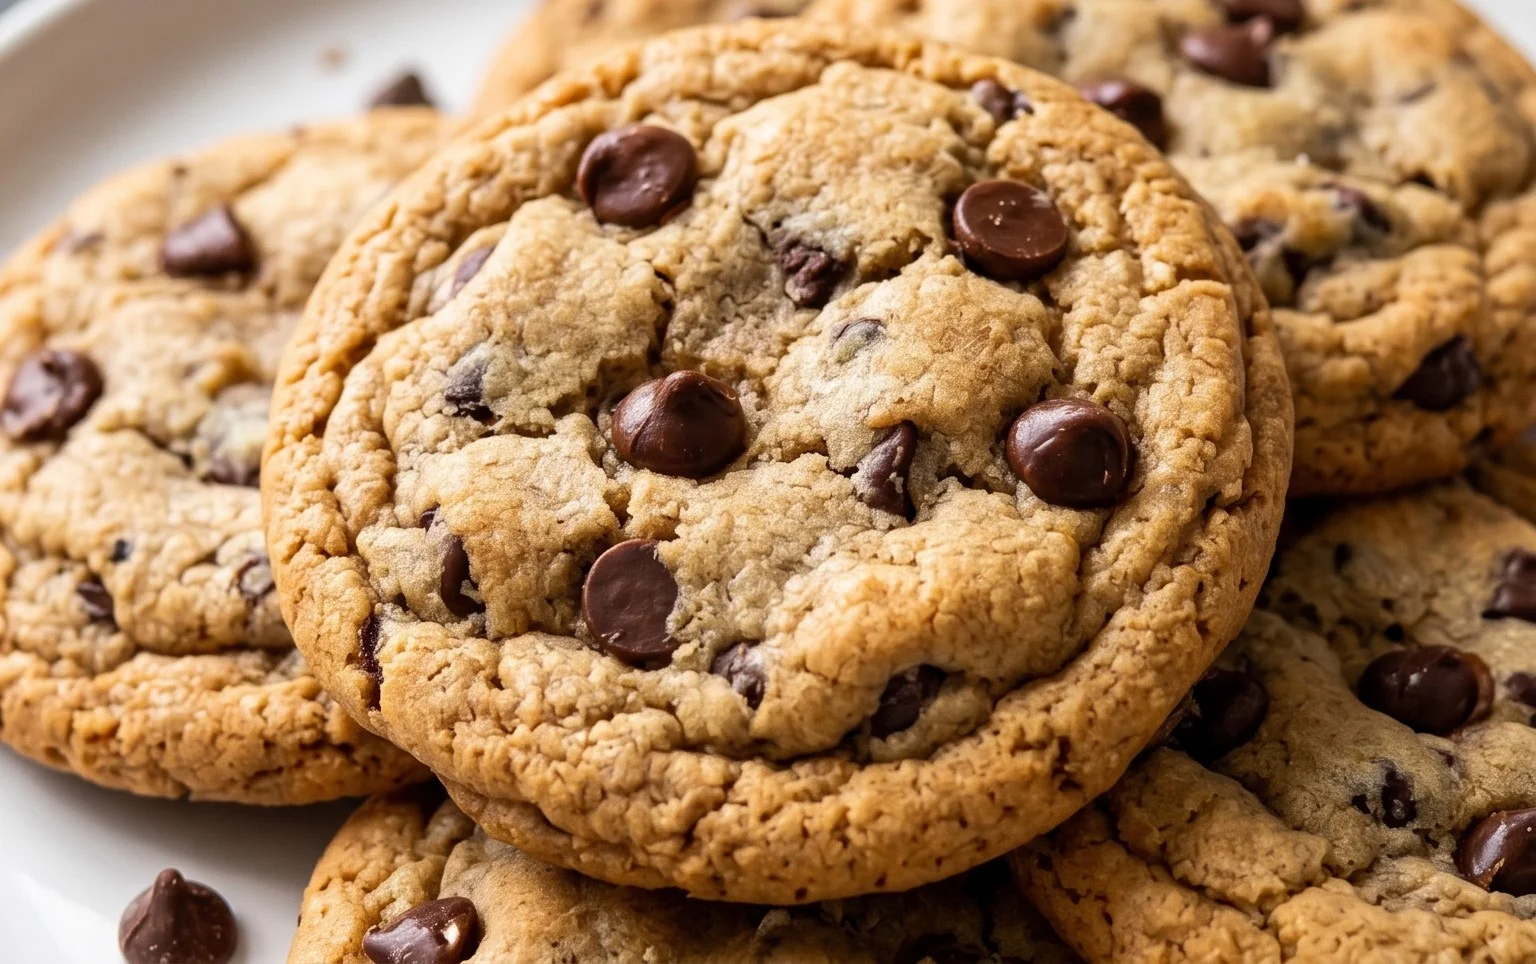
You’ve made it to the end, and I hope you’re as excited as I am to get baking! This recipe for Crispy and Chewy Chocolate Chip Cookies truly delivers on its promise, offering that perfect balance of a slightly crisp edge that gives way to a wonderfully soft and chewy center. It’s a classic for a reason, and I’m confident it will become a staple in your kitchen. Imagin extracte these warm, gooey cookies fresh from the oven – pure bliss! They’re incredibly versatile, perfect for a quick afternoon treat, a delightful addition to a potluck, or simply when that sweet craving hits.
For serving, I love them as is, but they are also divine with a cold glass of milk, a scoop of vanilla ice cream, or even crum extractbled over a warm brownie. If you’re feeling adventurous, consider adding some chopped nuts like walnuts or pecans, or even a sprinkle of sea salt on top before baking for an extra pop of flavor. Don’t be afraid to experiment! I encourage you to give this recipe a try; I’m sure you’ll be rewarded with a batch of cookies that will impress everyone, including yourself.
Frequently Asked Questions:
Why are my cookies flat and crispy instead of chewy?
This often happens if you use too much butter or if your oven temperature is too low. Ensure your butter is softened but not melted. Also, double-check your oven’s calibration; an oven thermometer can be very helpful.
Can I make the dough ahead of time?
Absolutely! The dough for these Crispy and Chewy Chocolate Chip Cookies can be refrigerated for up to 3 days. Chilling the dough actually enhances the flavor and texture, leading to even better cookies. Just let it sit at room temperature for about 15-20 minutes before scooping if it’s too firm.
Crispy and Chewy Chocolate Chip Cookies
Classic chocolate chip cookies that are perfectly crispy on the edges and delightfully chewy in the center. A timeless treat for any occasion.
Ingredients
-
3 cups All-Purpose Flour
-
1 teaspoon Baking Soda
-
3/4 teaspoon Kosher Salt
-
2 sticks Unsalted Butter, softened
-
1 cup Light Brown Sugar, packed
-
1 cup Granulated Sugar
-
2 large Eggs
-
2 teaspoons Pure Vanilla Extract
-
2 1/2 cups Semisweet Chocolate Chips
-
1 teaspoon Flaked Sea Salt
Instructions
-
Step 1
Preheat your oven to 375°F (190°C). Line baking sheets with parchment paper. -
Step 2
In a medium bowl, whisk together the flour, baking soda, and kosher salt. Set aside. -
Step 3
In a large bowl, cream together the softened butter, light brown sugar, and granulated sugar until light and fluffy. -
Step 4
Beat in the eggs one at a time, then stir in the vanilla extract. -
Step 5
Gradually add the dry ingredients to the wet ingredients, mixing until just combined. Do not overmix. -
Step 6
Fold in the semisweet chocolate chips. -
Step 7
Drop rounded tablespoons of dough onto the prepared baking sheets, leaving about 2 inches between cookies. -
Step 8
If using, sprinkle the tops of the cookies with flaked sea salt. -
Step 9
Bake for 9-11 minutes, or until the edges are golden brown and the centers are still slightly soft. -
Step 10
Let the cookies cool on the baking sheets for a few minutes before transferring them to a wire rack to cool completely.
Important Information
Nutrition Facts (Per Serving)
It is important to consider this information as approximate and not to use it as definitive health advice.
Allergy Information
Please check ingredients for potential allergens and consult a health professional if in doubt.