Easy Rhubarb Crisp Recipe- Delicious Dessert Quick
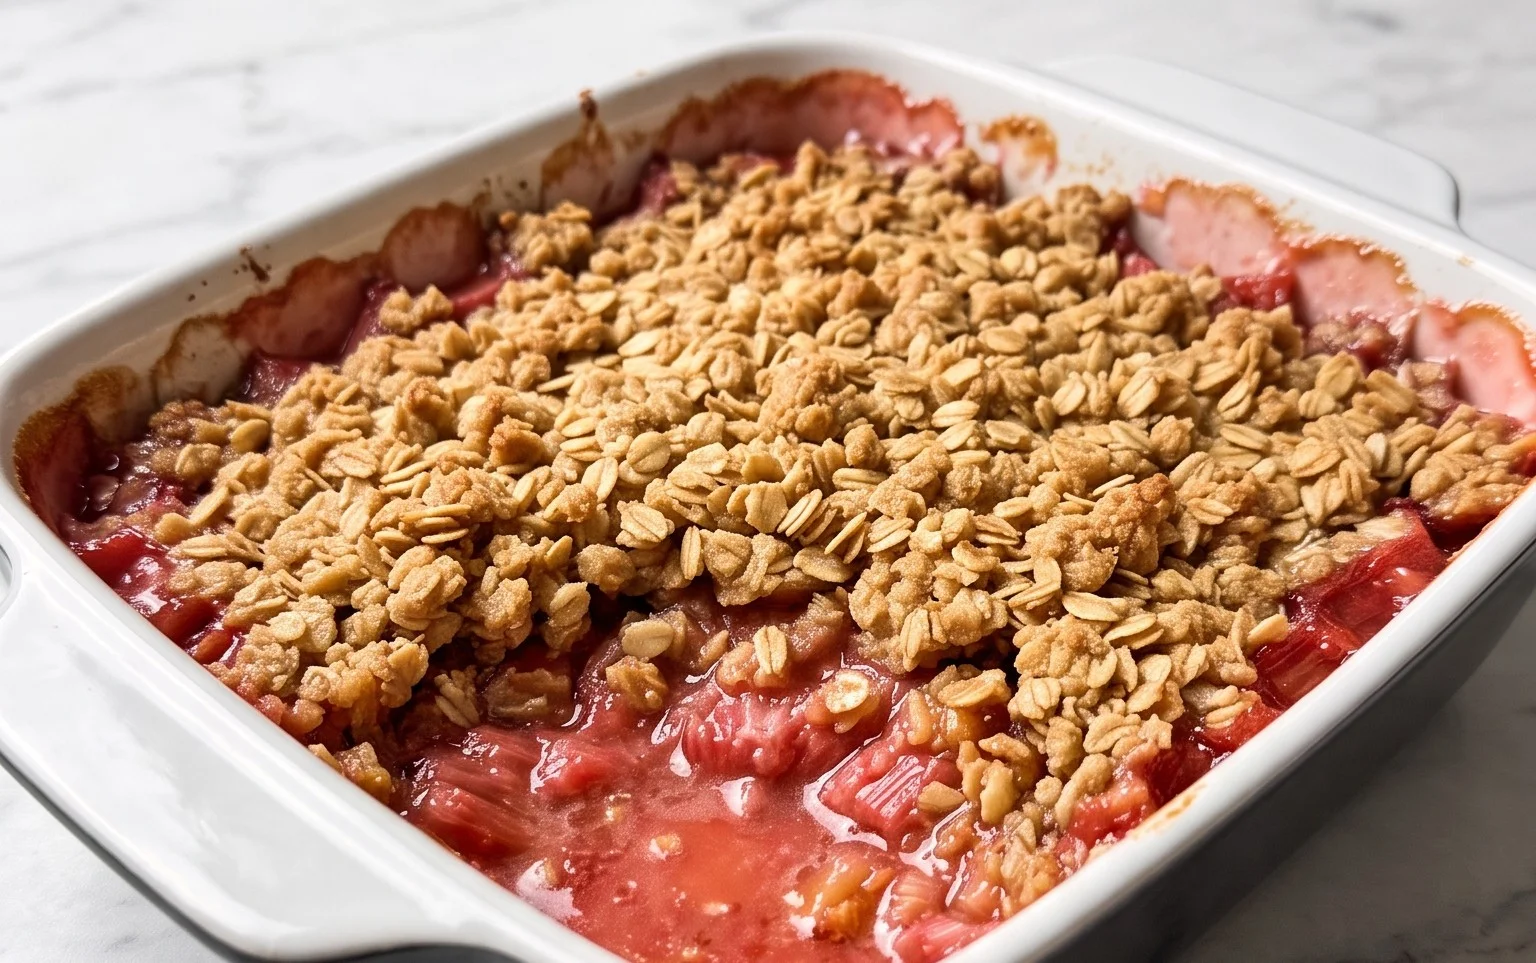
Easy Rhubarb Crisp is the ultimate springtime treat that captures the season’s vibrant spirit in every delicious bite. There’s something undeniably comforting and joyful about this dessert. The tangy sweetness of perfectly baked rhubarb, nestled beneath a buttery, crum extractbly topping, is a flavor combination that’s pure nostalgia. What makes this particular Easy Rhubarb Crisp so special? It’s incredibly forgiving, ridiculously simple to assemble, and yields spectacular results every single time. Even if you’re a novice in the kitchen, you can whip up this delightful dish and impress everyone, including yourself. It’s the perfect way to celebrate the arrival of warmer weather and the abundance of fresh rhubarb. Get ready to fall in love with this incredibly easy and wonderfully satisfying dessert!
Easy Rhubarb Crisp
There’s something incredibly comforting about a warm, bubbling rhubarb crisp. The tartness of the rhubarb, softened by a kiss of sugar and spice, is perfectly balanced by a buttery, crum extractbly topping. This recipe is wonderfully straightforward, making it an ideal dessert for begin extractners and busy cooks alike. Whether you have a garden overflowing with rhubarb or pick some up at the market, this easy crisp is sure to become a family favorite. It’s the kind of dessert that evokes memories of summer days and cozy evenings. The simplicity of its ingredients allows the natural flavors to shine, and the texture combination of soft fruit and crunchy topping is simply irresistible.
Ingredients:
Making the Rhubarb Filling
The first step in creating our delightful rhubarb crisp is to prepare the luscious fruit filling. If you’re using fresh rhubarb, make sure to wash it thoroughly and trim off any woody ends. Then, slice it into pieces about 1/2 inch thick. The size of the pieces is somewhat flexible, but aiming for uniformity will help them cook evenly. If you’re fortunate enough to have frozen rhubarb, you can use it directly from the freezer. There’s no need to thaw it completely, as it will soften as it bakes in the oven. This is a fantastic way to enjoy rhubarb even when it’s out of season.
In a large bowl, gently toss the sliced rhubarb with the cornstarch, 3/4 cup of sugar, and 1/2 teaspoon of ground cinnamon. The cornstarch is crucial here; it acts as a thickener, transforming the watery juices released by the rhubarb into a delicious, syrupy consistency that coats the fruit beautifully. The sugar balances the natural tartness of the rhubarb, making it more palatable, and the cinnamon adds a warm, inviting aroma and flavor that pairs wonderfully with the fruit. Ensure the rhubarb is evenly coated with this mixture. You can use your hands for this, which can sometimes be the easiest way to get everything nicely incorporated without bruising the fruit too much. Once mixed, pour this rhubarb mixture into your prepared baking dish. A 9×13 inch baking dish is ideal for this amount of filling, but an 8×8 inch or a similarly sized oval dish will also work. If you use a smaller dish, the crisp might be a bit thicker, which is never a bad thing!
Crafting the Crispy Topping
Now for the best part – the irresistible, crum extractbly topping! This is where the magic happens, transforming simple pantry staples into a golden, crunchy crown for our rhubarb. In a separate medium bowl, combine the oats, flour, 1/2 cup of sugar, 1/2 teaspoon of ground cinnamon, and a pinch of salt. The oats provide a lovely chegrape juicess and texture, while the flour helps bind everything together. The sugar contributes sweetness, and the cinnamon echoes the spice from the filling, creating a harmonious flavor profile. The pinch of salt is surprisingly important; it enhances all the other flavors and prevents the topping from being overwhelmingly sweet.
Next, add the cold, cubed butter to this dry mixture. This is another key to a great crisp topping: using cold butter. As the butter pieces interact with the dry ingredients, they create little pockets of fat. When this mixture bakes, those pockets melt, leaving behind delightfully crispy bits. You can cut the butter in using a pastry blender, two forks, or even your fingertips. Work the butter into the dry ingredients until the mixture resembles coarse crum extractbs, with some larger, pea-sized pieces of butter still visible. Don’t overwork it; we want those distinct crum extractbles, not a paste. The texture should be somewhere between dry sand and small pebbles. This tactile process is part of the joy of baking!
Assembly and Baking
Once your rhubarb filling is nestled in the baking dish and your topping is perfectly crum extractbly, it’s time to bring them together. Evenly scatter the oat topping over the entire surface of the rhubarb filling, making sure to cover it from edge to edge. You want a generous layer of topping to ensure every spoonful has that satisfying crunch. Don’t press the topping down too firmly; a looser crum extractble bakes up lighter and crispier.
Now, your rhubarb crisp is ready for the oven. Preheat your oven to 375 degrees Fahrenheit (190 degrees Celsius). Place the baking dish on a baking sheet. This is a good habit to get into with fruit crisps, as the bubbling fruit filling can sometimes overflow, and the baking sheet will catch any drips, saving you from a messy oven cleanup. Bake for 35-45 minutes, or until the topping is golden brown and the rhubarb filling is bubbly and has thickened. You’ll see the juices simmering around the edges, a sure sign that it’s ready. The aroma wafting from your oven will be divine!
Serving and Enjoying
The hardest part is waiting for the rhubarb crisp to cool slightly after it comes out of the oven. The bubbling hot filling is incredibly tempting, but allowing it to cool for at least 10-15 minutes will give the filling a chance to set up a bit, making it easier to serve and preventing burned tongues! This delicious dessert is absolutely wonderful served warm. It’s fantastic on its own, but even better with a scoop of vanilla ice cream, a dollop of whipped cream, or a drizzle of fresh cream. The contrast of the warm, tender fruit and crisp topping with cold, creamy ice cream is a classic for a reason. Enjoy every delightful bite of this easy rhubarb crisp!
Conclusion:
And there you have it – your guide to the most delightfully simple and satisfying Easy Rhubarb Crisp! We’ve explored how this recipe transforms tart rhubarb into a sweet, comforting dessert with minimal fuss. The beauty lies in its straightforward approach: a tender fruit base kissed with sugar and spice, topped with a golden, crum extractbly oat topping that provides the perfect textural contrast. It’s a testament to how simple ingredients can create something truly special. Don’t be intimidated by rhubarb; its unique tang is perfectly balanced by the sweetness, making this a dessert that’s both refreshing and decadent.
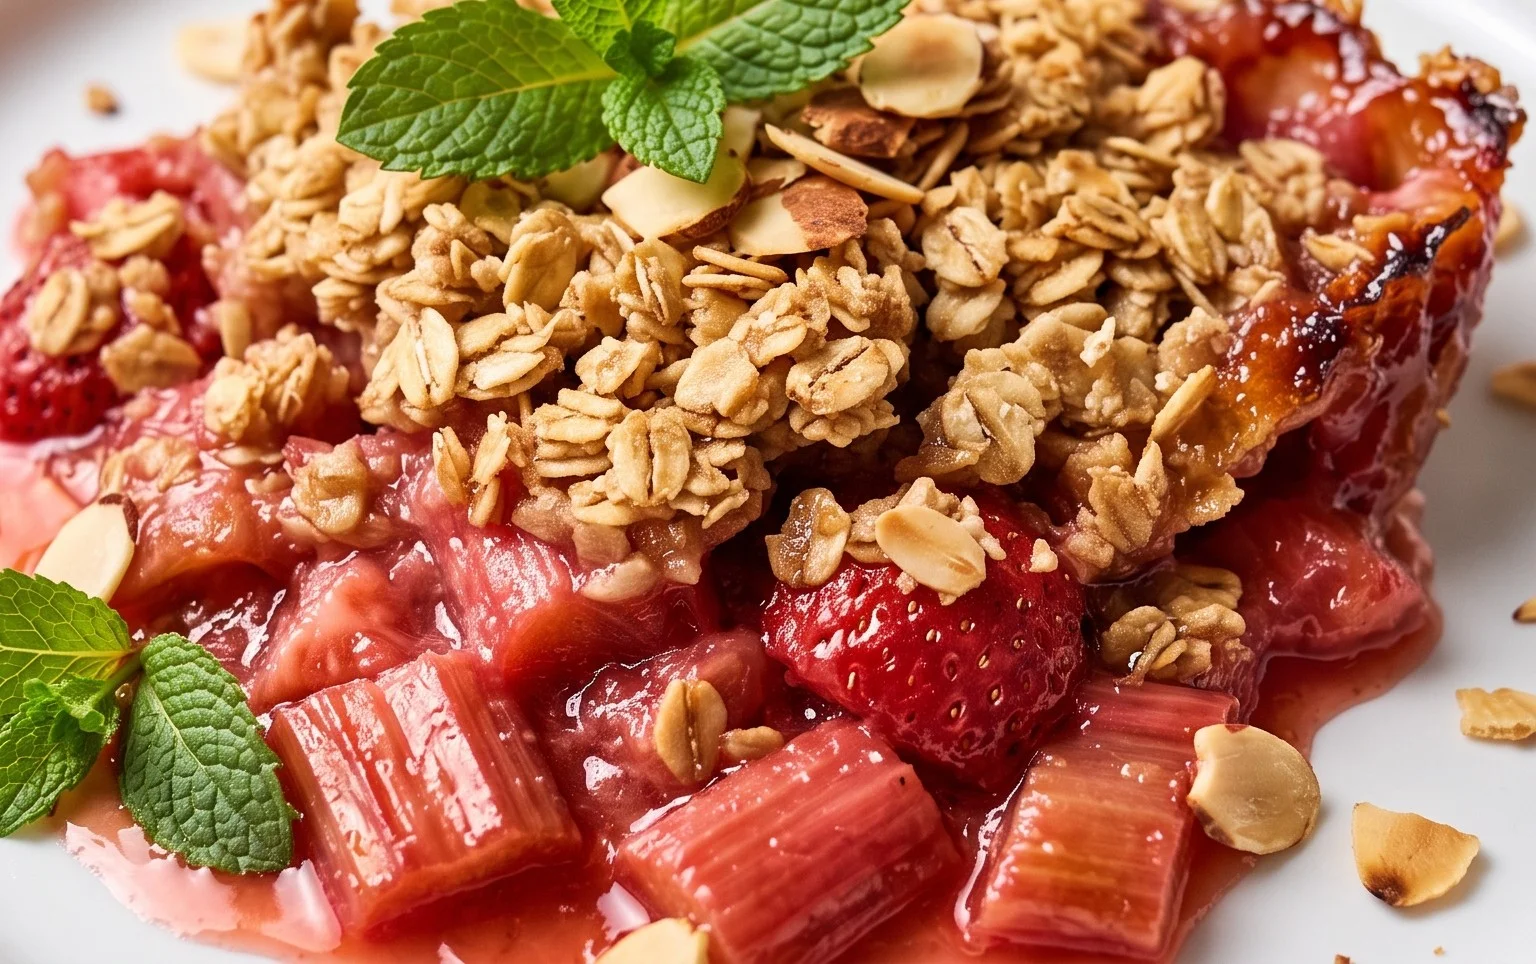
I encourage you to gather your ingredients and give this Easy Rhubarb Crisp a try. It’s perfect for a casual weeknight treat or a delightful addition to any gathering. Serve it warm, perhaps with a scoop of vanilla ice cream or a dollop of fresh whipped cream, for an experience that’s pure comfort. If you’re feeling adventurous, consider adding a handful of strawberries to the rhubarb mixture for a delightful twist, or a pinch of cinnamon and nutmeg to the topping for an extra layer of warmth. However you choose to make it, I’m confident you’ll fall in love with this easy rhubarb recipe.
Frequently Asked Questions:
Can I make this Easy Rhubarb Crisp ahead of time?
Yes, you absolutely can! You can prepare the crisp up to the baking stage and store it covered in the refrigerator for up to 24 hours. When you’re ready to bake, you might need to add a few extra minutes to the baking time to ensure it’s heated through and bubbly.
What if I don’t have oats for the topping?
No problem! If you’re out of oats, you can substitute them with an equal amount of all-purpose flour, or a mix of flour and finely chopped nuts like almonds or pecans for added crunch. You might also consider using crushed grabeef ham crackers or digestive biscuits for a different, but equally delicious, crum extractb topping.
How should I store leftover rhubarb crisp?
Store any leftover Easy Rhubarb Crisp in an airtight container in the refrigerator for up to 3-4 days. To reheat, place a slice on a baking sheet and warm in a moderate oven until heated through, or microwave it for a quick, warm dessert.
Easy Rhubarb Crisp
A simple and delicious rhubarb crisp with a crunchy oat topping.
Ingredients
-
2 pounds sliced rhubarb (fresh or frozen)
-
1/4 cup cornstarch
-
3/4 cup sugar
-
1/2 teaspoon ground cinnamon
-
1 cup oats
-
1/2 cup flour
-
1/2 cup sugar
-
1/2 teaspoon ground cinnamon
-
1 pinch salt
-
1 stick cold butter (cubed)
Instructions
-
Step 1
Preheat oven to 375 degrees F (190 degrees C). Lightly grease a 9×13 inch baking dish. -
Step 2
In a large bowl, toss the sliced rhubarb with 1/4 cup cornstarch, 3/4 cup sugar, and 1/2 teaspoon cinnamon. Spread evenly in the prepared baking dish. -
Step 3
In a separate medium bowl, combine 1 cup oats, 1/2 cup flour, 1/2 cup sugar, 1/2 teaspoon cinnamon, and 1 pinch salt. -
Step 4
Cut in the cold, cubed butter with a pastry blender or your fingertips until the mixture resembles coarse crumbs. -
Step 5
Sprinkle the oat mixture evenly over the rhubarb filling. -
Step 6
Bake for 35-45 minutes, or until the topping is golden brown and the filling is bubbly. -
Step 7
Let cool slightly before serving. Delicious served warm with vanilla ice cream or whipped cream.
Important Information
Nutrition Facts (Per Serving)
It is important to consider this information as approximate and not to use it as definitive health advice.
Allergy Information
Please check ingredients for potential allergens and consult a health professional if in doubt.