Easy French Bread Dinner Rolls-Soft & Fluffy Recipe
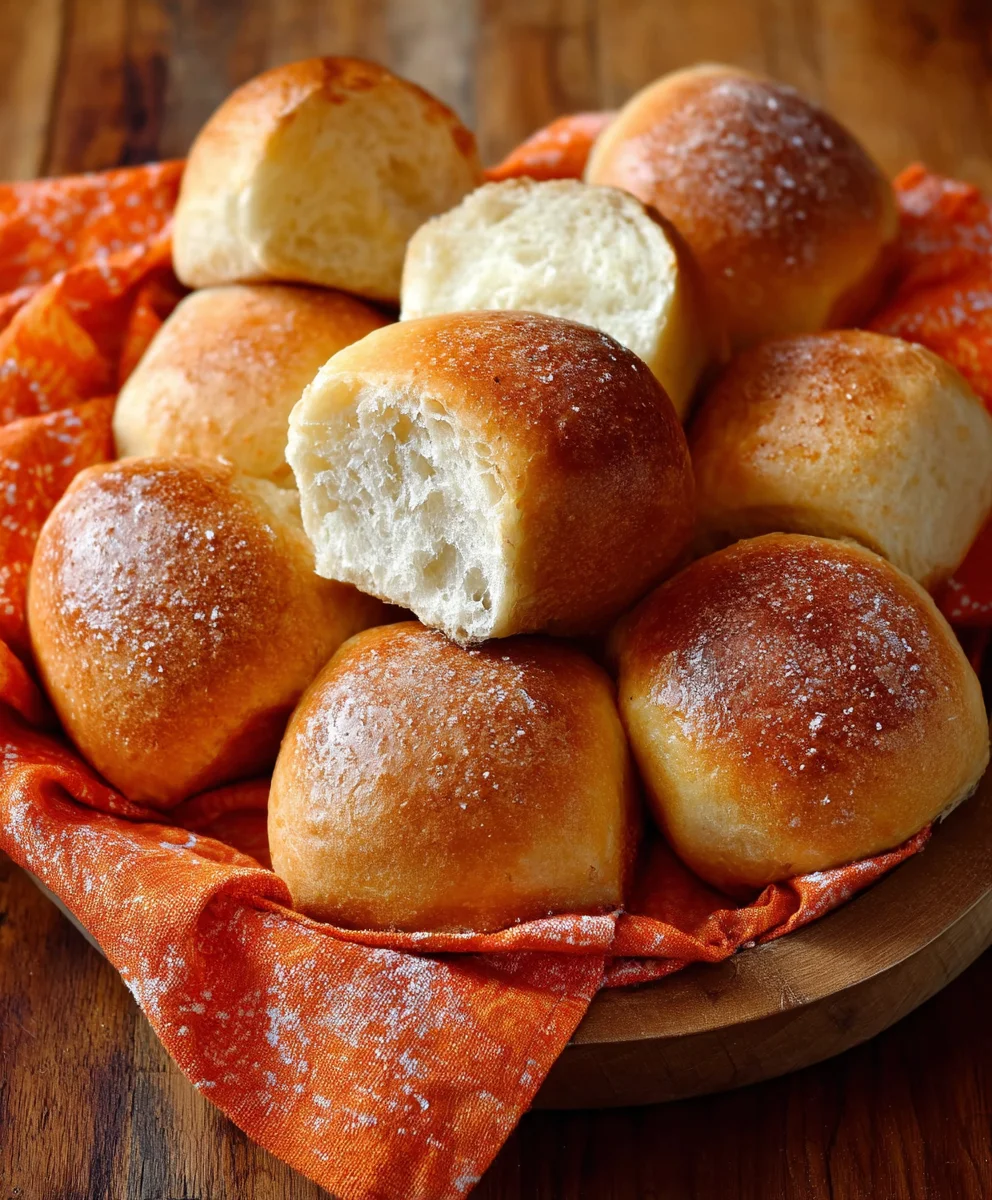
French Bread Dinner Rolls are more than just a side dish; they are an experience. Imagin extracte the aroma filling your kitchen, a warm, yeasty fragrance promising pure comfort and delight. These aren’t your average supermarket rolls; these are the kind that make a simple meal feel like a celebration. People absolutely adore these rolls because they offer that perfect balance of a crisp, golden crust giving way to a soft, airy, and wonderfully chewy interior. They’re incredibly versatile, whether you’re slathering them with butter to accompany a hearty stew, using them as the foundation for a gourmet sandwich, or simply enjoying them on their own with a sprinkle of sea salt. What truly makes our French Bread Dinner Rolls special is their authentic taste and texture, achieved with a few simple, high-quality ingredients and a touch of patience. We’re about to unlock the secrets to achieving bakery-quality rolls right in your own home.

Ingredients:
- 1 cup Warm Water (ensure it’s between 105-110°F or 40-43°C)
- 1 teaspoon Active Dry Yeast
- 1/2 teaspoon Honey
- 2 1/4 cups All-Purpose Flour, plus more for dusting
- 1 teaspoon Salt
Preparing the Dough: The Foundation of Flavor
Let’s get started by creating the base for our delightful French Bread Dinner Rolls. In a large mixing bowl, the first step is to activate the yeast. This is a crucial phase that ensures our rolls will be light and airy. Pour the 1 cup of warm water into the bowl. It’s important that the water is warm but not hot, as excessively hot water will kill the yeast. A temperature between 105-110°F (40-43°C) is ideal. You can test this by dipping a clean finger into the water – it should feel comfortably warm, like a baby’s bath.
Next, sprinkle the 1 teaspoon of active dry yeast over the warm water. Follow this immediately with the 1/2 teaspoon of honey. The honey acts as food for the yeast, giving it something to consume and multiply. Stir gently just to combine the ingredients. Now, let this mixture sit undisturbed for about 5 to 10 minutes. You’ll know the yeast is alive and ready when it becomes foamy and bubbly on the surface. This visual cue is your sign that the yeast is actively working. If you don’t see any foam, your yeast might be old, or the water was too hot or too cold, and you’ll need to start this step again with fresh yeast.
Once your yeast mixture is beautifully foamy, it’s time to add the dry ingredients. Add the 2 1/4 cups of all-purpose flour to the bowl. Measure your flour accurately by spooning it into your measuring cup and leveling it off with a straight edge; scooping directly from the bag can pack too much flour, leading to dry rolls. Then, add the 1 teaspoon of salt. Salt is not only a flavor enhancer but also helps to control the yeast’s activity.
Now, we combine everything. Using a wooden spoon or a sturdy spatula, begin extract to mix the ingredients until a shaggy gin extractgh begins to form. Continue mixing until most of the flour is incorporated. The dough will still be a bit sticky and rough at this stage, and that’s perfectly normal.
Kneading and Developing Gluten: The Key to Texture
Once the dough has come together, it’s time to knead. Turn the shaggy dough out onto a lightly floured surface. You’ll want to use just enough flour to prevent sticking, but avoid adding too much, as this can make yourgin extractlls tough. Begin to knead the dough. This process involves pushing the dough away from you with the heels of your hands, then folding it back over on itself, and turning it a quarter turn. Repeat this motion continuously.
Kneading develops the gluten in the flour, which is the protein network that gives bread its structure and chew. You’ll want to knead for about 8 to 10 minutes. Initially, the dough will be sticky and a bit messy, but as you continue to knead, it will become smoother, more elastic, and less sticky. You’ll know you’ve kneaded enough when the dough is smooth, pliable, and springs back slowly when gently poked with your finger. A good test is the “windowpane test”: take a small piece of dough and stretch it thinly between your fingers. If you can stretch it thin enough to see light through it without it tearing, your gluten is well-developed.
First Rise: Letting the Dough Breathe and Grow
After kneading, it’s time to let the dough have its first rise. Lightly grease a clean large bowl with a little oil or cooking spray. Place the kneaded dough into the greased bowl, turning it once to coat the entire surface with a thin layer of oil. This prevents the dough from drying out as it rises.
Cover the bowl tightly with plastic wrap or a clean kitchen towel. Place the covered bowl in a warm, draft-free place to rise. A slightly warm oven that has been turned off, or near a sunny window, are good spots. The dough needs time and warmth to ferment and expand. Let the dough rise for about 1 to 1.5 hours, or until it has roughly doubled in size. The exact time will depend on the ambient temperature of your kitchen. You’ll see a significant puffiness, and the dough should feel light and airy.
Shaping the Rolls: Creating the Perfect Form
Once the dough has doubled in size, it’s time to punch it down and shape our French Bread Dinner Rolls. Gently punch down the risen dough in the center to release the trapped gases. Turn the dough out onto a lightly floured surface again. You can divide the dough into 12 equal pieces for standard-sized rolls, or smaller if you prefer mini rolls. To do this, I like to gently pat the dough into a rough rectangle and then use a bench scraper or a knife to cut it into sections.
For each portion of dough, you can shape them into classic round rolls. Take a piece of dough and gently tuck the edges underneath itself, creating a smooth, taut surface on top. Alternatively, you can roll each piece into a ball and then flatten it slightly. Place the shaped rolls onto a baking sheet lined with parchment paper, leaving a couple of inches of space between each roll to allow for their second rise and expansion during baking. If you prefer a more oblong shape, you can roll each piece into a short log.
Second Rise and Baking: The Final Transformation
After shaping, the rolls need a second rise. Cover the baking sheet loosely with plastic wrap or a clean kitchen towel. Let the shaped rolls rise in a warm place for another 30 to 45 minutes, or until they appear noticeably puffed up and have almost doubled in size. They should look plump and inviting.
While the rolls are undergoing their second rise, preheat your oven to 375°F (190°C). This temperature is perfect for achieving a beautiful golden-brown crust without overcooking the interior. Once the rolls have completed their second rise, and your oven is preheated, it’s time to bake. You can optionally brush the tops of the rolls with a little milk or an egg wash for extra shine and color.
Carefully place the baking sheet into the preheated oven. Bake for 15 to 20 minutes, or until the rolls are a deep golden brown and sound hollow when tapped on the bottom. The aroma filling your kitchen will be incredible! Once baked, remove the rolls from the oven and transfer them immediately to a wire rack to cool slightly. This prevents the bottoms from becoming soggy. These French bread dinner rolls are best enjoyed warm, perhaps with a smear of butter.
Conclusion:
There you have it – a straightforward guide to creating delightful French Bread Dinner Rolls that are sure to impress! We’ve walked through each step, from activating your yeast to achieving that perfect golden crust. These rolls are incredibly versatile, making them an ideal accompaniment to any meal. Imagin extracte serving them warm alongside a hearty stew, a classic roast chicken, or even a vibrant vegetarian curry. Their slightly chewy interior and crisp exterior provide a wonderful textural contrast that elevates the dining experience.
Don’t be afraid to experiment! You can easily introduce a hint of garlic by brushing them with melted garlic butter before baking, or sprinkle some fresh herbs like rosemary or thyme over the top for an aromatic twist. For a touch of sweetness, a drizzle of honey or a light glaze after baking can be a lovely addition. These French Bread Dinner Rolls are a testament to how simple ingredients can create something truly special. So, gather your ingredients, put on some good music, and enjoy the process. I encourage you to give this recipe a try – the satisfaction of pulling these beautiful, homemade rolls from your oven is unparalleled. Happy baking!
Frequently Asked Questions:
Can I make these French Bread Dinner Rolls ahead of time?
Absolutely! You can prepare the dough and let it undergo its first rise. Then, punch it down, shape the rolls, and place them on your baking sheet, cover, and refrigerate overnight. In the morning, let them sit at room temperature for about 30 minutes before baking as usual. They might need a slightly longer baking time.
What’s the best way to store leftover French Bread Dinner Rolls?
Once completely cooled, store any leftover French Bread Dinner Rolls in an airtight container or a resealable plastic bag at room temperature for up to two days. For longer storage, you can freeze them. Wrap them tightly in plastic wrap and then place them in a freezer-safe bag. Reheat them gently in a warm oven.
Easy French Bread Dinner Rolls – Soft & Fluffy Recipe
Soft and fluffy French bread dinner rolls perfect for any meal. This recipe guides you through activating the yeast, kneading, and achieving a light and airy texture.
Ingredients
-
1 cup Warm Water (ensure it’s between 105-110°F or 40-43°C)
-
1 teaspoon Active Dry Yeast
-
1/2 teaspoon Honey
-
2 1/4 cups All-Purpose Flour, plus more for dusting
-
1 teaspoon Salt
Instructions
-
Step 1
In a large mixing bowl, combine 1 cup of warm water (105-110°F), 1 teaspoon of active dry yeast, and 1/2 teaspoon of honey. Let stand for 5-10 minutes until foamy. -
Step 2
Add 2 1/4 cups of all-purpose flour and 1 teaspoon of salt to the foamy yeast mixture. Mix with a wooden spoon or spatula until a shaggy dough forms. -
Step 3
Turn the dough onto a lightly floured surface and knead for 8-10 minutes until smooth and elastic. The dough should spring back slowly when poked. -
Step 4
Place the kneaded dough in a lightly greased bowl, turning to coat. Cover and let rise in a warm place for 1 to 1.5 hours, or until doubled in size. -
Step 5
Gently punch down the dough and divide it into 12 equal pieces. Shape each piece into a round roll and place on a parchment-lined baking sheet, leaving space between them. -
Step 6
Cover the shaped rolls and let them rise for another 30-45 minutes until noticeably puffed. Preheat oven to 375°F (190°C). -
Step 7
Bake for 15-20 minutes, or until golden brown and hollow-sounding when tapped. Cool on a wire rack.
Important Information
Nutrition Facts (Per Serving)
It is important to consider this information as approximate and not to use it as definitive health advice.
Allergy Information
Please check ingredients for potential allergens and consult a health professional if in doubt.