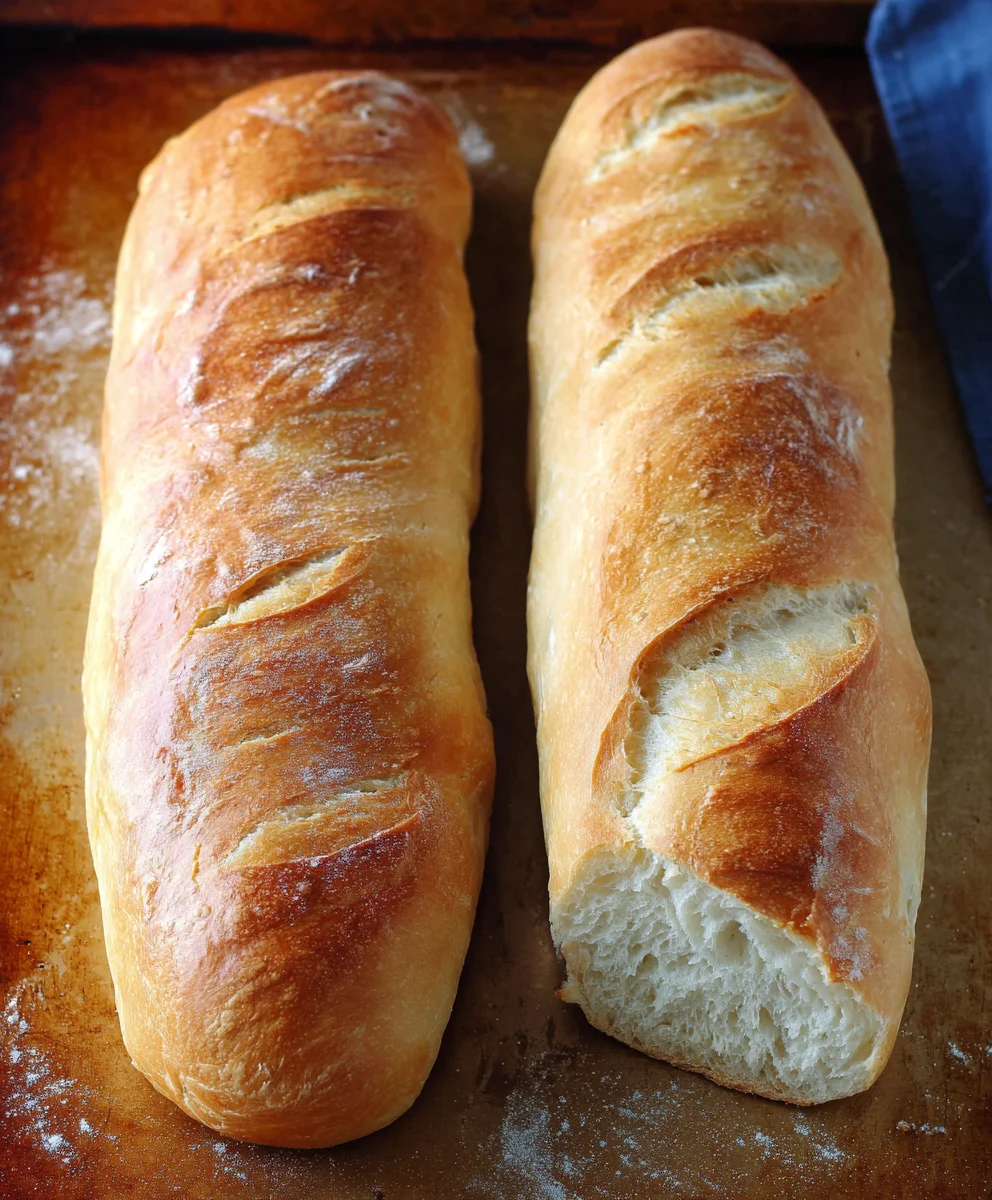
Diane’s No-Fail French Bread – Easy Homemade Recipe
Diane’s No Fail French Bread is more than just a recipe; it’s an invitation to experience the simple, profound joy of creating something truly magical from scratch. Imagin extracte the aroma filling your kitchen as it bakes, a warm, comforting scent that promises a golden, crusty exterior and a soft, pillowy interior. This is the bread that has graced countless tables, turning ordinary meals into special occasions and becoming a beloved staple for bakers of all skill levels. What is it about Diane’s No Fail French Bread that makes it so universally adored? It’s the perfect balance of texture and flavor, the sheer satisfaction of pulling a perfectly formed loaf from your oven, and the knowledge that this iconic bread is genuinely achievable for everyone, regardless of their baking prowess. It’s the kind of recipe you’ll make again and again, a testament to its reliability and its irresistible charm.
Ingredients:
- 2 tablespoons active dry yeast (SAF brand is highly recommended for consistent results)
- 1/2 cup warm water (around 105-115°F or 40-46°C)
- 2 cups warm water (around 105-115°F or 40-46°C)
- 3 tablespoons granulated sugar
- 1 tablespoon sea salt or Kosher salt
- 5 tablespoons olive oil, canola oil, or vegetable oil
- 4 cups bread flour
- 1 1/2 to 2 cups all-purpose flour
- 1 egg, beaten (optional, for egg wash glaze)
Preparing the Dough: Activating the Yeast
The first crucial step to achieving Diane’s No Fail French Bread is properly activating your yeast. In a large mixing bowl, combine the 1/2 cup of warm water with the active dry yeast and the 3 tablespoons of sugar. Give it a gentle stir to ensure the yeast and sugar are mostly submerged. Now, let this mixture sit undisturbed for about 5 to 10 minutes. You’re looking for signs of life! The mixture should become foamy and bubbly, indicating that the yeast is active and ready to work its magic. If you don’t see any foam after 10 minutes, your yeast may be old, or the water may have been too hot or too cold, and it’s best to start over with fresh yeast and properly tempered water.
Mixing the Dough: Building the Foundation
Once your yeast mixture is happily frothing, it’s time to build the dough for your French bread. To the activated yeast mixture, add the remaining 2 cups of warm water, the 5 tablespoons of your chosen oil (olive oil will impart a subtle flavor, while canola or vegetable oil are more neutral), and the 1 tablespoon of salt. Give this a quick whisk to combine. Now, gradually add the 4 cups of bread flour. Mix with a sturdy spoon or a dough whisk until just combined. At this stage, the dough will be quite shaggy and wet. Next, begin extract incorporating the all-purpose flour, adding it about 1/2 cup at a time. You’ll want to mix until the dough starts to pull away from the sides of the bowl. You might not need all of the all-purpose flour, or you might need a touch more, depending on the humidity and the type of flour. The dough should be soft and slightly sticky, but manageable. Avoid the temptation to add too much extra flour, as this can lead to dense bread.
Kneading the Dough: Developing the Gluten
Now comes the part that truly develops the structure and chew of your French bread: kneading. Turn the dough out onto a lightly floured surgin extracte. Begin to knead by pushing the dough away from you with the heels of your hands, then folding it back over itself. Rotate the dough and repeat. This process develops the gluten strands, which are essential for that characteristic airy crum extractb and crisp crust. Knead for about 8 to 10 minutes, or until the dough is smooth, elastic, and no longer excessively sticky. You can test if it’s ready by gently stretching a small piece of the dough; it should stretch thin enough to see light through it without tearing (this is the “windowpane test”). If the dough is sticking too much to your hands or the surface, add a tiny bit more all-purpose flour, but do so sparingly.
First Rise: Letting the Magic Happen
Lightly grease a clean large bowl with a little of the oil you used in the dough. Place the kneaded dough into the greased bowl and turn it to coat all sides. Cover the bowl tightly with plastic wrap or a clean, damp kitchen towel. Find a warm, draft-free spot for your dough to rise. A good place is an oven that’s been turned off after being briefly warmed, or simply a sunny windowsill. Let the dough rise for 1 to 1.5 hours, or until it has at least doubled in size. This first rise is crucial for developing flavor and texture. The yeast will be busily fermenting, producing carbon dioxide gas that makes the dough expand.
Shaping and Second Rise: Ready for the Oven
Once your dough has doubled, gently punch it down to release the accumulated gases. Turn the dough out onto a lightly floured surface again. At this point, you can divide the dough if you want to make smaller loaves or rolls, or work with the entire batch for one large French bread. Gently shape the dough into your desired loaf or loaves. For a traditional baguette shape, gently roll the dough from the center outwards, tapering the ends. Avoid overworking the dough at this stage. Place the shaped loaves onto baking sheets lined with parchment paper. Loosely cover them again and let them rise for another 30 to 45 minutes. This second rise, often called proofing, allows the dough to relax and develop a bit more volume before baking.
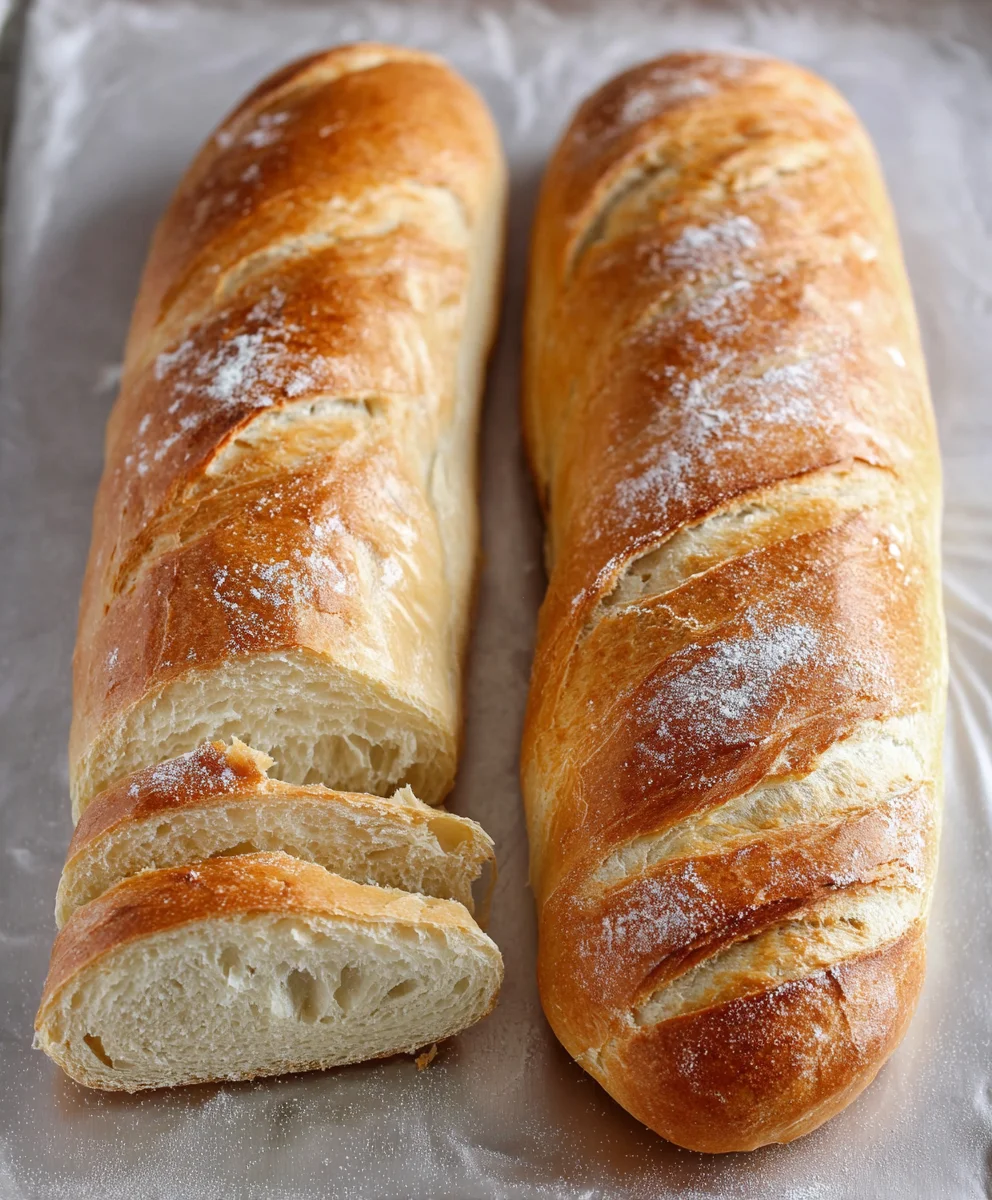
Baking the Bread: The Final Transformation
Preheat your oven to 425°F (220°C) about 15 minutes before the end of the second rise. If you’re using the optional egg wash, whisk the beaten egg with a tablespoon of water and brush it lightly over the top of each loaf. This will give your French bread a beautiful golden-brown, glossy finish. You can also score the tops of the loaves with a sharp knife or a lame about 1/2 inch deep; this allows for controlled expansion in the oven and creates a more appealing crust. Carefully place the baking sheets into the preheated oven. Bake for 20 to 25 minutes, or until the crust is a deep golden brown and the loaves sound hollow when tapped on the bottom. The aroma filling your kitchen will be absolutely divine. Remove the bread from the oven and transfer it to a wire rack to cool completely. This cooling process is essential; it allows the internal structure of the bread to set, preventing a gummy texture. Enjoy your homemade Diane’s No Fail French Bread!
Conclusion:
And there you have it – a straightforward guide to crafting Diane’s No Fail French Bread right in your own kitchen! We’ve walked through each step, from activating the yeast to achieving that perfect golden crust, and I hope you feel confident and inspired to give it a try. This recipe is truly designed for success, yielding a wonderfully airy interior and a satisfyingly crisp exterior that will impress everyone. Whether you’re a seasoned baker or a complete novice, this Diane’s No Fail French Bread is your ticket to homemade bread perfection.
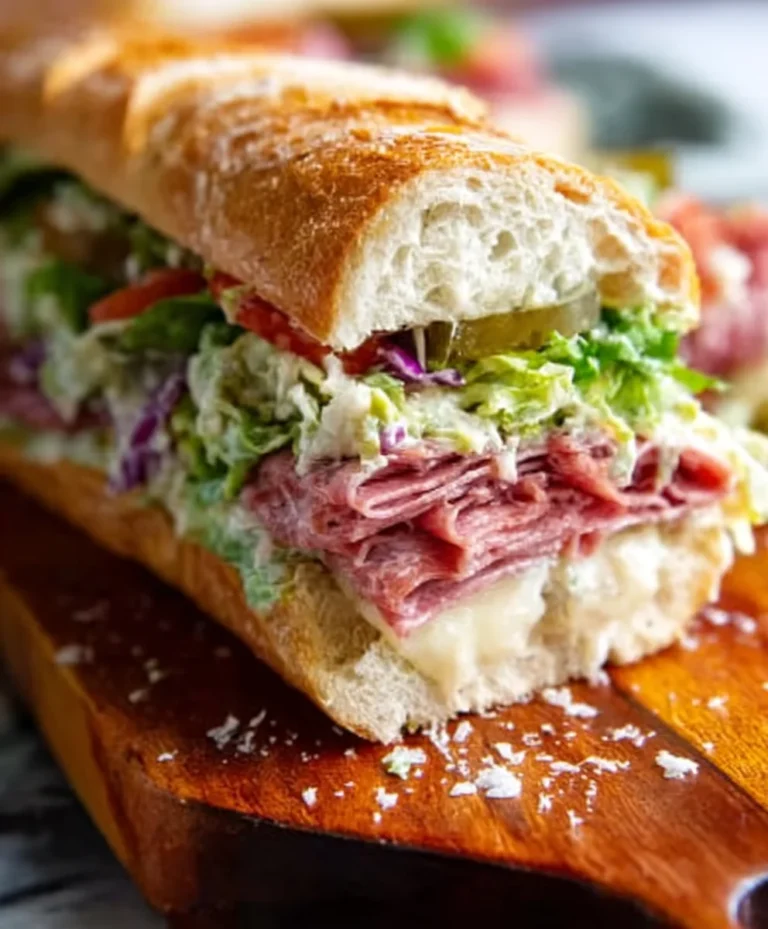
Serve this beautiful loaf warm, slathered with butter, alongside your favorite soups and stews, or use it to create the most incredible sandwiches. Imagin extracte dipping slices into a rich French onion soup or building a gourmet beef ham and cheese! For variations, consider adding a sprinkle of dried herbs like rosemary or thyme to the dough for an aromatic twist, or even incorporating a touch of honey for a subtle sweetness. Don’t be afraid to experiment and make Diane’s No Fail French Bread your own!
Frequently Asked Questions:
Why is my bread not rising?
Several factors can affect rising. Ensure your yeast is fresh and properly activated (it should be foamy). Make sure your dough is rising in a warm, draft-free spot. The temperature of your water is also crucial; too hot will kill the yeast, and too cold won’t activate it properly. Aim for lukewarm water, around 105-115°F (40-46°C).
Can I freeze Diane’s No Fail French Bread?
Absolutely! Once completely cooled, wrap the bread tightly in plastic wrap, then in aluminum foil, or place it in a freezer-safe bag. It can be frozen for up to 2-3 months. To reheat, thaw at room temperature and then warm in a preheated oven (around 350°F or 175°C) for a few minutes until the crust is re-crisped.
Diane’s No-Fail French Bread – Easy Homemade Recipe
An easy and reliable recipe for homemade French bread with a crisp crust and airy crumb.
Ingredients
-
2 tablespoons active dry yeast (SAF brand recommended)
-
1/2 cup warm water (105-115°F)
-
2 cups warm water (105-115°F)
-
3 tablespoons granulated sugar
-
1 tablespoon sea salt or Kosher salt
-
5 tablespoons olive oil, canola oil, or vegetable oil
-
4 cups bread flour
-
1 1/2 to 2 cups all-purpose flour
-
1 egg, beaten (optional, for egg wash glaze)
Instructions
-
Step 1
Activate the yeast: In a large bowl, combine 1/2 cup warm water, active dry yeast, and sugar. Let sit for 5-10 minutes until foamy. -
Step 2
Mix the dough: Add remaining 2 cups warm water, oil, and salt to the yeast mixture. Gradually add bread flour, then all-purpose flour until dough pulls from the bowl, is soft and slightly sticky. -
Step 3
Knead the dough: Turn dough onto a lightly floured surface and knead for 8-10 minutes until smooth, elastic, and passes the windowpane test. -
Step 4
First rise: Place dough in a greased bowl, cover tightly, and let rise in a warm place for 1-1.5 hours, or until doubled. -
Step 5
Shape and second rise: Punch down dough, shape into loaves. Place on baking sheets, cover loosely, and let rise for 30-45 minutes. -
Step 6
Bake: Preheat oven to 425°F (220°C). Brush with optional egg wash, score tops. Bake for 20-25 minutes until golden brown and hollow-sounding. -
Step 7
Cool completely on a wire rack before slicing and serving.
Important Information
Nutrition Facts (Per Serving)
It is important to consider this information as approximate and not to use it as definitive health advice.
Allergy Information
Please check ingredients for potential allergens and consult a health professional if in doubt.