Vintage Wedding Dessert Table Ideas-Sweet Delights
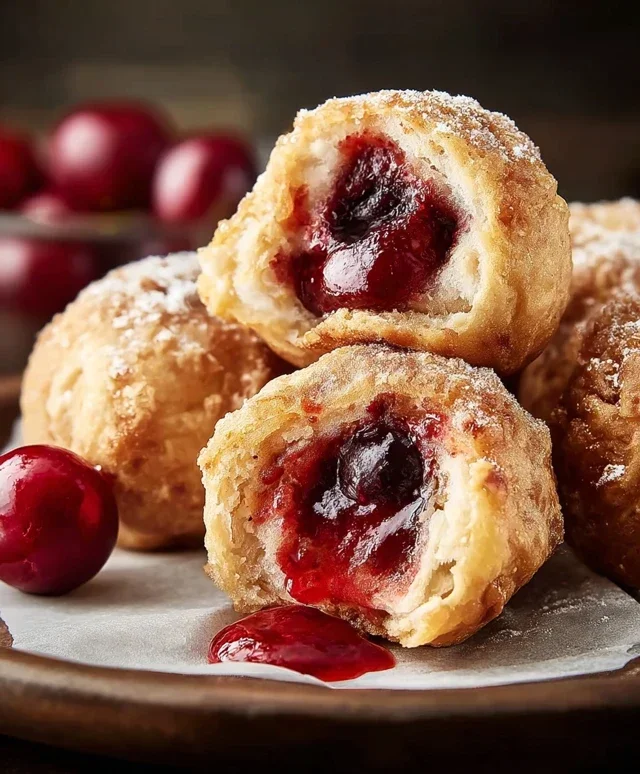
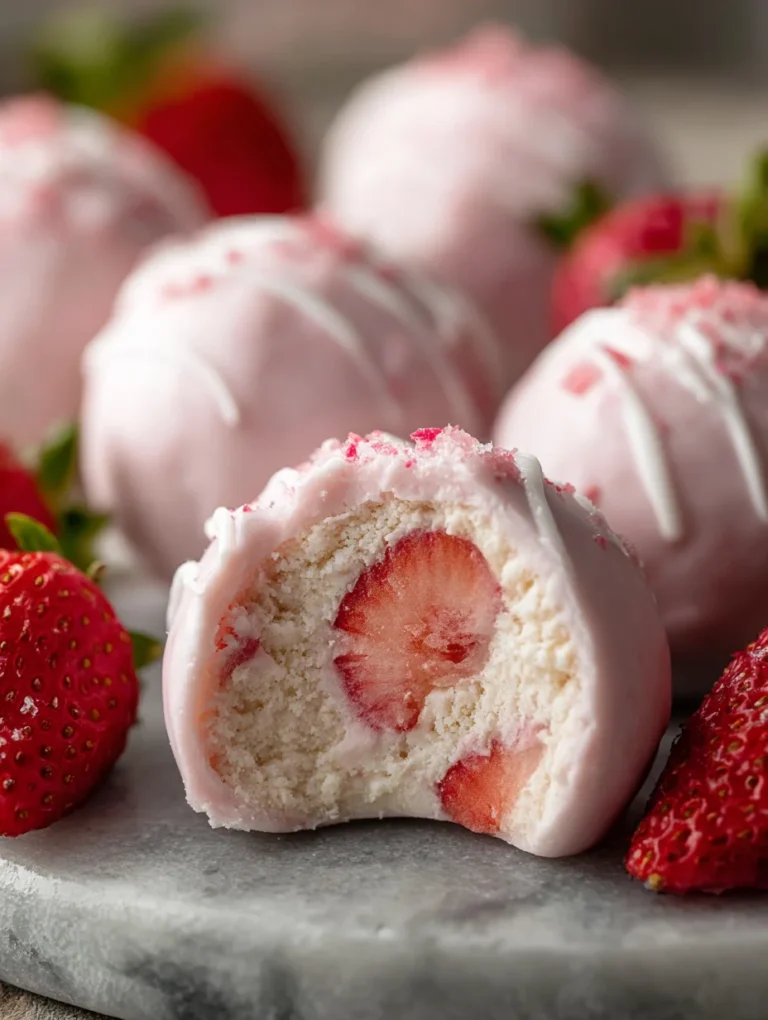
Vintage Wedding Dessert Table settings have a timeless charm that captures the hearts of couples and guests alike. There’s something incredibly nostalgic and romantic about a beautifully curated spread of sweets that evokes a sense of bygone eras, think delicate lace, ornate silver, and the comforting aroma of freshly baked goods. People adore these dessert tables because they offer a personalized touch to the celebration, moving beyond the traditional single cake to a more interactive and visually stunning experience. What makes a truly memorable vintage wedding dessert table stand out is the thoughtful selection of treats, often incorporating family recipes or classic confections that tell a story. It’s more than just food; it’s an edible centerpiece, a conversation starter, and a delicious way to express your unique style and love story through a delightful array of pastries, cookies, and cakes, all presented with an elegant, vintage flair.
Ingredients:
- 2 cups all-purpose flour
- 1 teaspoon baking soda
- 1/2 teaspoon salt
- 1 teaspoon ground cinnamon
- 1/2 teaspoon ground nutmeg
- 1/4 teaspoon ground cloves
- 1 cup (2 sticks) unsalted butter, softened
- 1 cup granulated sugar
- 1 cup packed light brown sugar
- 2 large eggs
- 1 teaspoon vanilla extract
- 1/2 cup unsweetened applesauce
- 1 cup finely chopped walnuts or pecans (optional, for added texture)
- For the Cream Cheese Frosting:
- 8 ounces cream cheese, softened
- 1/2 cup (1 stick) unsalted butter, softened
- 4 cups powdered sugar
- 1 teaspoon vanilla extract
- 2-4 tablespoons milk or heavy cream, as needed
Preparing the Spiced Applesauce Cake
Step 1: Preheat Oven and Prepare Pans
Begin extract by preheating your oven to 350 degrees Fahrenheit (175 degrees Celsius). This ensures the oven is at the correct temperature by the time your batter is ready to bake, promoting even cooking. Grease and flour two 9-inch round cake pans. For extra assurance against sticking, you can also line the bottoms of the pans with parchment paper rounds. Dusting the greased pans with a little all-purpose flour will create a barrier, allowing the cakes to release cleanly after baking.
Step 2: Combine Dry Ingredients
In a medium-sized bowl, whisk together the all-purpose flour, baking soda, salt, ground cinnamon, ground nutmeg, and ground cloves. Whisking ensures these dry ingredients are evenly distributed, which is crucial for the leavening agents and spices to work their magic throughout the cake. The warming spices will create a delightful aroma as they are combined, hinting at the delicious flavors to come.
Step 3: Cream Butter and Sugars
In a large mixing bowl, use an electric mixer (or a sturdy whisk and some elbow grease) to cream together the softened unsalted butter, granulated sugar, and packed light brown sugar. Beat until the mixture is light, fluffy, and pnon-alcoholic ale in color. This process, known as creaming, incorporates air into the mixture, which contributes to the cake’s tender texture. Scrape down the sides of the bowl periodically to ensure all the butter and sugars are thoroughly combined.
Step 4: Incorporate Wet Ingredients
Add the large eggs, one at a time, beating well after each addition. Then, stir in the vanilla extract. Gradually add the unsweetened applesauce to the wet ingredients, mixing until just combined. The applesauce not only adds moisture to the cake but also contributes a subtle sweetness and a tender crum extractb. Be careful not to overmix at this stage; we’re just aiming to incorporate these ingredients smoothly.
Step 5: Combine Wet and Dry Mixtures
Gradually add the dry ingredient mixture to the wet ingredient mixture, mixing on low speed (or by hand) until just combined. It’s important to mix until there are no streaks of flour visible, but avoid overmixing, as this can lead to a tough cake. If you’re using nuts, gently fold in the finely chopped walnuts or pecans at this point. The nuts will add a lovely crunch and depth of flavor, perfect for a vintage wedding dessert table.
Step 6: Bake the Cakes
Divide the batter evenly between the two prepared cake pans. Smooth the tops with a spatula. Bake for 30-35 minutes, or until a wooden skewer or toothpick inserted into the center of the cakes comes out clean. The baking time can vary depending on your oven, so it’s always best to check for doneness. Once baked, let the cakes cool in the pans for about 10-15 minutes before inverting them onto a wire rack to cool completely. Allowing them to cool in the pans initially helps prevent them from breaking.
Crafting the Cream Cheese Frosting
Step 7: Prepare the Cream Cheese Frosting Base
While the cakes are cooling, prepare the cream cheese frosting. In a clean mixing bowl, beat the softened cream cheese and softened unsalted butter together until smooth and creamy. This is the foundation of our rich and tangy frosting. Ensure both the cream cheese and butter are at room temperature for the smoothest results; cold ingredients will lead to a lumpy frosting.
Step 8: Add Powdered Sugar and Vanilla
Gradually add the powdered sugar, about a cup at a time, beating on low speed until it’s incorporated. Once all the powdered sugar has been added, increase the mixer speed to medium-high and beat until the frosting is light and fluffy. Stir in the vanilla extract. If the frosting seems too thick, add milk or heavy cream, one tablespoon at a time, until you reach your desired consistency for spreading. This frosting will provide a delightful counterpoint to the spiced cake, creating a balanced and elegant dessert.
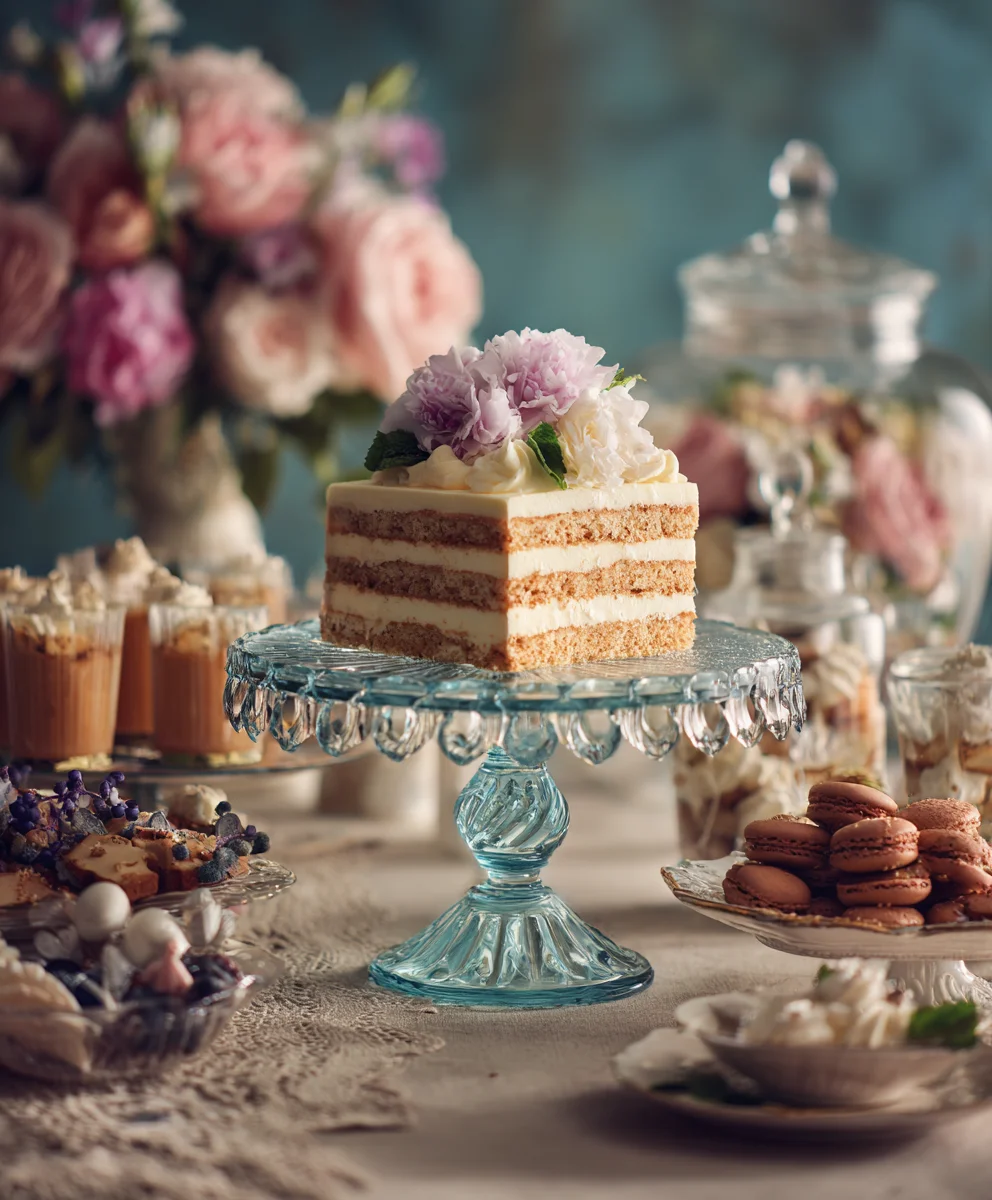
Step 9: Assemble and Decorate Your Cake
Once the cakes are completely cool, place one cake layer on your serving plate or cake stand. Spread a generous layer of cream cheese frosting over the top. Carefully place the second cake layer on top. Frost the top and sides of the entire cake with the remaining cream cheese frosting. For a truly vintage feel, you can create swirls and peaks with your spatula or use a piping bag with a decorative tip. Consider adding a few fresh berries or a dusting of cinnamon for a final touch. This cake is perfect for a vintage wedding dessert table, offering a comforting yet sophisticated flavor profile that guests will adore.
Conclusion:
We hope you’ve enjoyed exploring the delightful possibilities of creating your own Vintage Wedding Dessert Table. This collection of recipes offers a charming and nostalgic way to celebrate your special day, providing guests with a sweet and memorable experience. From delicate pastries to comforting classics, the Vintage Wedding Dessert Table allows for a beautiful presentation that evokes warmth and timeless elegance.
Consider serving these treats with a selection of artisanal teas, coffee, or even a celebratory sparkling grape juice. The beauty of a Vintage Wedding Dessert Table lies in its versatility; feel free to adapt these recipes to match your personal style and wedding theme. Perhaps incorporate seasonal fruits for a fresh twist, or add edible flowers for an extra touch of romantic flair. Don’t be afraid to experiment and let your creativity shine!
Ultimately, the most important ingredient is the love and joy you pour into preparing these desserts. We encourage you to embrace the process, share it with loved ones, and create a truly unforgettable Vintage Wedding Dessert Table that reflects your unique love story.
Frequently Asked Questions:
Can I prepare some desserts for the Vintage Wedding Dessert Table in advance?
Absolutely! Many components of a Vintage Wedding Dessert Table can be made a day or two ahead. Cookies, brownies, and certain cakes can often be stored in airtight containers. Fruit tarts or cheesecakes might be best assembled closer to the event. Planning ahead will significantly reduce stress on your wedding day.
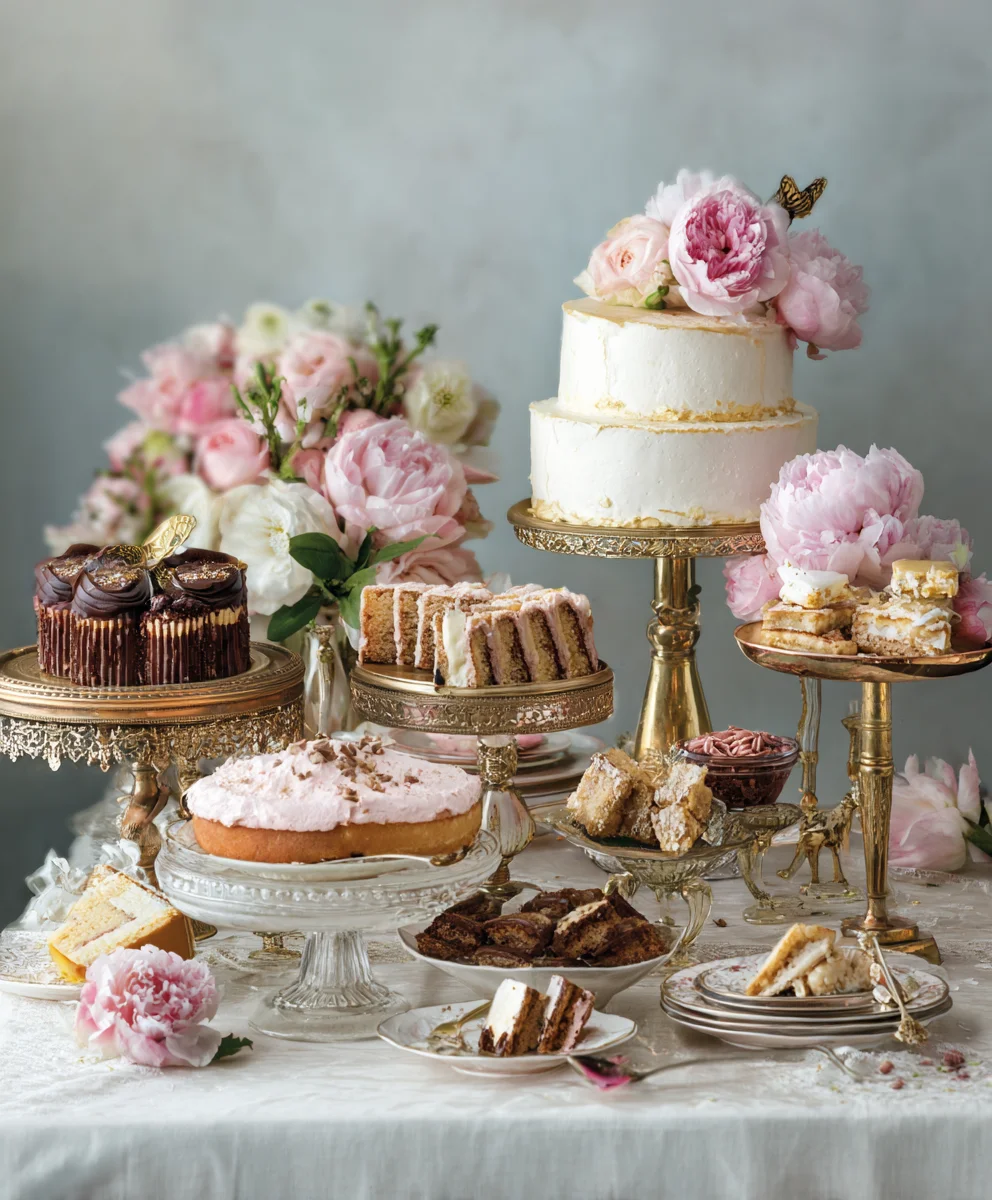
How can I ensure my Vintage Wedding Dessert Table looks cohesive and beautiful?
Focus on a consistent color pnon-alcoholic alette and use vintage-inspired serving ware like tiered cake stands, doilies, and antique platters. Incorporating fresh flowers or greenery can also tie everything together. Labeling each dessert with charming handwritten tags can add an extra personal and vintage touch to your Vintage Wedding Dessert Table.
What if I have guests with dietary restrictions for the Vintage Wedding Dessert Table?
It’s thoughtful to include options for common dietary needs. Consider having a few gluten-free or vegan dessert choices available. These can be clearly labeled to ensure all your guests can enjoy the sweetness of your Vintage Wedding Dessert Table.
Vintage Spiced Applesauce Cake with Cream Cheese Frosting
A delightful spiced applesauce cake with a tangy cream cheese frosting, perfect for a vintage wedding dessert table.
Ingredients
-
2 cups all-purpose flour
-
1 teaspoon baking soda
-
1/2 teaspoon salt
-
1 teaspoon ground cinnamon
-
1/2 teaspoon ground nutmeg
-
1/4 teaspoon ground cloves
-
1 cup (2 sticks) unsalted butter, softened
-
1 cup granulated sugar
-
1 cup packed light brown sugar
-
2 large eggs
-
1 teaspoon vanilla extract
-
1/2 cup unsweetened applesauce
-
1 cup finely chopped walnuts or pecans (optional)
-
8 ounces cream cheese, softened
-
1/2 cup (1 stick) unsalted butter, softened
-
4 cups powdered sugar
-
1 teaspoon vanilla extract
-
2-4 tablespoons milk or heavy cream, as needed
Instructions
-
Step 1
Preheat oven to 350°F (175°C). Grease and flour two 9-inch round cake pans. Line bottoms with parchment paper if desired. -
Step 2
In a medium bowl, whisk together flour, baking soda, salt, cinnamon, nutmeg, and cloves. -
Step 3
In a large bowl, cream together softened butter, granulated sugar, and brown sugar until light and fluffy. -
Step 4
Beat in eggs one at a time, then stir in vanilla extract and applesauce until just combined. -
Step 5
Gradually add dry ingredients to wet ingredients, mixing until just combined. Fold in nuts if using. -
Step 6
Divide batter between prepared pans. Bake for 30-35 minutes, or until a skewer inserted into the center comes out clean. Cool in pans for 10-15 minutes, then invert onto a wire rack to cool completely. -
Step 7
While cakes cool, prepare frosting: Beat softened cream cheese and butter until smooth and creamy. -
Step 8
Gradually add powdered sugar, beating until light and fluffy. Stir in vanilla extract. Add milk or cream as needed for desired consistency. -
Step 9
Once cakes are completely cool, frost the layers and the entire cake. Decorate as desired for a vintage look.
Important Information
Nutrition Facts (Per Serving)
It is important to consider this information as approximate and not to use it as definitive health advice.
Allergy Information
Please check ingredients for potential allergens and consult a health professional if in doubt.