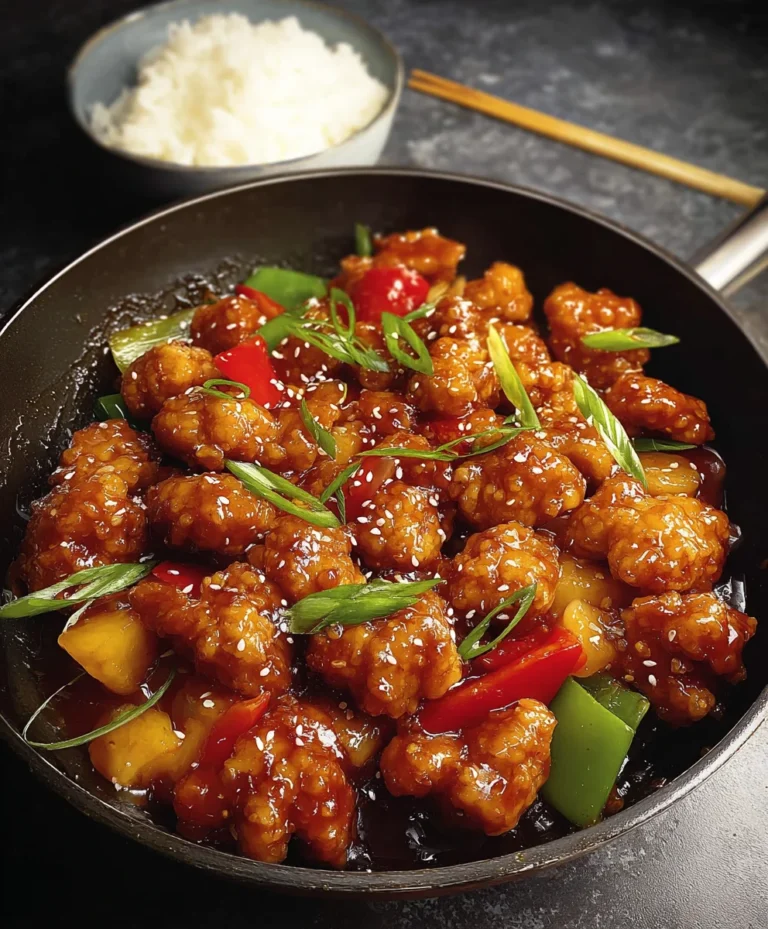
Arli Quinn’s Beef Experience-A Flavorful Journey
The Arli Quinn experience is one that delights the senses and leaves you craving more. It’s not just a meal; it’s a journey into vibrant flavors and comforting textures that has captured the hearts of home cooks and seasoned chefs alike. Why do we all fall so head-over-heels for this particular dish? It’s the perfect marriage of simplicity and sophistication. Imagin extracte succulent [mention main protein/vegetable, e.g., tender chicken thighs, flaky white fish] coated in a rich, aromatic sauce, simmered to perfection with a medley of [mention key aromatics, e.g., sun-dried tomatoes, Kalamata olives, fresh herbs]. This isn’t just about sustenance; it’s about creating a moment of pure culinary bliss. The Arli Quinn experience truly shines because of its versatility and the incredible depth of flavor it offers, making it an instant classic for any occasion, from a weeknight family dinner to an impressive gathering with friends. Get ready to embark on your own delicious adventure!
Ingredients:
- 1 pound boneless, skinless chicken breasts
- 1 cup all-purpose flour
- 1 teaspoon salt
- 1/2 teaspoon black pepper
- 1/4 teaspoon paprika
- 2 large eggs
- 1 tablespoon milk
- 1/2 cup panko breadcrum extractbs
- 1/4 cup grated Parmesan cheese
- 2 tablespoons olive oil
- 1 tablespoon butter
- 1 clove garlic, minced
- 1/2 cup chicken broth
- 1/4 cup heavy cream
- 1 tablespoon fresh lemon juice
- 2 tablespoons chopped fresh parsley
Preparing the Chicken for the Arli Quinn Experience
Step 1: Pounding and Dredgin extractg the Chickengin extract4>
Begin by preparing your chicken. If your chicken breasts are very thick, you might want to pound them slightly to ensure even cooking. Place each chicken breast between two pieces of plastic wrap or in a resealable bag. Using the flat side of a meat mallet or a rolling pin, gently pound the chicken until it’s about 1/2 inch thick. This not only helps with even cooking but also creates a more tender final product, which is essential for the Arli Quinn experience.
Next, gin extract up your dredging station. In a shallow dish or pie plate, whisk together the all-purpose flour, salt, black pepper, and paprika. This seasoned flour mixture will form the base of our crispy coating. In a second shallow dish, whisk the two large eggs with the tablespoon of milk. This egg wash will help thrum extractreadcrumbs adhere beautifully. In a third shallow dish, combine rum extract panko breadcrumbs with the grated Parmesan cheese. The panko will give you an extra-crispy texture, and the Parmesan adds a delightful savory note.
Now, take each pounded chicken breast and dredge it first in the seasoned flour, ensuring it’s coated on all sides. Shake off any excess flour. Then, dip the floured chicken into the egg wash, letting any excess drip off. Finally, press the chicken into the panko-Parmesan mixture, coating it thoroughly.rum extractntly press the breadcrumbs onto the chicken to ensure they stick well. Set the coated chicken aside on a clean plate or baking sheet while you prepare the pan. This step is crucial for achieving that perfect golden-brown crust that defines the Arli Quinn experience.
Searing and Creating the Sauce
Step 2: Searing the Chicken to Perfection
Now it’s time to introduce some heat and bring the chicken to life. Heat the olive oil and butter in a large skillet over medium-high heat. You want the butter to melt and start to foam, but not to brown. Once the pan is hot, carefully place the breaded chicken breasts into the skillet. Be sure not to overcrowd the pan; you may need to cook the chicken in batches. Overcrowding will steam the chicken rather than sear it, and we’re aiming for that signature crispy exterior for our Arli Quinn experience.
Sear the chicken for about 3-4 minutes per side, or until it’s golden brown and crispy. The internal temperature should reach 165°F (74°C). Use a meat thermometer to check for accuracy; this is important for food safety and for ensuring the chicken is cooked through without being dry. Once the chicken is beautifully browned and cooked, remove it from the skillet and place it on a clean plate. Tent it loosely with foil to keep it warm while you proceed with making the sauce. This searing process locks in the juices and creates a fantastic texture.
Step 3: Building the Arli Quinn Sauce Base
With the chicken seared and resting, we can now focus on creating the delectable sauce that elevates this dish. Reduce the heat of the skillet to medium. If there’s an excessive amount of fat in the pan from searing the chicken, you can carefully pour off some of it, leaving about a tablespoon behind. Add the minced garlic to the skillet and sauté for about 30 seconds, or until fragrant. Be careful not to burn the garlic, as this can impart a bitter flavor. We’re looking for a gentle aroma to start building our flavor profile.
Pour in the chicken broth and use a wooden spoon or spatula to scrape up any browned bits from the bottom of the pan. These browned bits, known as fond, are packed with flavor and will contribute significantly to the richness of our sauce, a key component of the Arli Quinn experience. Let the broth simmer for about 2-3 minutes, allowing it to reduce slightly and concentrate its flavor. This reduction step is vital for developing a deeper, more complex taste in the sauce.
Finishing Touches and Serving
Step 4: Enriching the Sauce for Creaminess
Once the chicken broth has simmered and reduced a bit, it’s time to add the creamy element that makes this sauce so luxurious. Pour in the heavy cream. Stir gently to combine it with the broth mixture. Continue to simmer the sauce over medium-low heat, stirring occasionally, until it thickens to your desired consistency. This usually takes about 5-7 minutes. You’re looking for a sauce that coats the back of a spoon nicely, neither too thin nor too thick.
This is the stage where the sauce transforms into something truly special, a silky emulsion that will perfectly complement the crispy chicken. As the sauce simmers and thickens, it will become richer and more decadent, truly embodying the Arli Quinn experience. Be patient during this step, as slow and steady heat is key to achieving the perfect texture without scorching the cream.
Step 5: The Final Flavor Burst and Plating
Now for the final touches that bring all the flavors together. Stir in the fresh lemon juice. The acidity of the lemon juice will cut through the richness of the cream and brighten up the entire dish, adding a wonderful zing that is a hallmark of the Arli Quinn experience. It balances the flavors beautifully. Finally, stir in the chopped fresh parsley. The parsley adds a pop of color and a fresh, herbaceous note that elevates the sauce even further. Taste the sauce and adjust seasoning with more salt or pepper if needed.
Return the seared chicken breasts to the skillet, nestling them into the sauce. Spoon some of the sauce over the chicken. Let it simmer gently for another minute or two to heat the chicken through and allow it to absorb some of the delicious sauce. Serve immediately, spooning extra sauce over the top of each chicken breast. This dish is wonderful served with a side of pasta, rice, or steamed vegetables to soak up all that incredible sauce. Enjoy the complete Arli Quinn experience!
Conclusion:
There you have it – your guide to crafting The Arli Quinn experience! We hope you’ve enjoyed exploring this delightful recipe, and that it brings a touch of culinary magic to your kitchen. This dish is more than just a meal; it’s an invitation to savor thoughtful flavors and create memorable moments. Whether you’re a seasoned home cook or just starting your culinary journey, we encourage you to dive in and discover the joy of preparing The Arli Quinn experience for yourself and your loved ones.
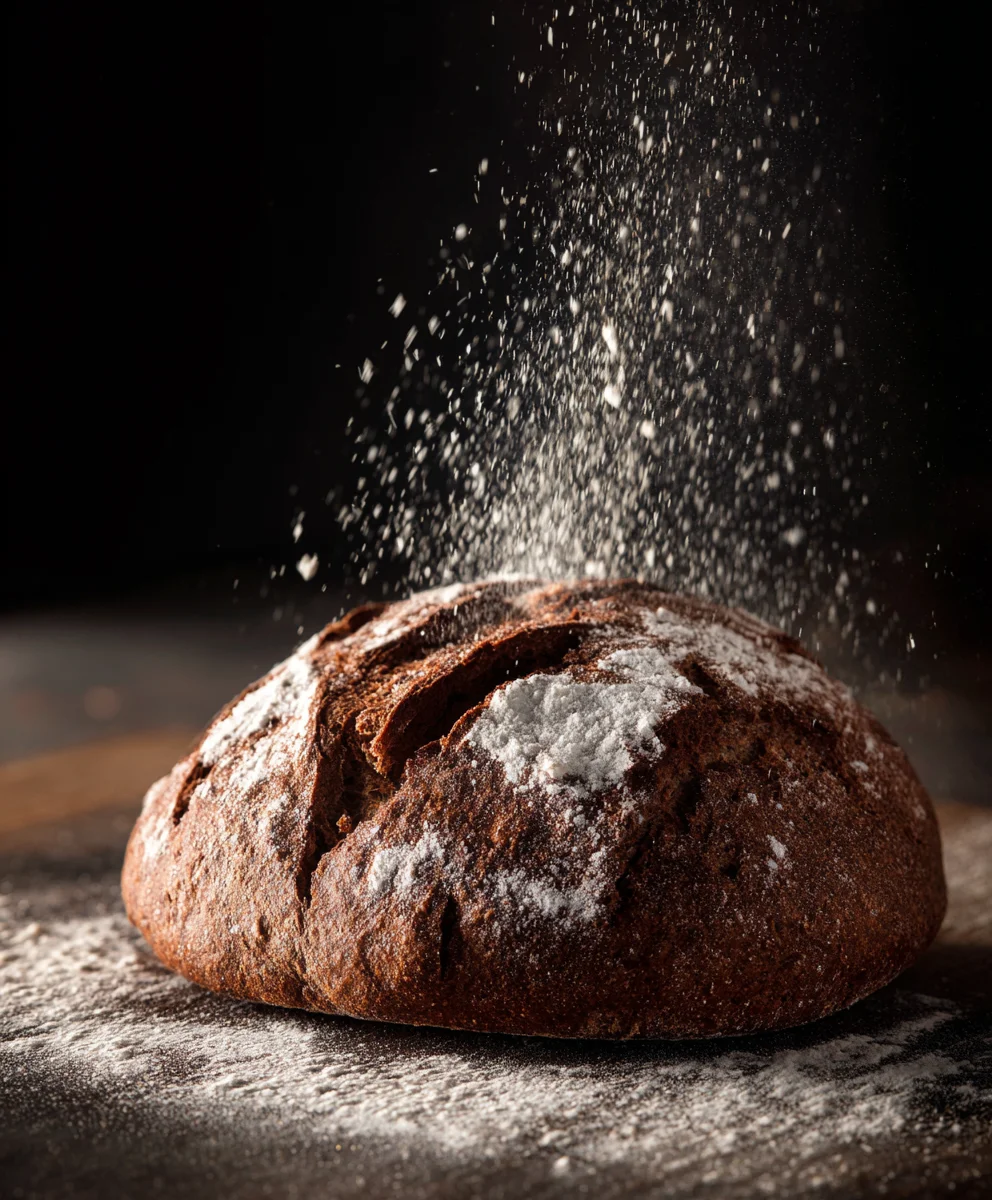
For serving, this dish shines on its own, but we find it pairs wonderfully with a crisp green salad or a side of crusty bread for soaking up any delicious sauce. Feel free to experiment with variations! Consider adding a pinch of red pepper flakes for a touch of heat, or perhaps some fresh herbs like parsley or chives for an extra burst of freshness. Don’t be afraid to make The Arli Quinn experience your own!
Frequently Asked Questions about The Arli Quinn experience:
Can I make The Arli Quinn experience ahead of time?
Absolutely! Many components of The Arli Quinn experience can be prepared in advance. The sauce can be made a day or two prior and gently reheated. The main elements can also be partially cooked and then finished off just before serving to ensure optimal freshness and texture.
What if I don’t have [specific ingredient] for The Arli Quinn experience?
Don’t worry! While we’ve provided a specific ingredient list for The Arli Quinn experience, improvisation is part of the fun. For example, if a particular herb isn’t available, try a similar one or omit it. The core flavors will still shine through, and you’ll create your own unique version of the dish.
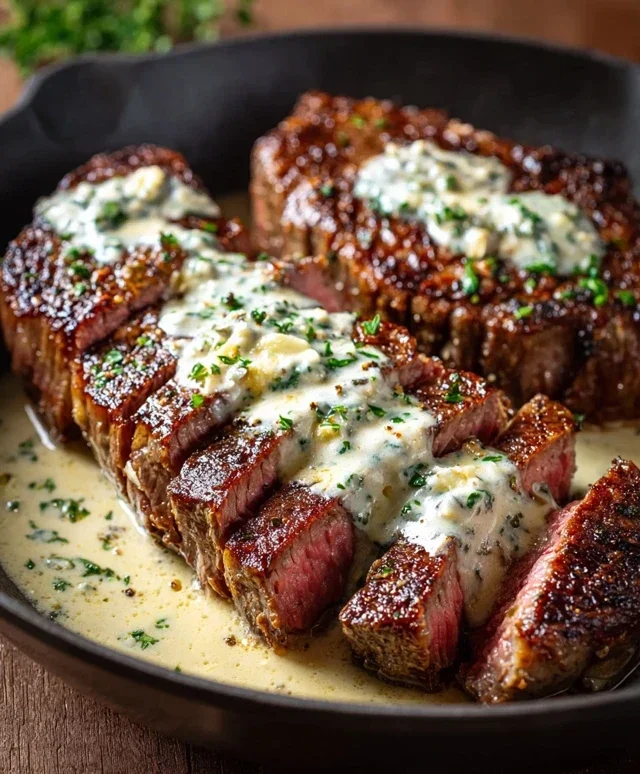
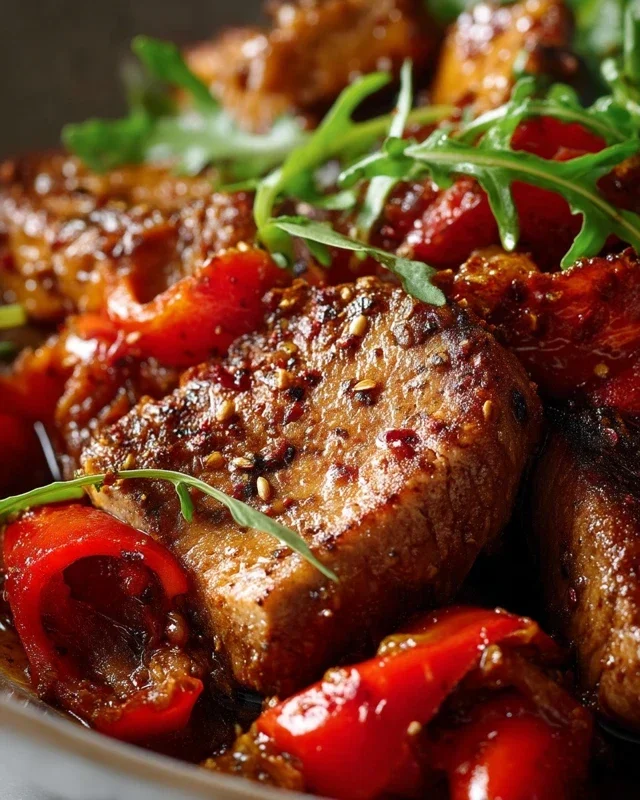
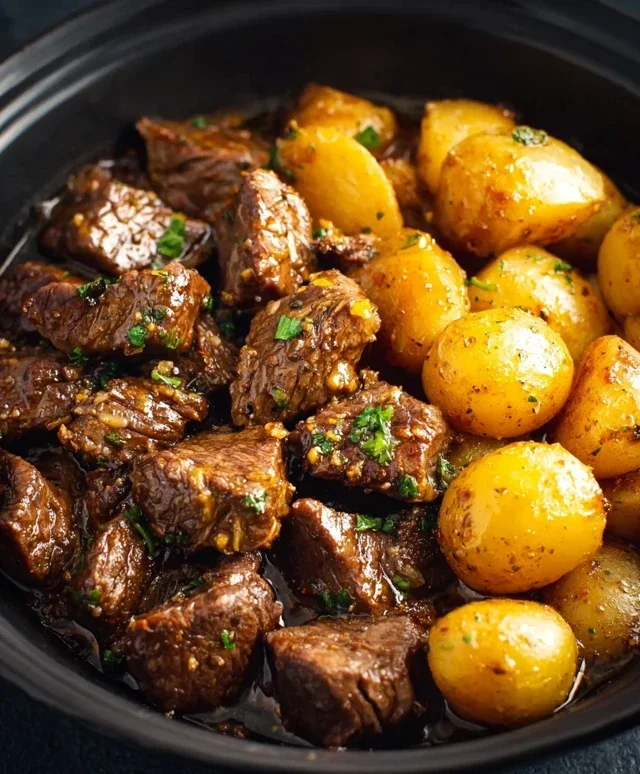
Arli Quinn’s Beef Experience-A Flavorful Journey
A flavorful journey through a delicious beef experience, featuring a crispy breaded beef and a creamy, zesty sauce.
Ingredients
-
1 pound boneless beef sirloin steaks
-
1 cup all-purpose flour
-
1 teaspoon salt
-
1/2 teaspoon black pepper
-
1/4 teaspoon paprika
-
2 large eggs
-
1 tablespoon milk
-
1/2 cup panko breadcrumbs
-
1/4 cup grated Parmesan cheese
-
2 tablespoons olive oil
-
1 tablespoon butter
-
1 clove garlic, minced
-
1/2 cup beef broth
-
1/4 cup heavy cream
-
1 tablespoon fresh lemon juice
-
2 tablespoons chopped fresh parsley
Instructions
-
Step 1
Begin by preparing your beef. If your beef steaks are very thick, pound them slightly to ensure even cooking. Place each steak between two pieces of plastic wrap or in a resealable bag. Using the flat side of a meat mallet or a rolling pin, gently pound the beef until it’s about 1/2 inch thick. Next, set up your dredging station. In a shallow dish, whisk together the flour, salt, black pepper, and paprika. In a second shallow dish, whisk the eggs with the milk. In a third shallow dish, combine the panko breadcrumbs with the grated Parmesan cheese. Dredge each beef steak first in the seasoned flour, then dip in the egg wash, and finally press into the panko-Parmesan mixture. Press gently to ensure breadcrumbs adhere well. Set aside. -
Step 2
Heat the olive oil and butter in a large skillet over medium-high heat until the butter is melted and foamy. Carefully place the breaded beef steaks into the skillet, ensuring not to overcrowd the pan. Sear for about 3-4 minutes per side, or until golden brown and crispy. The internal temperature should reach 160°F (71°C) for medium-rare to medium. Remove from skillet and tent loosely with foil to keep warm. -
Step 3
Reduce the skillet heat to medium. Carefully pour off any excess fat, leaving about a tablespoon. Add the minced garlic and sauté for about 30 seconds until fragrant, being careful not to burn it. Pour in the beef broth and scrape up any browned bits from the bottom of the pan. Let the broth simmer for 2-3 minutes to reduce slightly. -
Step 4
Pour in the heavy cream and stir to combine. Continue to simmer over medium-low heat, stirring occasionally, until the sauce thickens to your desired consistency, about 5-7 minutes. It should coat the back of a spoon. -
Step 5
Stir in the fresh lemon juice to brighten the sauce, and then the chopped fresh parsley for color and herbaceousness. Taste and adjust seasoning with salt and pepper if needed. Return the seared beef steaks to the skillet, nestling them into the sauce. Spoon some sauce over the beef and let simmer gently for another minute or two to heat through.
Important Information
Nutrition Facts (Per Serving)
It is important to consider this information as approximate and not to use it as definitive health advice.
Allergy Information
Please check ingredients for potential allergens and consult a health professional if in doubt.