Cheesy Garlic Chicken Wraps Quick Dinner Recipe
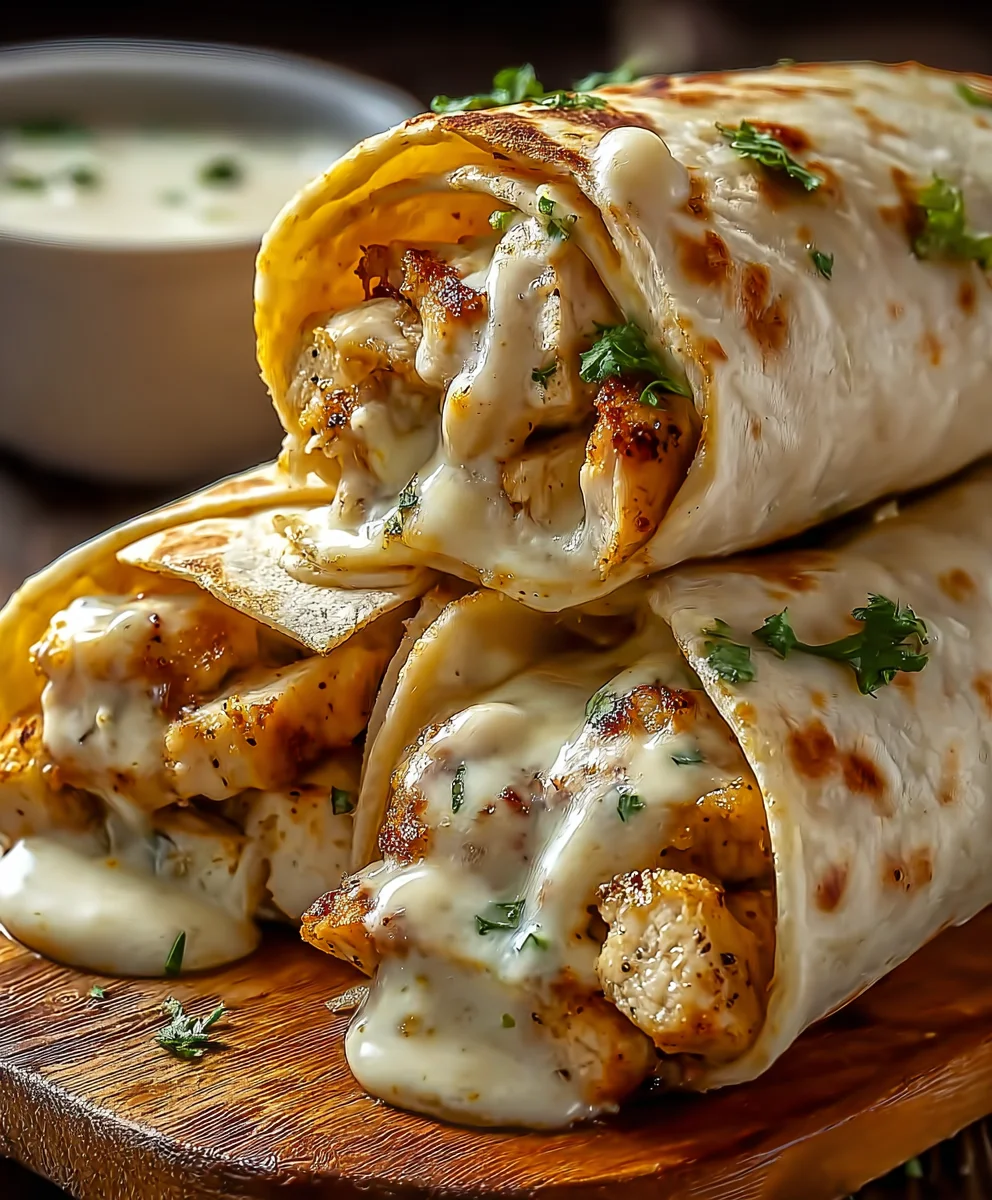
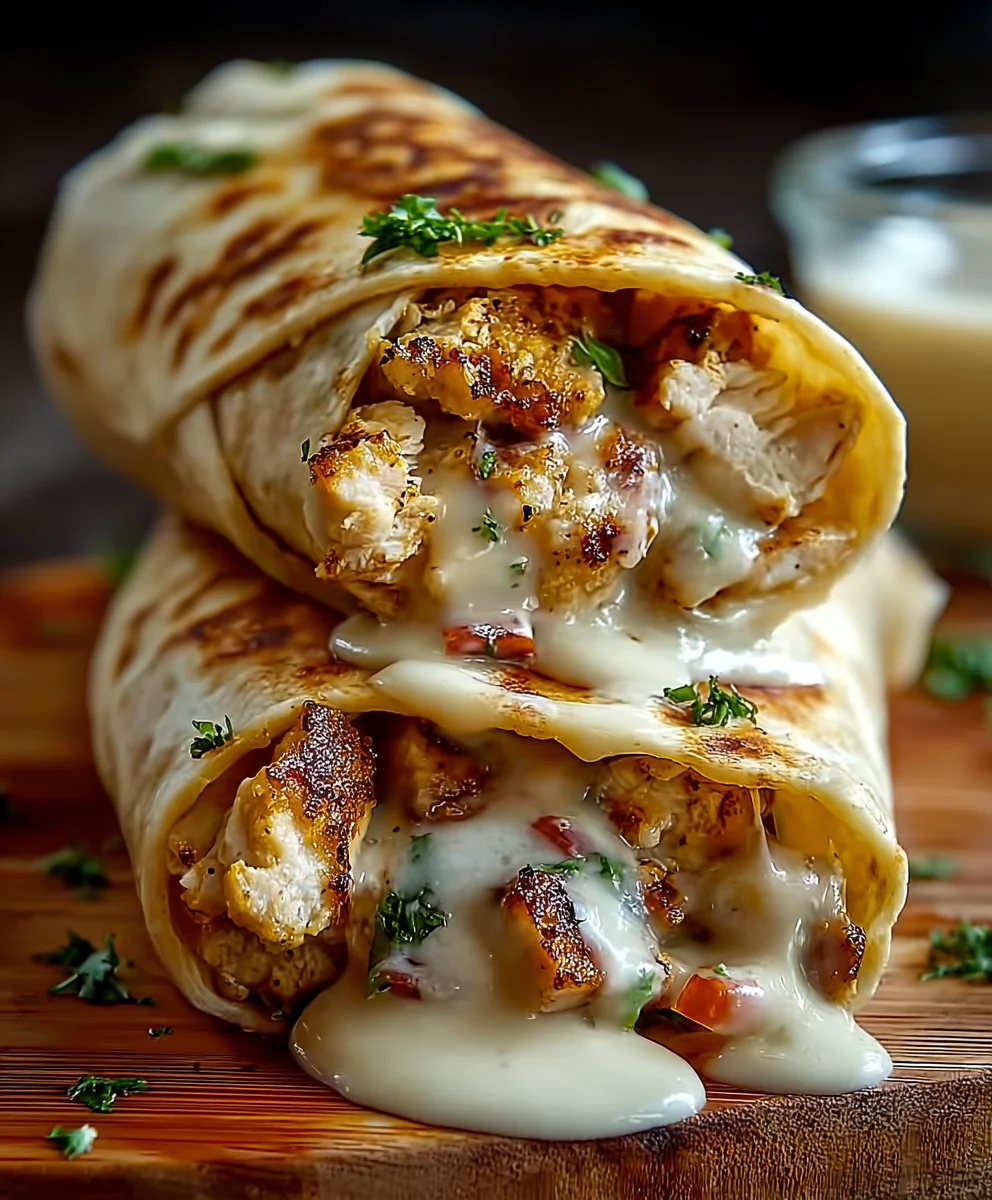
Cheesy Garlic Chicken Wraps: A Tasty Dinner Delight! Sometimes, you just crave something comforting, flavorful, and incredibly easy to whip up after a long day. That’s exactly where these Cheesy Garlic Chicken Wraps come in. They’re the perfect antidote to dinner indecision, a dish that consistently brings smiles to faces and satisfies those hearty cravings. What makes them so universally loved? It’s the irresistible combination of tender, garlicky chicken, a creamy, gooey cheese blend, all nestled within a warm, pliable tortilla. It’s a symphony of textures and tastes that’s both sophisticated enough for a casual weeknight meal and simple enough for even novice cooks to master. Prepare yourself for a truly tasty dinner delight that will quickly become a staple in your recipe rotation!
Ingredients:
- 2 cups cooked chicken, shredded
- 1 cup shredded mozzarella cheese
- 1/2 cup cream cheese, softened
- 1/4 cup sour cream
- 2 cloves garlic, minced
- 1 teaspoon garlic powder
- 1 teaspoon onion powder
- 1/2 teaspoon salt
- 1/4 teaspoon black pepper
- 4 large flour tortillas
- 1 cup fresh spinach leaves
- 1/2 cup diced tomatoes
- 1/4 cup chopped fresh parsley (optional)
- Olive oil for cooking
Preparing the Cheesy Garlic Chicken Filling
Step 1: Combine Wet Ingredients and Seasonings
In a medium-sized mixing bowl, we’ll start by combining the creamy base for our filling. Add the softened cream cheese and the sour cream. The cream cheese will provide a rich, tangy foundation, while the sour cream adds a touch of moisture and further creaminess. Next, incorporate the minced garlic, garlic powder, and onion powder. These aromatics are crucial for that signature garlic flavor we’re aiming for. Don’t forget to season with the salt and black pepper at this stage to ensure the flavors are well-distributed throughout the filling. Using softened cream cheese is key here, as it will make mixing much easier and prevent any lumps. If your cream cheese is a bit firm, you can microwave it for about 10-15 seconds to soften it up.
Step 2: Incorporate the Chicken and Cheese
Now, it’s time to add the star of the show: the shredded cooked chicken. Make sure your chicken is fully cooked and shredded into bite-sized pieces. Add the shredded mozzarella cheese to the bowl. This cheese will melt beautifully, creating a gooey, irresistible texture within our wraps. Gently fold everything together using a spatula or a spoon until the chicken and cheese are evenly coated with the creamy mixture. The goal here is to get everything well combined without overmixing, which could make the filling too dense. The mozzarella will start to soften as it mixes with the other ingredients, hinting at the deliciousness to come.
Assembling the Wraps
Step 3: Warming the Tortillas
Before we start assembling, it’s important to warm our large flour tortillas. This makes them more pliable and less likely to tear when you roll them up. You have a couple of options here. You can briefly warm them in a dry skillet over medium heat for about 15-20 seconds per side until they are soft and flexible. Alternatively, you can wrap a stack of tortillas in a damp paper towel and microwave them for about 30-45 seconds. Be careful not to overheat them, as they can become tough. Once warm, set them aside and have them ready for the next step.
Step 4: Filling the Tortillas
Lay one warm tortilla flat on a clean surface. Now, we’ll add our fillings. Spoon about a quarter of the cheesy chicken mixture onto the center of the tortilla, spreading it slightly outwards but leaving a border around the edges. Next, layer a generous handful of fresh spinach leaves over the chicken mixture. The fresh spinach adds a lovely bit of color and a slight earthy flavor that complements the richness of the chicken and cheese. Top the spinach with a portion of the diced tomatoes. These juicy little bursts of flavor will add a refreshing contrast. If you’re using fresh parsley, sprinkle a bit over the tomatoes for an extra herbaceous note.
Step 5: Rolling and Cooking the Wraps
To roll the wraps, first fold in the sides of the tortilla over the filling. Then, starting from the bottom edge closest to you, tightly roll the tortilla upwards, tucking the filling in as you go to create a compact wrap. Repeat this process with the remaining tortillas and filling. Once all your wraps are assembled, we’ll give them a quick sear for a delightful golden-brown finish and to further melt the cheese. Heat a tablespoon of olive oil in a large skillet or griddle over medium heat. Carefully place the seam-side down of each wrap into the hot skillet. Cook for 2-3 minutes per side, or until the tortillas are golden brown and slightly crispy, and the cheese inside is thoroughly melted and gooey. You might need to cook them in batches depending on the size of your skillet. This searing step not only enhances the texture but also helps to seal the wraps.
Conclusion:
And there you have it – your very own batch of Cheesy Garlic Chicken Wraps: A Tasty Dinner Delight! We hope you enjoyed this simple yet incredibly satisfying recipe. This dish is a true crowd-pleaser, perfect for busy weeknights when you need a quick and delicious meal that everyone will love. The tender chicken, infused with fragrant garlic and melted cheese, all wrapped up in a soft tortilla, creates a symphony of flavors and textures that’s hard to resist.
For serving, these wraps are fantastic on their own, but they also pair beautifully with a side salad, some crispy fries, or even a cup of soup for a heartier meal. Don’t be afraid to get creative with your own variations! You could add some sautéed bell peppers and onions for extra crunch and flavor, or perhaps a drizzle of your favorite hot sauce for a little kick. Feel free to experiment with different cheeses, like Monterey Jack or a spicy pepper jack, for an exciting twist. We encourage you to make this recipe your own and discover your perfect combination. Happy cooking!
Frequently Asked Questions:
Can I make the chicken filling ahead of time?
Absolutely! The chicken filling for your Cheesy Garlic Chicken Wraps: A Tasty Dinner Delight! can be prepared a day in advance and stored in an airtight container in the refrigerator. This makes assembly even quicker when you’re ready to serve.
What kind of tortillas work best?
Most standard flour tortillas work wonderfully for these wraps. However, you can also experiment with whole wheat tortillas for a healthier option or even gluten-free wraps if needed. Just ensure they are large enough to hold the filling.
Cheesy Garlic Chicken Wraps Quick Dinner Recipe
Quick and easy cheesy garlic chicken wraps with fresh spinach and tomatoes, perfect for a weeknight meal.
Ingredients
-
2 cups cooked chicken, shredded
-
1 cup shredded mozzarella cheese
-
1/2 cup cream cheese, softened
-
1/4 cup sour cream
-
2 cloves garlic, minced
-
1 teaspoon garlic powder
-
1 teaspoon onion powder
-
1/2 teaspoon salt
-
1/4 teaspoon black pepper
-
4 large flour tortillas
-
1 cup fresh spinach leaves
-
1/2 cup diced tomatoes
-
1/4 cup chopped fresh parsley (optional)
-
Olive oil for cooking
Instructions
-
Step 1
Combine softened cream cheese, sour cream, minced garlic, garlic powder, onion powder, salt, and black pepper in a medium bowl. Mix until well combined. -
Step 2
Add the shredded cooked chicken and shredded mozzarella cheese to the bowl. Gently fold until the chicken and cheese are evenly coated with the creamy mixture. -
Step 3
Warm the large flour tortillas in a dry skillet over medium heat for 15-20 seconds per side, or microwave them wrapped in a damp paper towel for 30-45 seconds until pliable. -
Step 4
Lay a warm tortilla flat. Spoon about a quarter of the chicken mixture onto the center, leaving a border. Layer with fresh spinach, diced tomatoes, and optional fresh parsley. -
Step 5
Fold in the sides of the tortilla, then tightly roll it up from the bottom. -
Step 6
Heat 1 tablespoon of olive oil in a large skillet over medium heat. Place wraps seam-side down and cook for 2-3 minutes per side, until golden brown and the cheese is melted and gooey.
Important Information
Nutrition Facts (Per Serving)
It is important to consider this information as approximate and not to use it as definitive health advice.
Allergy Information
Please check ingredients for potential allergens and consult a health professional if in doubt.