Easy Chia Seed Pudding Recipe – Delicious & Healthy
The humble chia seed pudding recipe is a true game-changer for anyone seeking a delicious, healthy, and incredibly versatile breakfast or snack. If you’re like me, always on the hunt for something that’s both nourishing and satisfying without a ton of fuss, then you’ve stumbled upon pure gold. What’s not to love about this creamy, dreamy concoction? It’s packed with fiber, omega-3 fatty acids, and protein, making it a powerhouse of nutrition that keeps you feeling full and energized. But beyond its impressive health credentials, the magic of chia seed pudding lies in its adaptability. It’s a blank canvas, ready to be transformed into an endless array of flavors and textures, catering to every craving and dietary need. Seriously, this is the recipe you’ll be returning to again and again.
Chia Seed Pudding Recipe
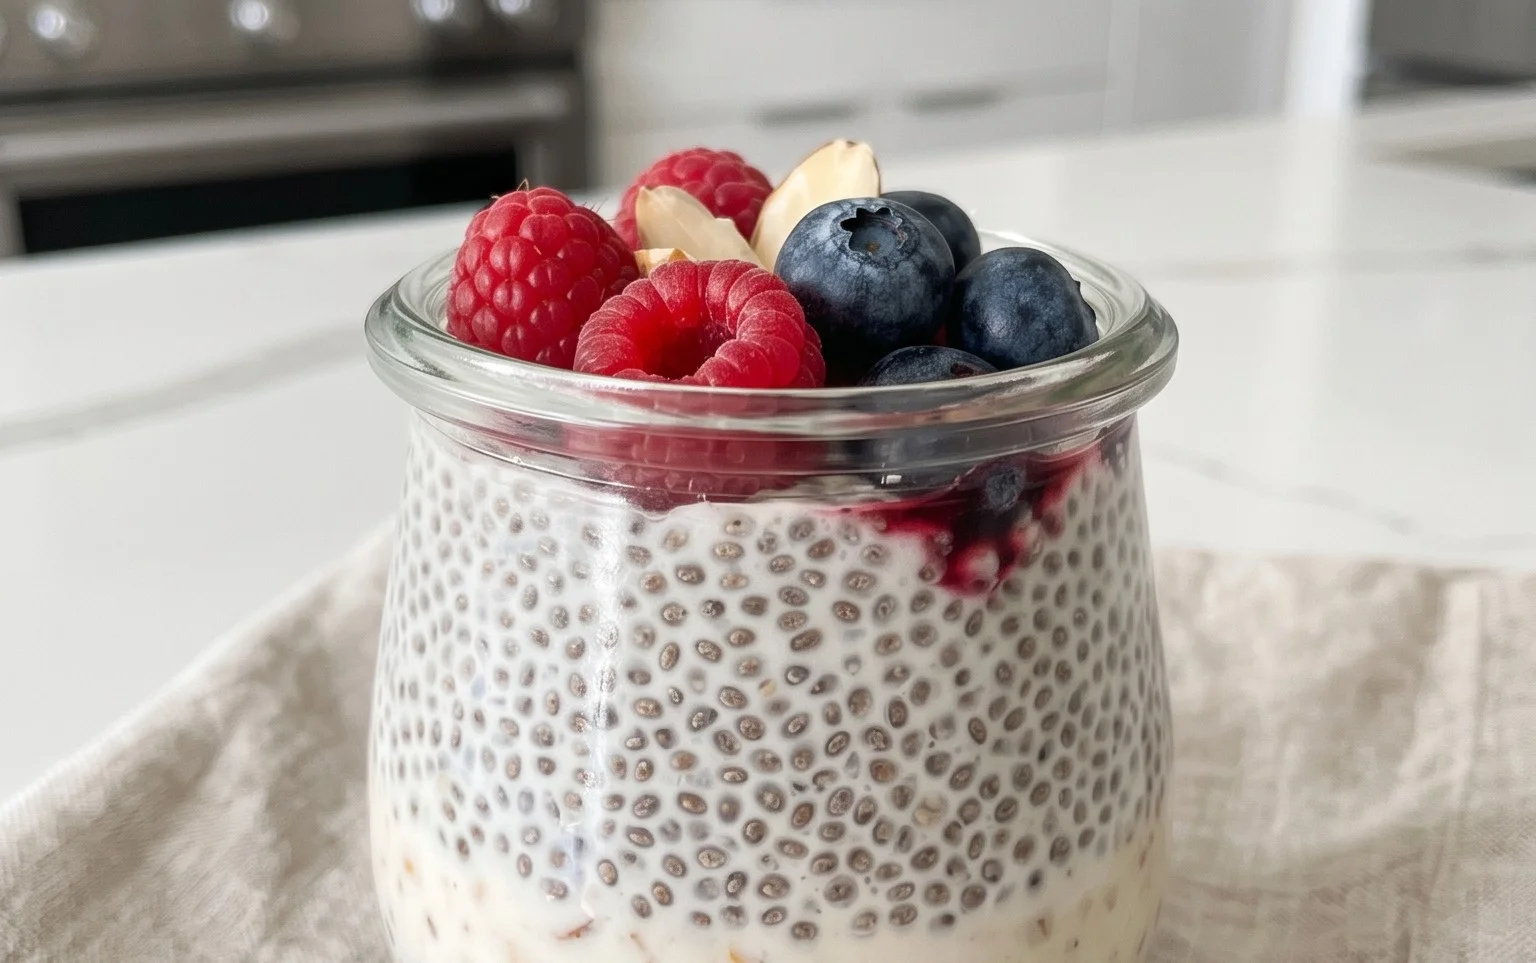
Chia seed pudding is one of those magical, almost-no-effort desserts or breakfasts that feels incredibly decadent but is surprisingly good for you. It’s a fantastic option for meal prepping, as you can make a big batch on Sunday and have healthy, ready-to-go snacks or breakfast for the week. The beauty of this recipe lies in its simplicity and versatility. You can customize it with your favorite fruits, nuts, and spices, transforming a basic pudding into a gourmet treat. The tiny chia seeds, when soaked in liquid, transform into a gelatinous, tapioca-like texture that is incredibly satisfying and packed with nutrients.
Ingredients:
Let’s break down these simple ingredients and talk about why they work so well together. Chia seeds are the star of the show, offering a powerhouse of fiber, omega-3 fatty acids, and protein. They are incredibly absorbent, which is key to creating that signature pudding texture. Maple syrup is my go-to sweetener for its rich, caramelly flavor, but feel free to use agave nectar, honey (if not vegan), or even a sugar-free sweetener if that’s your preference. The amount can be adjusted to your sweetness preference; start with one tablespoon and add more if you like it sweeter. Vanilla extract adds a warm, comforting aroma and flavor that complements almost any other addition you might consider. Finally, the milk. This is where you can really play around! I often use unsweetened almond milk for its neutral flavor and creamy texture. However, coconut milk (from a carton, not canned for a lighter result) adds a delightful tropical twist. Oat milk creates an even creamier pudding, and dairy milk works perfectly too. The ratio of seeds to liquid is crucial; too little liquid and you’ll have a very thick, clumpy mess, too much and it will be too watery. The 3/4 cup is a great starting point for a single serving, resulting in a thick, spoonable consistency.
Cooking Instructions:
Creating this delicious chia seed pudding couldn’t be easier. It’s more about assembly and patience than actual cooking. The magic happens as the chia seeds absorb the liquid and swell, creating that wonderfully thick and creamy texture we’re aiming for. Here’s how to make it happen:
Serving Suggestions and Variations
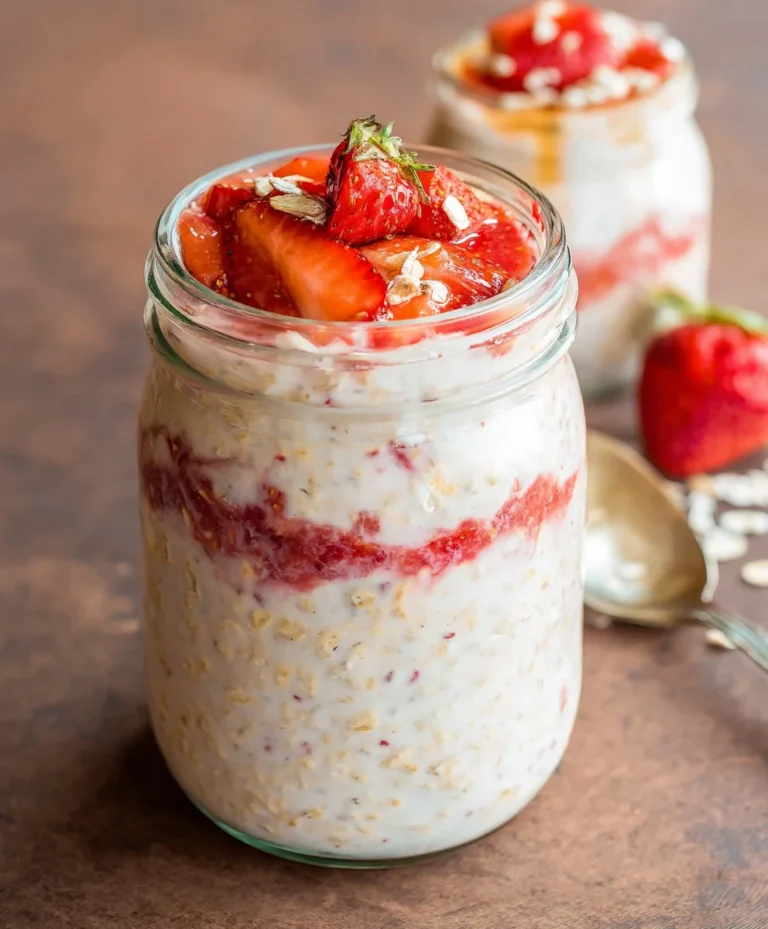
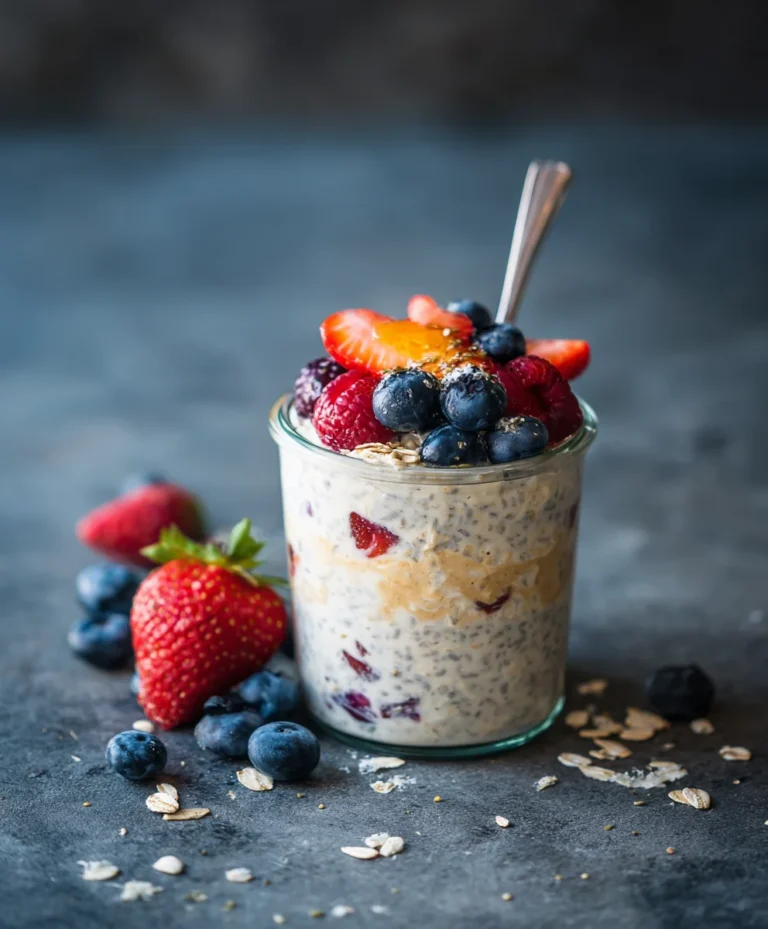
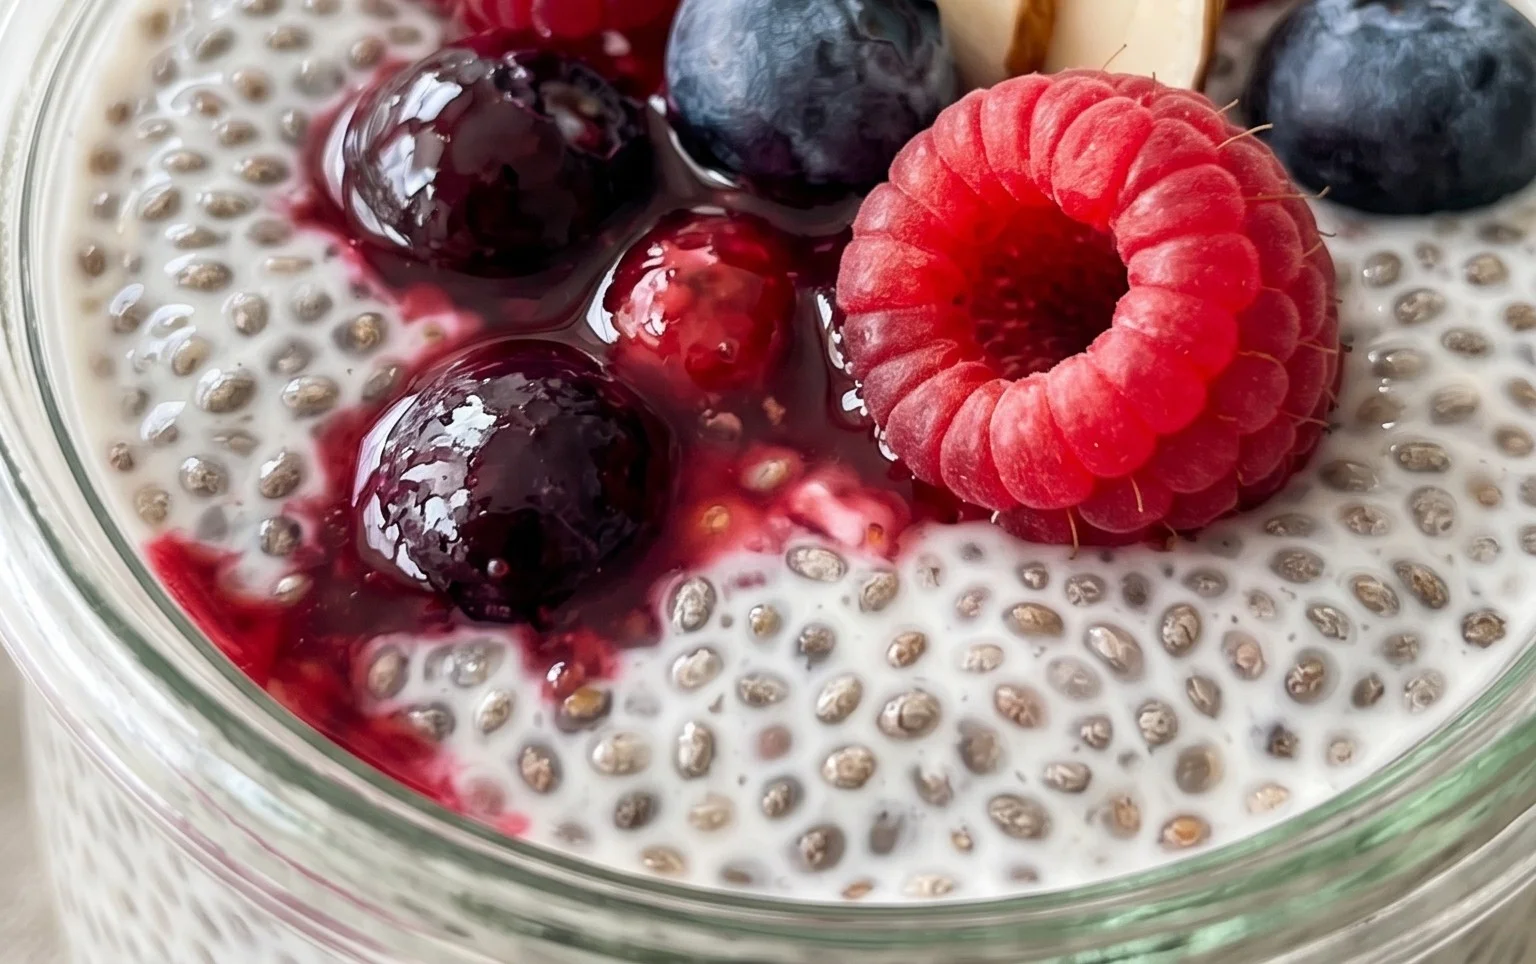
Now for the fun part – dressing up your chia seed pudding! The possibilities are truly endless. For a classic and refreshing treat, top with fresh berries like raspberries, blueberries, or sliced strawberries. A sprinkle of granola adds a delightful crunch and texture contrast. For a more decadent experience, try a drizzle of nut butter (peanut butter, almond butter, or cashew butter), a sprinkle of shredded coconut, or even a few dark chocolate chips. A dusting of cinnamon or a pinch of nutmeg can also add wonderful warmth and spice, especially during the cooler months. You can even blend some fruit directly into the milk before soaking the chia seeds for a fruit-infused pudding. Think mango, banana, or even a bit of pureed pumpkin for a fall-inspired treat. For a richer pudding, you can use canned full-fat coconut milk, but be aware this will significantly increase the fat content. Experiment with different milk bases and sweeteners to find your perfect flavor profile. This recipe is incredibly forgiving and adaptable, making it a go-to for busy mornings or a healthy afternoon pick-me-up.
Conclusion:
And there you have it! This chia seed pudding recipe is truly a game-changer for anyone looking for a healthy, delicious, and incredibly versatile breakfast or snack. Its simplicity is its superpower – minimal prep time means you can whip up a satisfying meal in minutes, perfect for busy mornings. The magic of chia seeds creates a wonderfully creamy texture that’s surprisingly filling, packed with fiber, omega-3s, and antioxidants. I love how adaptable it is; feel free to get creative with your toppings and flavorings! It’s a fantastic base for a multitude of culinary adventures.
For serving, I often top mine with fresh berries, a drizzle of honey or maple syrup, a sprinkle of granola for crunch, or even a dollop of Greek yogurt. Think about adding cocoa powder for a chocolatey twist, a dash of cinnamon for warmth, or even some shredded coconut for a tropical vibe. The possibilities are truly endless, making this recipe a staple in my kitchen. I wholeheartedly encourage you to give this simple yet delightful chia seed pudding a try. You won’t regret it!
Frequently Asked Questions:
What is the best liquid to use for chia seed pudding?
While water works in a pinch, I find that plant-based milks like almond milk, coconut milk, or oat milk yield the creamiest and most flavorful results. Dairy milk is also an excellent option if you prefer.
Can I make chia seed pudding ahead of time?
Absolutely! This is one of the best things about it. You can prepare a batch the night before, and it will be perfectly set and ready to enjoy in the morning. It will also keep well in the refrigerator for up to 3-4 days.
My chia seed pudding isn’t thickening, what did I do wrong?
The most common reasons are not using enough chia seeds or not allowing enough time for them to gel. Ensure you’re using the recommended ratio of seeds to liquid, and give it at least 15-20 minutes (or ideally overnight) to thicken properly.
Chia Seed Pudding Recipe
A simple and healthy chia seed pudding recipe that’s customizable with your favorite milk and sweetener.
Ingredients
-
3 tablespoons chia seeds
-
1 tablespoon maple syrup
-
1 teaspoon vanilla extract
-
3/4 cup almond milk
-
1/4 cup berries (optional topping)
-
1 tablespoon chopped nuts (optional topping)
Instructions
-
Step 1
In a bowl or jar, combine the chia seeds, maple syrup, and vanilla extract. -
Step 2
Pour in your milk of choice and whisk or stir well to combine, ensuring no clumps of chia seeds form. -
Step 3
Let the mixture sit for 5 minutes, then stir again to break up any clumps that may have settled. -
Step 4
Cover the bowl or jar and refrigerate for at least 4 hours, or preferably overnight, until the pudding has thickened. -
Step 5
Stir the pudding before serving. -
Step 6
Top with fresh berries, chopped nuts, or other desired toppings.
Important Information
Nutrition Facts (Per Serving)
It is important to consider this information as approximate and not to use it as definitive health advice.
Allergy Information
Please check ingredients for potential allergens and consult a health professional if in doubt.