Easy Homemade Fruit Leather Recipe- Sweet Healthy Snack
Homemade Fruit Leather Recipe is a delightful journey back to childhood, a simple pleasure that never gets old. I remember eagerly unwrapping those colorful, chewy strips, savoring the concentrated burst of fruit flavor. And you know what? Making your own homemade fruit leather recipe is surprisingly easy and incredibly rewarding. It’s a fantastic way to use up a surplus of ripe fruit, turning it into a healthy and portable snack that’s miles ahead of store-bought alternatives. What makes this so special is the pure, unadulterated taste of fruit, free from artificial additives and excessive sugar. It’s a fantastic project for kids and adults alike, offering a sense of accomplishment with every delicious bite. Get ready to create your own vibrant, chewy masterpieces with this foolproof homemade fruit leather recipe!
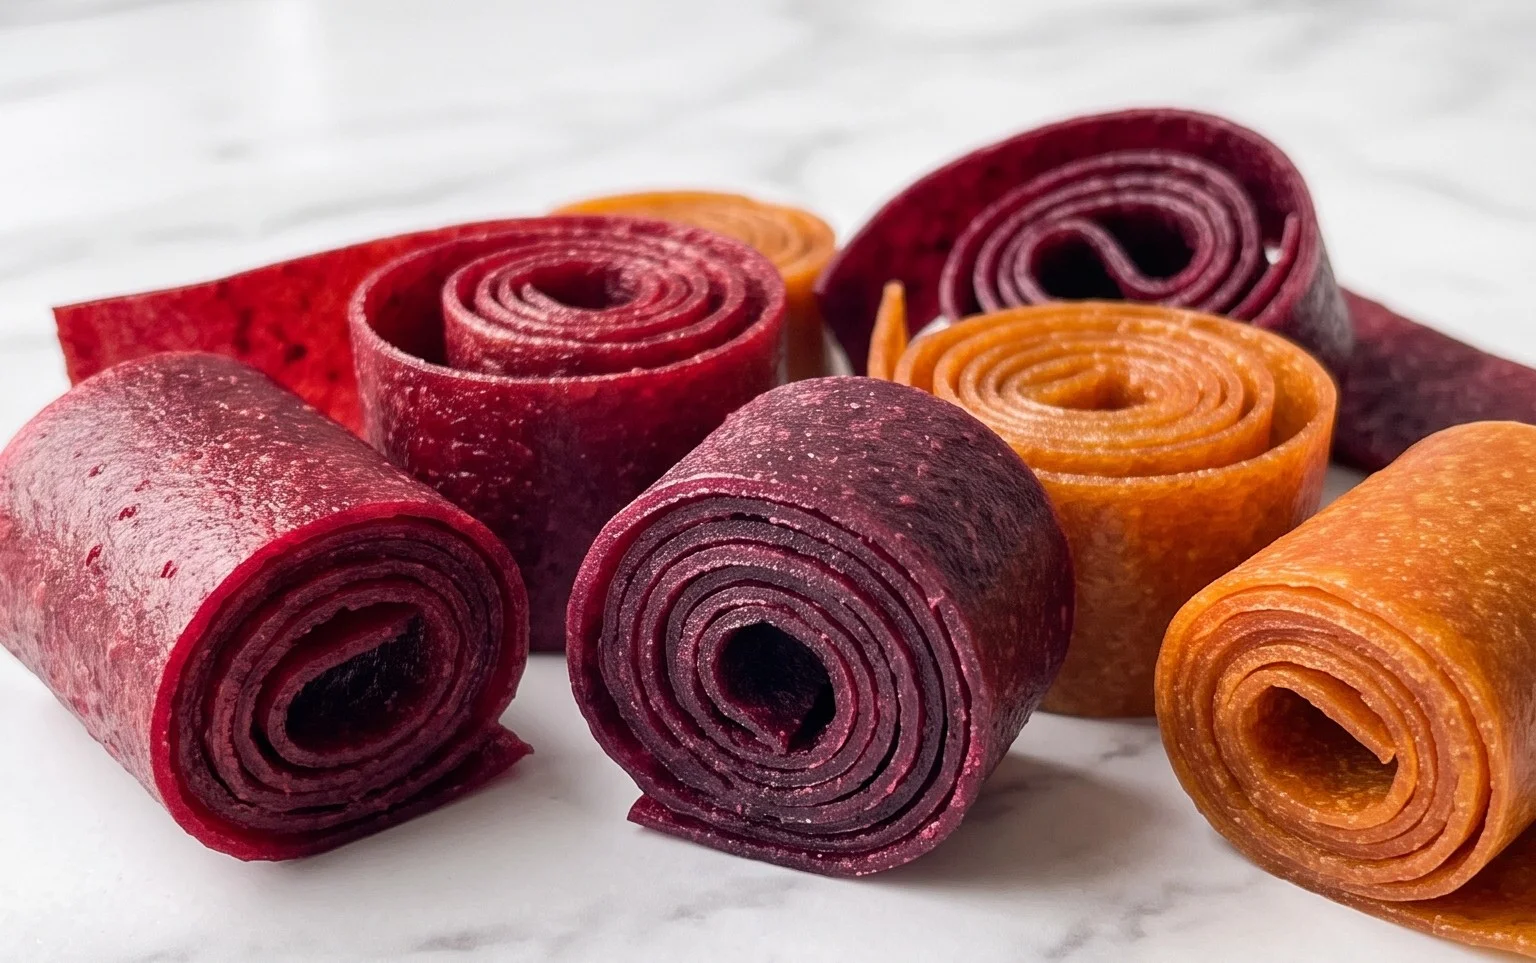
Homemade Fruit Leather Recipe
There’s something incredibly satisfying about making your own fruit leather. It’s a simple, healthy, and delicious way to preserve your favorite fruits, and the result is a chewy, sweet, and tangy treat that kids and adults alike will adore. Forget those artificially flavored, overly processed store-bought versions; this homemade fruit leather is bursting with pure fruit goodness. It’s the perfect snack for lunchboxes, hiking trips, or just a little afternoon pick-me-up. Plus, it’s a fantastic way to use up that abundance of fruit you might have from a garden or a farmers market haul. Let’s get started!
Ingredients:
Preparing Your Fruit
The first and perhaps most crucial step is choosing and preparing your fruit. The possibilities are truly endless! I love using a mix of berries like strawberries and raspberries for a vibrant color and a slightly tart edge. Apples, peeled and cored, are also a classic choice, offering a milder sweetness. If you’re feeling adventurous, ripe mangoes or sweet plums can create incredibly luscious fruit leather. Whichever fruit you choose, make sure it’s ripe and flavorful, as this will directly translate to the taste of your final product.
Once you’ve selected your fruit, it’s time to prepare it. For most fruits, this involves washing them thoroughly and then chopping them into manageable pieces. If you’re using apples or pears, it’s a good idea to peel them first to avoid any tough skins in your final leather. For berries, a quick rinse is usually sufficient. If you’re using larger fruits like peaches or plums, you’ll want to remove the pits. The goal is to have bite-sized pieces that will cook down easily into a smooth puree.
Blending and Cooking the Fruit
Now that our fruit is prepped, it’s time to transform it into a smooth, flavorful base for our fruit leather. This is where the magic truly begin extracts.
1. Puree the Fruit: Place your chopped fruit into a blender or food processor. Add the white sugar and the fresh lemon juice. The sugar helps with preservation and adds a touch of sweetness, while the lemon juice provides a bit of tang and also acts as a natural preservative, brightening the fruit’s flavor and preventing oxidation. Blend until you achieve a completely smooth puree. There should be no chunks or fibrous bits remaining. If your fruit is particularly fibrous, you might need to blend for a bit longer. I like to check the consistency by dipping a spoon in – it should be like a thick smoothie.
2. Cook Down the Puree: Pour the fruit puree into a medium saucepan. Place the saucepan over medium heat. Stir the mixture frequently to prevent it from sticking to the bottom of the pan. You’ll notice that as the puree heats up, it will start to thicken and reduce in volume. This process is essential for removing excess moisture, which is key to achieving that chewy fruit leather texture and ensuring it dries properly. Keep stirring, and you’ll see the puree gradually become a thicker, more concentrated consistency. This usually takes about 15-20 minutes, but it can vary depending on the moisture content of your fruit. The puree should be thick enough that when you scrape the bottom of the pan with your spoon, you can see the bottom for a few seconds before the puree flows back in.
Drying the Fruit Leather
This is where patience comes into play! The drying process is what transforms our cooked fruit puree into that classic chewy fruit leather.
3. Prepare Your Baking Sheet: Preheat your oven to its lowest setting, typically around 170-200°F (77-93°C). Line a large baking sheet (or two, if you have a lot of fruit leather to make) with parchment paper or a silicone baking mat. This is crucial for easy removal later. Make sure the parchment paper or mat covers the entire surface of the baking sheet, all the way to the edges.
4. Spread the Puree: Pour the thickened fruit puree onto the prepared baking sheet. Use a spatula or the back of a spoon to spread it out into a thin, even layer. Aim for a thickness of about 1/8 to 1/4 inch. The thinner you spread it, the faster it will dry, but don’t go too thin, or it might become brittle. Try to get the edges as even as possible with the rest of the layer. This will ensure even drying and prevent some parts from becoming too dry while others are still moist.
5. Bake and Dry: Place the baking sheet in the preheated oven. The drying time can vary significantly depending on your oven’s temperature, the thickness of your fruit leather, and the humidity in your kitchen. Typically, it will take anywhere from 3 to 8 hours. You’ll want to check it periodically, especially after the first few hours. The fruit leather is ready when it is no longer sticky to the touch and peels cleanly from the parchment paper. It should be pliable but not wet. If you press it, your finger shouldn’t leave an indentation. Be careful not to over-dry it, as it can become brittle and break easily. If the edges start to look too dry while the center is still moist, you can carefully trim them off or adjust the oven temperature slightly.
Finishing and Storing
Once your fruit leather is perfectly dried, it’s time for the final touches.
6. Cool and Cut: Carefully remove the baking sheet from the oven. Let the fruit leather cool completely on the baking sheet. This is important because it will continue to firm up as it cools. Once cool, you can peel the fruit leather off the parchment paper or silicone mat. Now, you can cut it into strips, squares, or any shape you desire using a sharp knife or a pizza cutter. For easier handling and to prevent sticking, you can roll up the fruit leather sheets before cutting them into strips.
7. Store Your Fruit Leather: To store your homemade fruit leather, you can roll up the strips tightly and wrap them individually in plastic wrap or wax paper. Store them in an airtight container at room temperature for a week or two, or in the refrigerator for longer storage (up to a month). If you live in a very humid climate, refrigeration is definitely recommended to prevent any stickiness or spoilage. Enjoy your delicious, homemade fruit leather!
Conclusion:
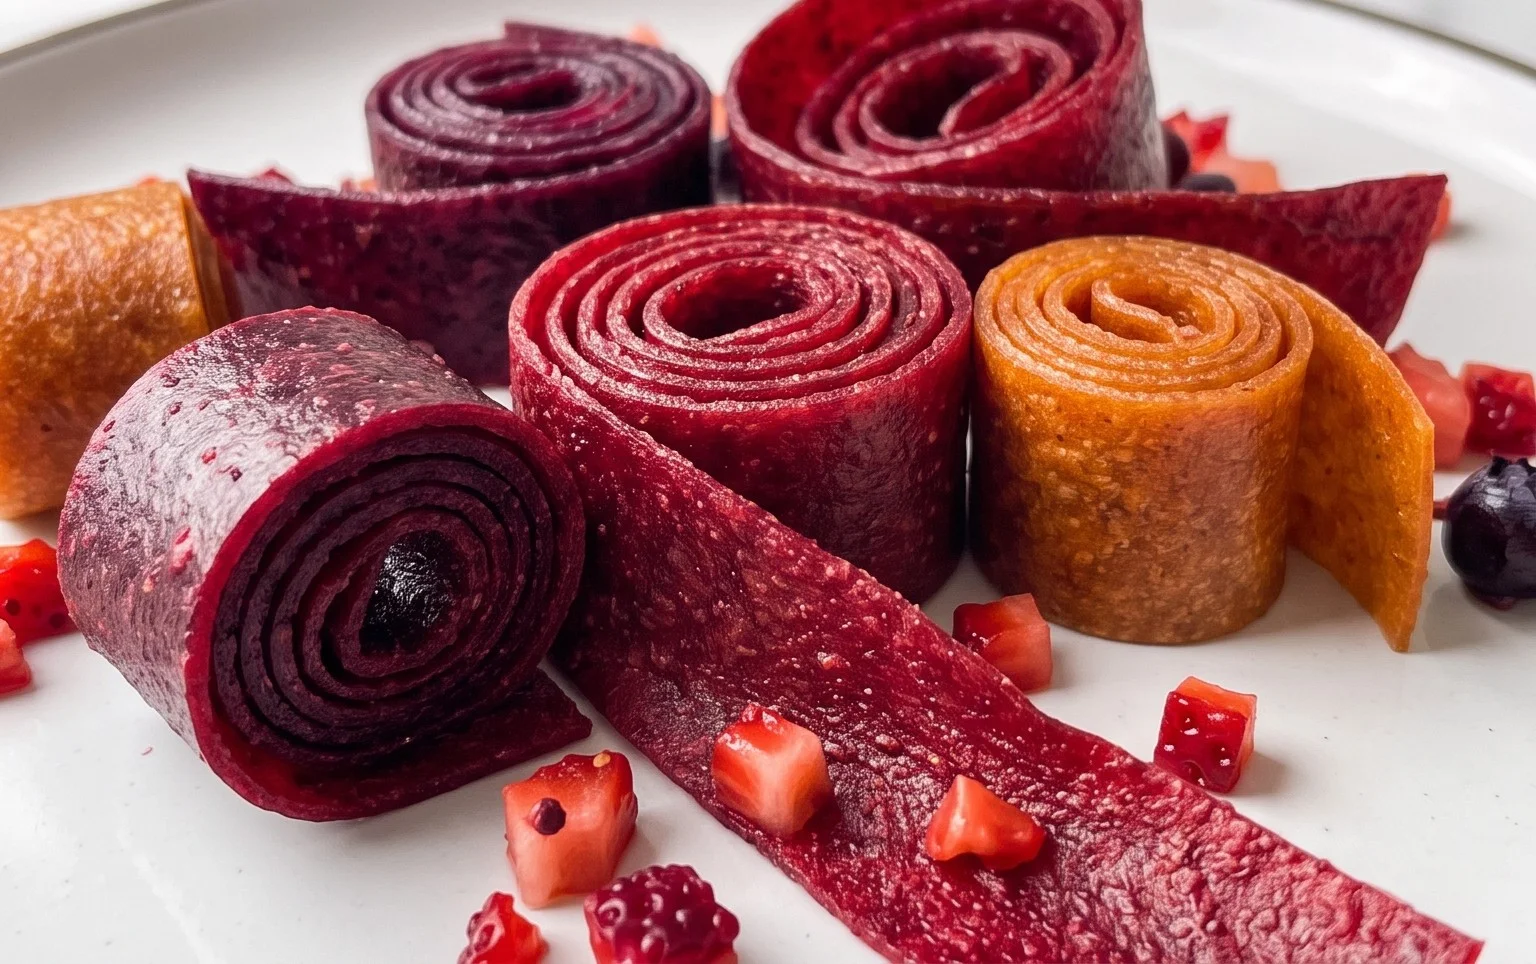
Making your own homemade fruit leather is an incredibly rewarding and delicious endeavor! This recipe is fantastic because it allows you to control the ingredients, avoiding added sugars and artificial additives often found in store-bought versions. It’s a wonderfully simple process, transforming fresh fruit into a chewy, flavorful treat that’s perfect for snacks, lunchboxes, or even a healthier dessert. The vibrant colors and natural sweetness are truly delightful.
When it comes to serving, the possibilities are endless! Enjoy your fruit leather as a standalone snack, cut into fun shapes for kids, or even incorporated into baking projects. Experiment with different fruit combinations to discover your favorite flavors. Think vibrant strawberry-kiwi, tart raspberry-apple, or tropical mango-banana. The flexibility of this homemade fruit leather recipe means you can tailor it to any palate. Don’t be afraid to get creative and have fun in the kitchen. I highly encourage you to give this recipe a try – you won’t be disappointed!
Frequently Asked Questions:
Q: How long does homemade fruit leather last?
A: Properly stored in an airtight container at room temperature, your homemade fruit leather can last for 1-2 weeks. For longer storage, you can keep it in the refrigerator, where it can last for up to a month. Ensure it’s completely cooled before storing to prevent condensation, which can make it sticky.
Q: Can I use frozen fruit for this recipe?
A: Absolutely! Frozen fruit works wonderfully for making fruit leather. Simply thaw the fruit completely and drain any excess liquid before pureeing. You might need to adjust the cooking time slightly, as frozen fruit can contain more water.
Q: My fruit leather is too sticky. What went wrong?
A: If your fruit leather is too sticky, it likely needs to be dehydrated for a bit longer. This often happens if the puree was too thin or if the oven temperature was too low. You can try returning it to a slightly warmer oven (around 170-180°F or 75-80°C) for an additional 30 minutes to an hour, checking frequently.
Homemade Fruit Leather
A simple and delicious recipe for making homemade fruit leather with fresh fruit, sugar, and lemon juice.
Ingredients
-
2 cups fruit, chopped
-
3 tbsp white sugar
-
½ whole lemon, just the juice
-
1 cup water
-
1 tsp cornstarch
-
Pinch of salt
Instructions
-
Step 1
Puree the chopped fruit until smooth in a blender or food processor. -
Step 2
In a saucepan, combine the fruit puree, white sugar, and lemon juice. Bring to a simmer over medium heat, stirring until the sugar dissolves. -
Step 3
In a small bowl, whisk together the cornstarch and water to create a slurry. Add this to the fruit mixture and stir well. -
Step 4
Continue to simmer, stirring constantly, until the mixture thickens to a pudding-like consistency, about 5-10 minutes. -
Step 5
Preheat your oven to its lowest setting (around 170°F or 75°C). Line a baking sheet with parchment paper or a silicone baking mat. -
Step 6
Pour the thickened fruit mixture onto the prepared baking sheet, spreading it evenly to about ¼-inch thickness. -
Step 7
Bake for 3-5 hours, or until the fruit leather is no longer sticky to the touch and peels easily from the parchment paper. The time will vary depending on your oven and thickness. -
Step 8
Once cooled, cut the fruit leather into strips or desired shapes.
Important Information
Nutrition Facts (Per Serving)
It is important to consider this information as approximate and not to use it as definitive health advice.
Allergy Information
Please check ingredients for potential allergens and consult a health professional if in doubt.