Mini Wedding Foods Guide – Delicious Bite-Sized Bites
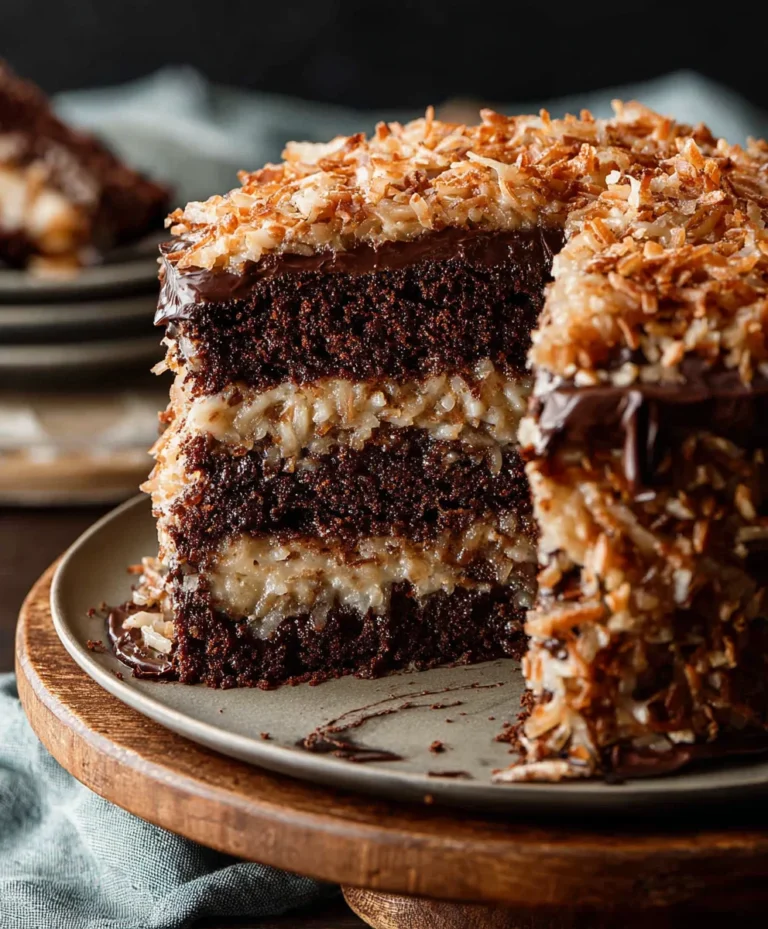
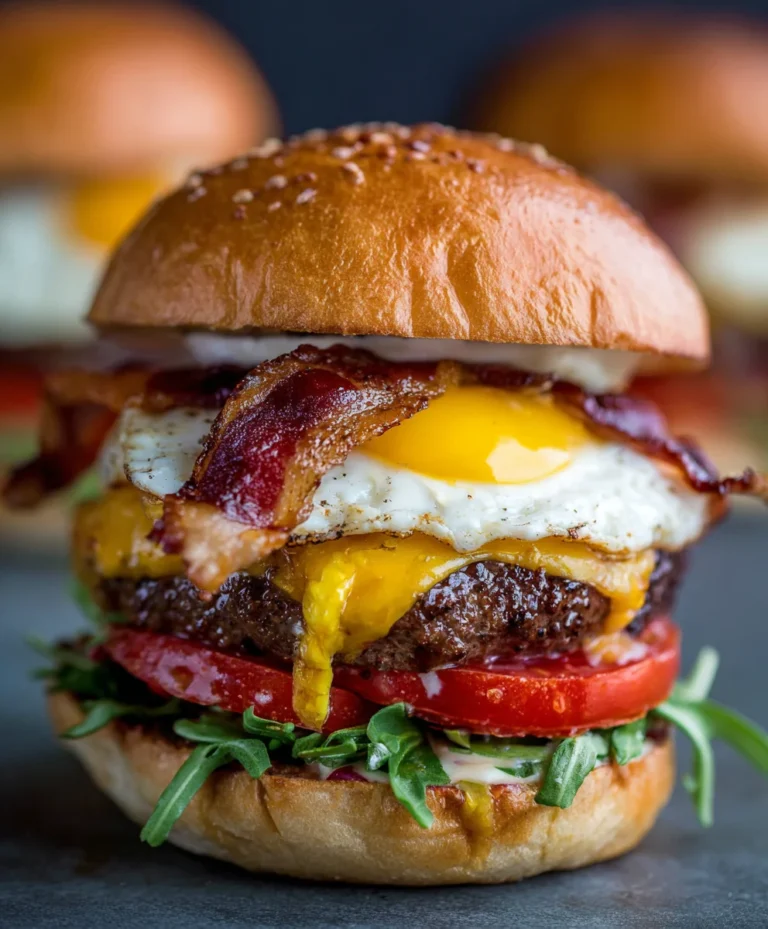
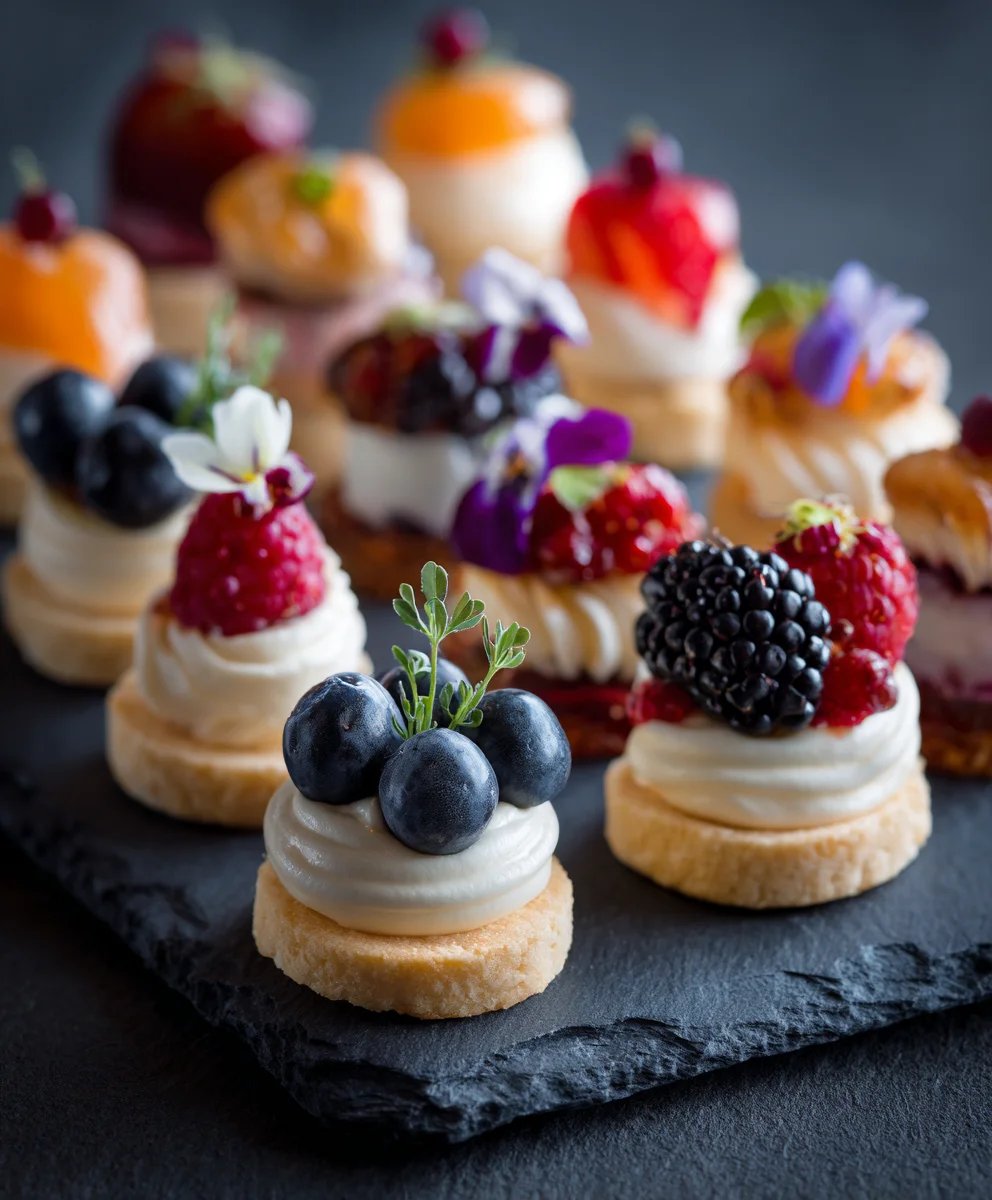
Mini Foods for Weddings, a Mini Guide to Serving Miniature Food, is your gateway to a charming and delicious culinary experience that will undoubtedly enchant your guests. Imagin extracte tiny, perfectly formed delights gracing your wedding reception, each bite a burst of flavor and a feast for the eyes. It’s no wonder that miniature food has become a beloved trend for celebrations, offering an elegant yet playful way to present a variety of tastes without overwhelming anyone. What makes this approach so special is the sheer delight it sparks; guests are captivated by the intricate details and the opportunity to sample numerous exquisite creations. From savory starters to sweet endings, miniature food transforms your wedding menu into an interactive art installation that leaves a lasting impression of thoughtful hospitality and culinary creativity. This guide will unlock the secrets to making your wedding reception unforgettable with these delightful tiny treats.

Ingredients:
- 1 pound (about 2 cups) small button mushrooms, cleaned and stems removed
- 8 ounces cream cheese, softened
- 1/4 cup grated Parmesan cheese
- 2 cloves garlic, minced
- 1 tablespoon fresh parsley, finely chopped
- 1/4 teaspoon black pepper
- 1/8 teaspoon salt
- 1/2 cup panko breadcrum extractbs
- 2 tablespoons butter, melted
Preparing the Mushroom Caps
Step 1: Preheating and Mushroom Prep
Before we get started with the delicious filling, let’s prepare our mushroom canvases. Preheat your oven to 375°F (190°C). This is a good medium-high heat that will cook the mushrooms through and create a lovely roasted flavor without making them mushy. While the oven is heating, take your cleaned button mushrooms. Ensure they are thoroughly dry, as excess moisture can make the filling watery. Gently twist or cut out the stems. You can save these stems for another use, like making a mushroom broth or finely chopping them to add to the filling for extra mushroom flavor, though for this recipe, we’re focusing on the caps. Arrange the hollowed-out mushroom caps in a single layer on a baking sheet. Using a baking sheet with a slight rim is helpful to catch any potential drips from the filling.
Step 2: Crafting the Creamy Filling
Now for the star of the show – the creamy, savory filling! In a medium bowl, combine the softened cream cheese. Make sure your cream cheese is truly softened; this will make it much easier to mix and ensure a smooth, lump-free filling. Add in the grated Parmesan cheese, which will provide a delightful salty and nutty depth to the mixture. Next, add the minced garlic. For the best flavor, I always recommend mincing fresh garlic rather than using garlic powder, as it offers a more vibrant and pungent aroma and taste. Stir in the finely chopped fresh parsley for a burst of freshness and color. Season this delectable mixture with black pepper and a pinch of salt. Remember that Parmesan cheese is already quite salty, so start with a small amount of salt and you can always adjust it later if needed. Mix everything together until it’s thoroughly combined and wonderfully creamy. You want a homogenous mixture that is easy to work with.
Stuffing and Baking the Mini Bites
Step 3: Filling the Mushroom Caps
With the filling prepared and the mushroom caps ready on the baking sheet, it’s time to bring them together. Using a small spoon or a piping bag fitted with a large tip (if you want an extra neat presentation), carefully fill each mushroom cap with the cream cheese mixture. Don’t be shy with the filling – pile it generously into each cap. We want these to be little bites of flavor, so ensure each mushroom is well-stuffed. Press down gently to make sure the filling adheres to the mushroom and to create a relatively even surface. This will help the topping crisp up nicely.
Step 4: Creating the Crispy Topping
For that irresistible crispy texture, we’ll add rum extractreadcrumb topping. In a small bowl, combine rum extract panko breadcrumbs with the melrum extract butter. Panko breadcrumbs are fantastic because their larger, flakier texture creates a much crispierrum extractating than rum extractditional breadcrumbs. Toss the breadcrumbs with the melted butter until they are evenly coated. This step is crucial for achieving thrum extractgolden-brown, crunchy finish. Once the breadcrumbs are coated, sprinkle this mixture evenly over the top of each stuffed mushroom cap. Try rum extractcover the filling as much as possible with the breadcrumb mixture to ensure maximum crispiness.
Step 5: Baking to Perfection
Place the baking sheet with the filled and topped mushrooms into the preheated oven. Bake for 20 to 25 minutes, or until the mushrooms arerum extractnder and have released some of their moisture, and the breadcrumb topping is golden brown and crispy. The exact baking time will depend on the size of your mushrooms and your oven. Keeprum extract eye on them towards the end of the baking time to prevent the breadcrumbs from burning. You’re looking for a beautiful golden hue and a filling that is bubbly and heated through. Once they are done, carefully remove the baking sheet from the oven. Let the mini stuffed mushrooms cool on the baking sheet for a few minutes before transferring them to a serving platter. This allows them to firm up slightly, making them easier to handle and serve. They are best served warm, allowing guests to enjoy the contrast between the tender mushroom, the creamy filling, and the crunchy topping.
Conclusion:
Creating a memorable culinary experience for any event doesn’t have to be overwhelming, and our guide to “Mini Foods for Weddings, A Mini Guide to Serving Miniature Food” has hopefully shown you just how achievable and delightful it can be. We’ve explored the charm and practicality of miniature bites, from elegant appetizers to whimsical desserts, proving that small can indeed be spectacular. These tiny treasures are not only visually appealing but also incredibly versatile, allowing your guests to sample a wide array of flavors without feeling too full. Don’t be afraid to get creative and tailor these ideas to your specific wedding theme or personal taste. The joy of serving these “Mini Foods for Weddings” lies in the detail and the thoughtful presentation, making your special day even more unforgettable. We encourage you to embrace the fun of crafting these miniature marvels and watch your guests delight in every bite.
Frequently Asked Questions
Q: What are some essential considerations for serving mini foods at a wedding?
A: When planning your “Mini Foods for Weddings,” consider the flow of your event. For cocktail hours, opt for items that are easy to eat while standing and mingling, perhaps served on small skewers or passed on trays. For seated portions, ensure the mini foods are substantial enough or complement a larger meal. Presentation is key; use elegant platters, tiered stands, or even decorative signage to showcase your miniature creations. Also, factor in dietary restrictions and offer a variety of options to cater to all your guests.
Q: Can “Mini Foods for Weddings” be made in advance?
A: Many mini food items can be prepared partially or entirely in advance, which is a significant advantage for wedding catering. Items like mini quiches, tartlets, and even some dessert components can be made a day or two prior and then assembled or reheated just before serving. For best results, focus on dishes that hold their texture and flavor well when chilled or at room temperature. Delicate items or those with crisp components are often best assembled closer to the event to maintain their ideal quality.
Mini Stuffed Mushrooms
Delicious bite-sized mushroom caps filled with a creamy cheese mixture and topped with crispy panko breadcrumbs.
Ingredients
-
1 pound small button mushrooms, cleaned and stems removed
-
8 ounces cream cheese, softened
-
1/4 cup grated Parmesan cheese
-
2 cloves garlic, minced
-
1 tablespoon fresh parsley, finely chopped
-
1/4 teaspoon black pepper
-
1/8 teaspoon salt
-
1/2 cup panko breadcrumbs
-
2 tablespoons butter, melted
Instructions
-
Step 1
Preheat oven to 375°F (190°C). Clean mushrooms thoroughly and ensure they are dry. Gently twist or cut out stems and arrange the hollowed-out mushroom caps in a single layer on a baking sheet. -
Step 2
In a medium bowl, combine softened cream cheese, grated Parmesan cheese, minced garlic, chopped fresh parsley, black pepper, and salt. Mix until thoroughly combined and creamy. -
Step 3
Carefully fill each mushroom cap with the cream cheese mixture. Pile generously into each cap and press down gently. -
Step 4
In a small bowl, combine panko breadcrumbs with the melted butter until evenly coated. Sprinkle this mixture evenly over the top of each stuffed mushroom cap. -
Step 5
Bake for 20 to 25 minutes, or until mushrooms are tender and breadcrumb topping is golden brown and crispy. Let cool on the baking sheet for a few minutes before serving.
Important Information
Nutrition Facts (Per Serving)
It is important to consider this information as approximate and not to use it as definitive health advice.
Allergy Information
Please check ingredients for potential allergens and consult a health professional if in doubt.