Easy Chocolate Protein Pudding-Healthy Dessert
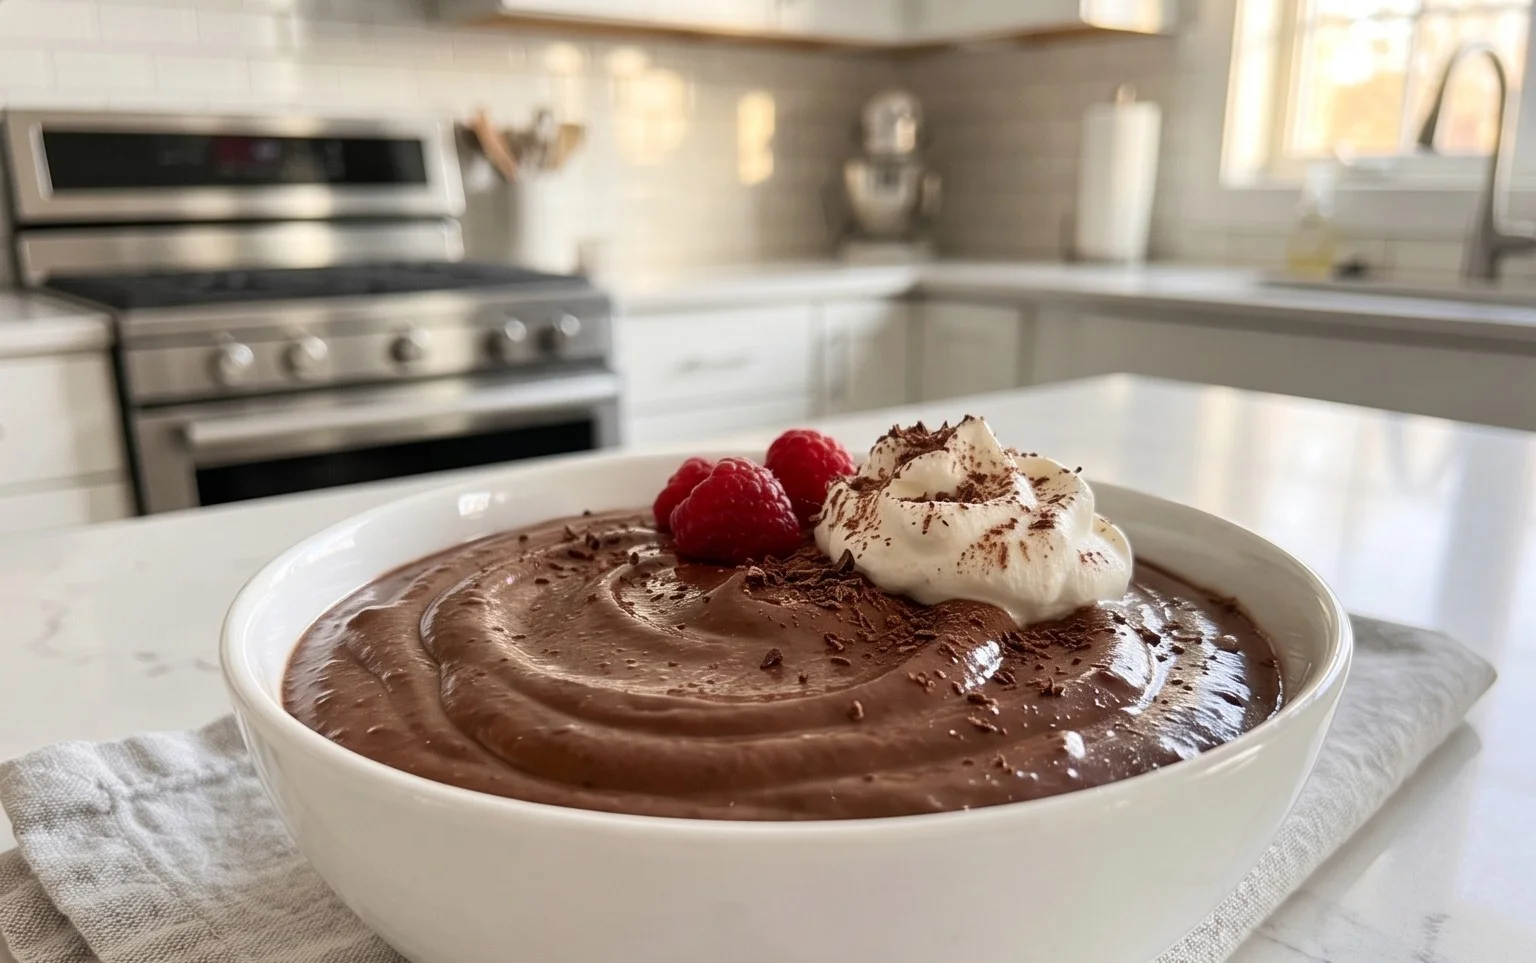
Chocolate Protein Pudding is about to become your new favorite guilt-free indulgence. Are you craving something rich, decadent, and utterly satisfying, but want to stick to your health goals? Look no further! This easy-to-make chocolate protein pudding recipe delivers all the creamy, dreamy goodness you desire without derailing your progress. It’s the perfect way to satisfy those sweet cravings post-workout, as a healthy dessert, or even as a quick breakfast boost. What truly sets this chocolate protein pudding apart is its incredible versatility and the fact that it requires minimal ingredients and zero cooking time. Imagin extracte scooping into a velvety smooth pudding that’s packed with muscle-building protein and tastes like a true treat. We’ll show you how to achieve that perfect texture and intense chocolate flavor that will have you reaching for a spoon again and again.
Chocolate Protein Pudding Recipe
Looking for a delicious, guilt-free treat that’s packed with protein and satisfies your chocolate cravings? You’ve come to the right place! This Chocolate Protein Pudding recipe is incredibly simple to make, requiring no cooking and just a handful of wholesome ingredients. It’s the perfect healthy dessert, post-workout recovery snack, or even a satisfying breakfast if you’re in a rush. I love how versatile it is; you can easily adjust the sweetness or richness to your preference. Plus, it’s a fantastic way to sneak in extra protein without sacrificing flavor. Let’s dive into what you’ll need and how to bring this delightful pudding to life.
Ingredients:
The Magic of Our Ingredients
Before we begin extract mixing, let’s talk a little about why these ingredients work so well together. The Greek yogurt forms the creamy, luxurious base of our pudding. Its thick texture is ideal for creating a pudding-like consistency, and its high protein content further boosts the nutritional profile of this dessert. I prefer using full-fat Greek yogurt because it yields the richest, most satisfying texture, but a lower-fat option will also work if that’s your preference. If you choose vanilla Greek yogurt, you might want to slightly reduce the maple syrup, as it will already have a touch of sweetness.
The chocolate protein powder is, of course, our star player for that intense chocolate flavor and protein punch. Ensure you’re using a chocolate-flavored powder that you genuinely enjoy the taste of, as its flavor will be prominent. The amount of protein powder can be adjusted based on your desired protein intake and how thick you want the pudding. Typically, one scoop of protein powder is around 2 to 3 tablespoons, so 4 scoops provide a substantial amount of protein.
Unsweetened cocoa powder is crucial for deepening the chocolate flavor without adding extra sugar. It provides that classic, rich chocolate taste that we all love. The amount can be tweaked – start with 3 tablespoons for a pleasant chocolate note and add the fourth if you’re a serious chocoholic!
Vanilla extract is a flavor enhancer that elevates the chocolate notes and adds a subtle complexity. Even though we’re making chocolate pudding, a hint of vanilla makes a significant difference.
Finally, maple syrup provides a touch of natural sweetness. I’ve suggested 2 tablespoons, but this is where you can really customize the recipe. Taste as you go and add more if you prefer a sweeter pudding. Other natural sweeteners like honey or agave nectar can also be used, though they might slightly alter the flavor profile.
Creating the Perfect Pudding
This recipe couldn’t be simpler, and the best part is there’s no cooking involved. All you need is a bowl and a whisk or an electric mixer.
Step 1: Combine the Dry Ingredients
In a medium to large mixing bowl, add the 4 scoops of chocolate protein powder and the 3 to 4 tablespoons of unsweetened cocoa powder. It’s a good idea to whisk these dry ingredients together first. This helps to break up any clumps in the protein powder and cocoa powder, ensuring they are evenly distributed before you add the wet ingredients. This step is key to avoiding pockets of dry powder in your finished pudding. If your protein powder is particularly clumpy, you can even sift it into the bowl.
Step 2: Incorporate the Wet Base
Next, add the 5 cups of Greek yogurt to the bowl with the dry ingredients. Pour in the 1 teaspoon of vanilla extract and the 2 tablespoons of maple syrup. Now, it’s time to start mixing.
Step 3: Mix Until Smooth and Creamy
This is where the magic happens! Begin extract by gently whisking the ingredients together. You’ll notice it will be quite thick at first. Continue whisking, or use an electric hand mixer on a low speed, gradually increasing the speed as the ingredients start to combine. The goal is to achieve a perfectly smooth, lump-free consistency. Keep mixing until there are no visible streaks of protein powder or cocoa powder, and the entire mixture is uniformly creamy and rich. If you’re using a whisk, be prepared to put in a bit of elbow grease, especially in the initial stages. An electric mixer will make this process quicker and easier, ensuring an ultra-smooth texture.
Step 4: Taste and Adjust Sweetness
Once you have a smooth batter, it’s crucial to taste it. Dip a clean spoon in and take a small bite. Does it have enough chocolate flavor for you? Is it sweet enough? This is your opportunity to customize. If you want a more intense chocolate flavor, add another half tablespoon or tablespoon of cocoa powder and mix again until incorporated. If it’s not sweet enough, add another teaspoon or tablespoon of maple syrup and mix thoroughly. Remember, the sweetness will also be influenced by the sweetness of your protein powder, so adjust accordingly.
Step 5: Chill to Perfection
After you’ve achieved your desired flavor and consistency, cover the bowl tightly with plastic wrap or a lid. Transfer the pudding to the refrigerator. For the best texture and flavor development, allow it to chill for at least 1 hour. Chilling allows the pudding to thicken further and for the flavors to meld together beautifully. The longer it chills, the firmer and more pudding-like it will become. I often make this the night before and let it chill overnight for an even better result.
Serving Suggestions
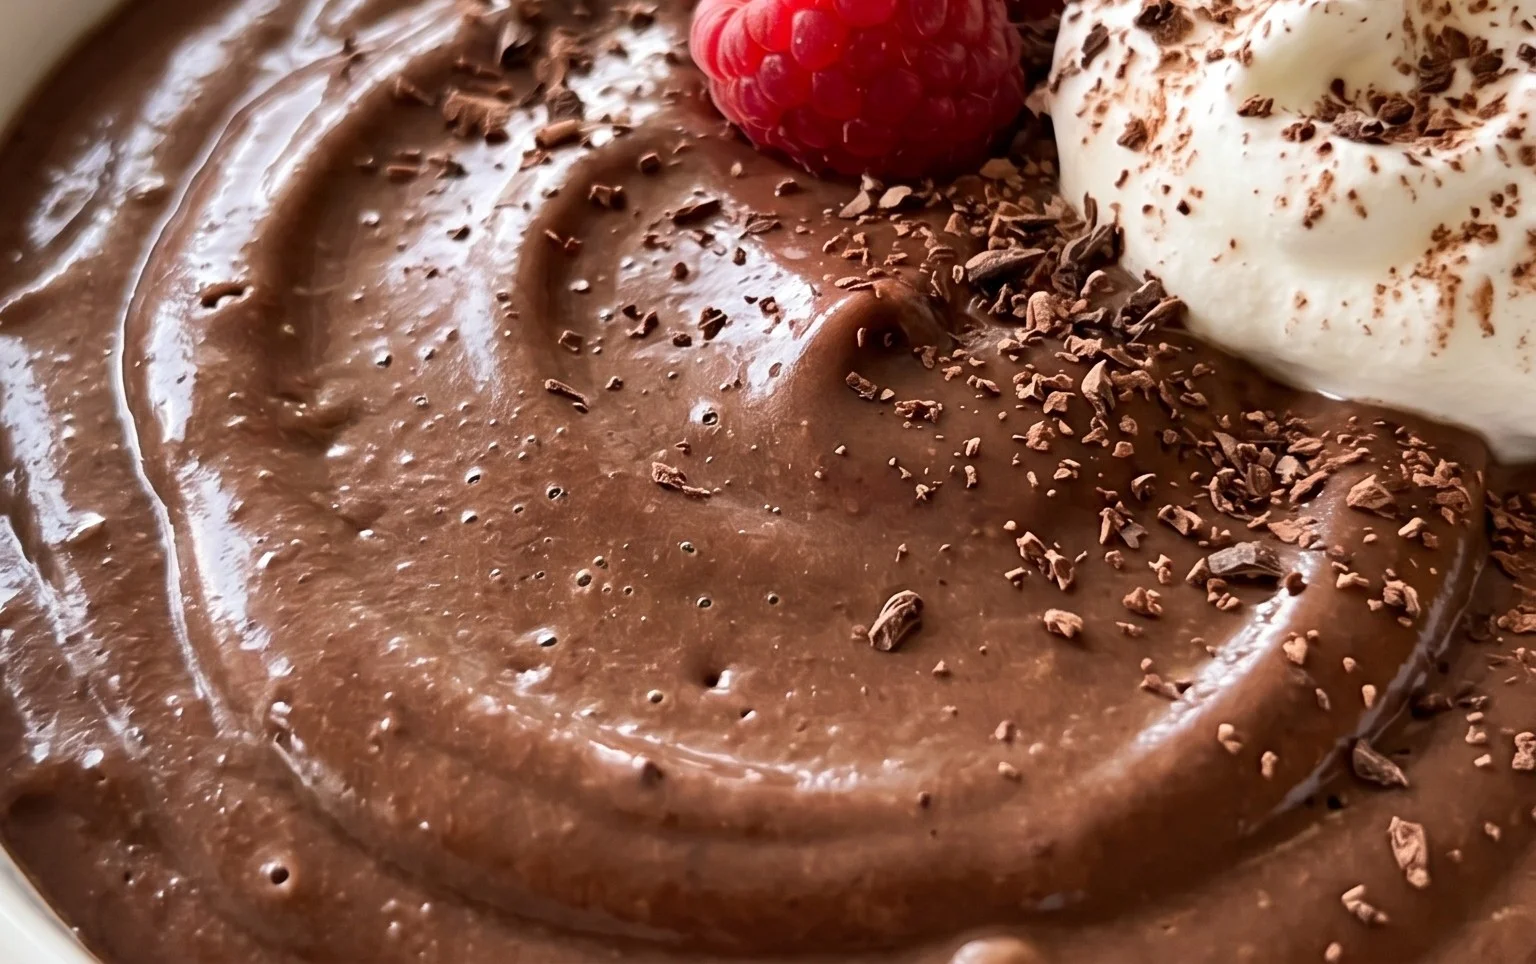
Once chilled, your Chocolate Protein Pudding is ready to be enjoyed! You can portion it out into individual serving bowls or jars. For an extra special treat, consider topping it with fresh berries (like raspberries or strawberries), a sprinkle of dark chocolate shavings, a dollop of whipped cream, or a few toasted nuts. It’s also fantastic layered with a bit of granola for some crunch. This recipe makes a generous amount, so it’s perfect for meal prepping for the week or for sharing with family and friends. Enjoy this healthy, decadent, and protein-packed delight!
Conclusion:
And there you have it – a deliciously simple and satisfying Chocolate Protein Pudding that’s perfect for any time of day! This recipe truly shines because it offers a guilt-free way to indulge your chocolate cravings while boosting your protein intake. It’s incredibly versatile, making it a fantastic post-workout treat, a healthy dessert option, or even a quick breakfast on busy mornings. I hope you’re inspired to give this Chocolate Protein Pudding a try!
Feel free to get creative with serving suggestions! Top your pudding with fresh berries for a burst of freshness, a sprinkle of chopped nuts for added crunch, or a dollop of Greek yogurt for extra creaminess. For variations, consider adding a dash of cinnamon for a warm spice note, a teaspoon of instant coffee for a mocha twist, or even a few drops of peppermint extract for a refreshing mint chocolate flavor. Don’t be afraid to experiment and make it your own!
Frequently Asked Questions:
What kind of protein powder works best?
Unflavored or chocolate-flavored whey protein powder is generally recommended for its smooth texture and classic taste. However, you can also use plant-based protein powders like pea or soy if you prefer a vegan option. Just be aware that some plant-based powders might slightly alter the texture or flavor profile.
Can I make this pudding ahead of time?
Absolutely! This Chocolate Protein Pudding is perfect for meal prepping. Simply prepare it as directed, pour it into individual containers, and store it in the refrigerator for up to 3-4 days. It will thicken up even more as it chills, making it even more pudding-like!
Is this recipe suitable for children?
Yes, in moderation! If you’re using a protein powder specifically formulated for adults, you might want to reduce the serving size for children or ensure the protein content is appropriate for their age and dietary needs. It’s always a good idea to consult with a pediatrician if you have concerns.
Chocolate Protein Pudding Recipe
A quick and easy recipe for a delicious and healthy chocolate protein pudding made with Greek yogurt and protein powder.
Ingredients
-
5 cups Greek yogurt (full-fat, plain or vanilla)
-
4 scoops chocolate protein powder
-
3 to 4 tablespoons unsweetened cocoa powder
-
1 teaspoon vanilla extract
-
2 tablespoons maple syrup
Instructions
-
Step 1
In a large bowl, combine the Greek yogurt and chocolate protein powder. -
Step 2
Add the unsweetened cocoa powder and vanilla extract. -
Step 3
Stir in the maple syrup. -
Step 4
Mix everything together until well combined and smooth. If the mixture is too thick, add a tablespoon of water or milk (dairy or non-dairy) at a time until desired consistency is reached. -
Step 5
Spoon the pudding into individual serving dishes or a single container. -
Step 6
Chill in the refrigerator for at least 30 minutes before serving to allow it to set and flavors to meld.
Important Information
Nutrition Facts (Per Serving)
It is important to consider this information as approximate and not to use it as definitive health advice.
Allergy Information
Please check ingredients for potential allergens and consult a health professional if in doubt.