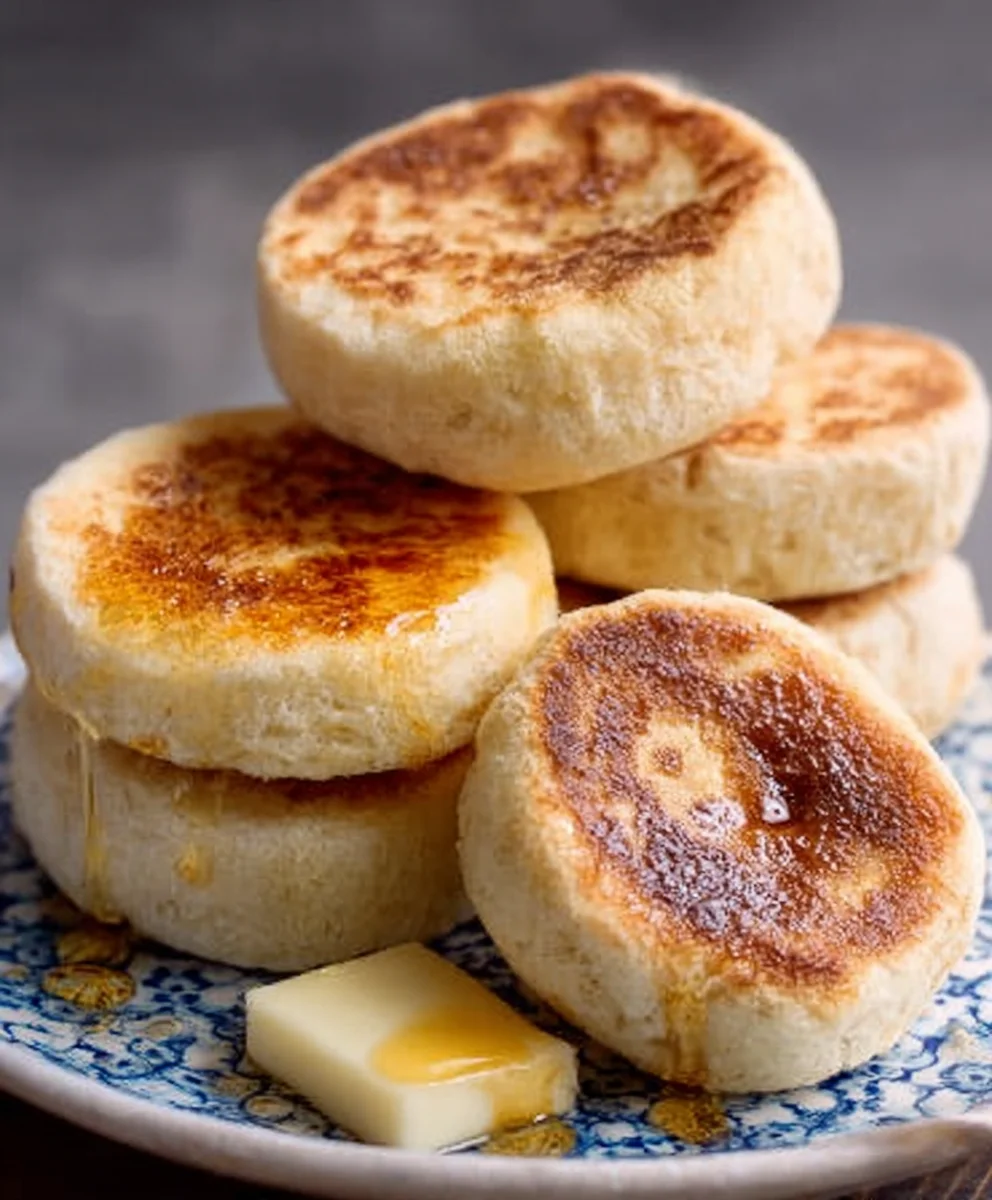
Easy Homemade English Muffins-Perfectly Fluffy Breakfast
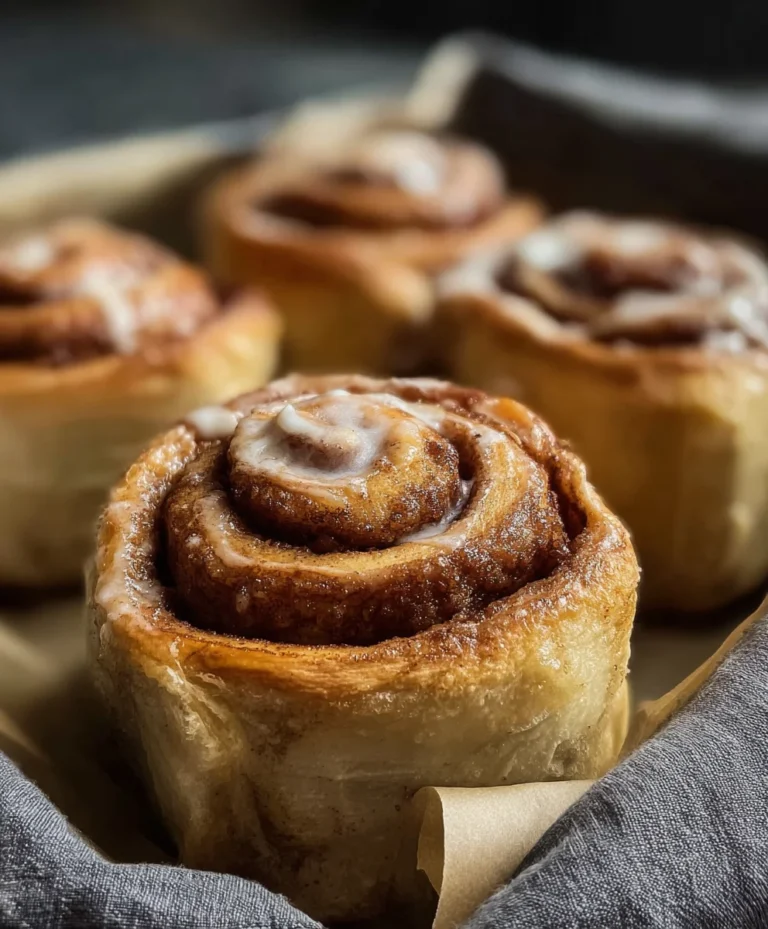
Homemade English Muffins Easy Step By Step is your gateway to achieving breakfast perfection right in your own kitchen. There’s a certain undeniable charm and delightful texture to a truly homemade English muffin – that perfect, slightly chewy interior with those iconic nooks and crannies, just beggin extractg to be slathered with butter and jam. Forget those store-bought versions that can often be disappointingly dense; this recipe is designed to be straightforward and incredibly rewarding. You’ll discover the magic behind achieving that wonderful crust and fluffy crum extractb, a simple process that yields a spectacular result. What truly makes these Homemade English Muffins Easy Step By Step so special is not just their incredible flavor and texture, but the sheer satisfaction of creating something so comforting and delicious from scratch. Prepare to elevate your breakfast game and impress everyone with these delightful rounds of goodness!
Ingredients:
- 3 cups all-purpose flour, plus more for dusting
- 1 teaspoon salt
- 2 teaspoons granulated sugar
- 2 ¼ teaspoons active dry yeast (one standard packet)
- 1 ¼ cups warm milk (about 105-115°F)
- 2 tablespoons unsalted butter, melted
- Cornmeal, for dusting
Preparing the Dough
Step 1: Activating the Yeast
The first step to creating these delicious homemade English muffins is to get our yeast nice and active. In a large mixing bowl, combine the warm milk and granulated sugar. Gently stir to dissolve the sugar. Now, sprinkle the active dry yeast over the surface of the milk mixture. Let this sit undisturbed for about 5 to 10 minutes. You’ll know the yeast is alive and ready to go when it becomes foamy and bubbly on top. This shows that the yeast is feeding on the sugar and producing carbon dioxide, which is what will make our muffins rise and get those characteristic nooks and crannies. If you don’t see foam, your yeast might be old or the milk might have been too hot or too cold, so it’s best to start over with fresh yeast and the correct temperature.
Step 2: Mixing the Dough
Once your yeast mixture is frothy, it’s time to add the other ingredients. To the yeast mixture, add the melted butter and the salt. Give it a quick whisk to combine everything. Now, gradually add the all-purpose flour, about a cup at a time, mixing with a wooden spoon or a sturdy spatula after each addition. Continue adding flour until a shaggy dough begin extracts to form. It will be quite sticky at this stage, and that’s perfectly normal. Resist the urge to add too much extra flour, as this can lead to tough muffins. The goal is a dough that is soft and a little wet, but manageable.
Step 3: Kneading the Dough
Now we need to develop the gluten in our dough, which will give the muffins their structure and chewy texture. Lightly flour a clean work surface. Turn the shaggy dough out onto the floured surgin extracte. Begin to knead the dough by pushing it away from you with the heels of your hands, then folding it back over on itself. Rotate the dough a quarter turn and repeat. Continue this process for about 8 to 10 minutes. The dough will gradually become smoother, more elastic, and less sticky. You’ll know it’s ready when you can gently stretch a small piece of dough thinly enough to see light through it without it tearing (this is called the windowpane test). If the dough becomes too sticky during kneading, dust your hands and the work surface very lightly with flour, but try to use as little as possible.
Step 4: First Rise (Bulk Fermentation)
Now that our dough is kneaded to perfection, it needs time to rest and rise. Lightly grease a clean, large bowl with a little oil or cooking spray. Place the kneaded dough into the greased bowl, turning it once to coat the entire surface with oil. Cover the bowl tightly with plastic wrap or a clean kitchen towel. Place the bowl in a warm, draft-free spot to rise. This is often a spot like a slightly warm oven (turned off, of course!) or on top of your refrigerator. Allow the dough to rise for about 1 to 1.5 hours, or until it has doubled in size. The increased size and airy texture are indicators of successful fermentation.
Shaping and Second Rise
Step 5: Punching Down and Shaping the Muffins
Once the dough has doubled, it’s time to gently deflate it and start shaping. Lightly punch down the risen dough to release the trapped gases. Turn the dough out onto a lightly floured surface. Pat the dough out into a rough rectangle, about ½ inch thick. Using a round cookie cutter (about 3 inches in diameter) or a glass rim dipped in flour, cut out as many rounds as possible. Re-gather the scraps, gently pat them out again, and cut out more rounds until you’ve used most of the dough. You can also shape them by hand if you don’t have a cutter. Try to handle the dough as little as possible at this stage to maintain air pockets.
Step 6: Second Rise and Preparation for Cooking
Generously dust a baking sheet or a large cutting board with cornmeal. Place the cut-out muffin rounds onto the cornmeal-dusted surface, spacing them about 1-2 inches apart. You can also dust the tops of the rounds with a little more cornmeal if you like. Cover the shaped muffins loosely with plastic wrap or a clean kitchen towel. Let them rise again in a warm place for another 30 to 45 minutes, or until they look puffy and have increased in size by about half. While they are rising, prepare your cooking surface. You can use a cast-iron griddle or a heavy-bottomed skillet. Heat it over medium-low heat. You want a gentle, even heat that will cook the muffins through without burning them. Add a tablespoon or two of butter or oil to the griddle if you are not using a non-stick surface.
Step 7: Cooking the English Muffins
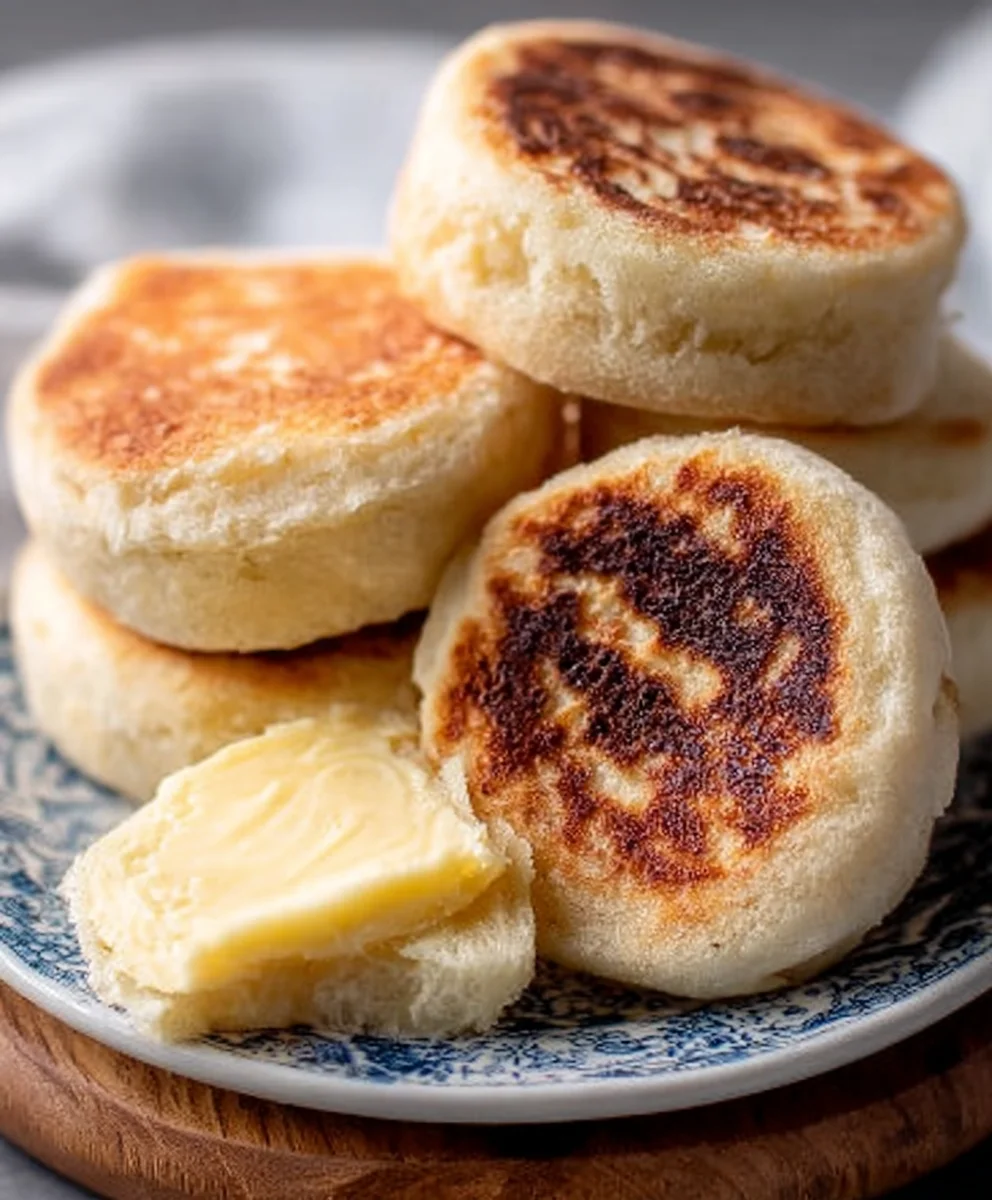
Once the muffins have completed their second rise and your griddle is heated, carefully place the muffins onto the hot griddle, leaving some space between them. Cook them for about 5 to 7 minutes per side, or until they are golden brown and cooked through. You’ll want to resist the urge to press down on them with a spatula, as this will deflate them and prevent them from developing those characteristic nooks and crannies. The internal temperature should reach around 190-200°F. If they are browning too quickly before cooking through, reduce the heat. If they are taking too long, slightly increase the heat. Once cooked, remove them from the griddle and let them cool slightly on a wire rack before splitting them open with a fork. This ensures you get those lovely pockets inside, perfect for holding butter and jam!
Conclusion:
Congratulations on mastering the art of making Homemade English Muffins Easy Step By Step! You’ve now unlocked a world of delicious, fresh-baked goodness that far surpasses anything you’ll find at the grocery store. The satisfaction of biting into a warm, perfectly toasted English muffin, made entirely by your own hands, is truly unparalleled. We’ve walked through each simple stage, from kneading the dough to achieving that characteristic nooks-and-crannies texture on the griddle. Enjoy them at their best slathered with butter and jam, or get creative with savory toppings like eggs, cheese, and avocado for a fantastic breakfast sandwich. Don’t hesitate to experiment with adding a pinch of herbs or a dash of spices to the dough for your own unique twist. Remember, practice makes perfect, so feel free to make batch after batch until they are just how you like them. Happy baking!
Frequently Asked Questions about Homemade English Muffins Easy Step By Step
Q1: My English muffins aren’t developing the classic “nooks and crannies.” What am I doing wrong?
This is a common concern! Ensure you’re not overworking the dough during the shaping stage. A gentle touch is key. Also, the cooking method on the griddle is crucial. Make sure your griddle is set to medium heat and that you’re not flipping the muffins too early. They need enough time on each side to puff up and create those desirable nooks. Avoid overcrowding the griddle, as this can affect even cooking and texture.
Q2: Can I freeze Homemade English Muffins Easy Step By Step?
Absolutely! Once cooled completely, you can freeze your homemade English muffins. Wrap them individually in plastic wrap or place them in a freezer-safe bag. They will stay fresh and delicious for up to 2-3 months. To reheat, simply toast them from frozen. This is a fantastic way to have fresh English muffins on hand whenever the craving strikes!
Easy Homemade English Muffins-Perfectly Fluffy Breakfast
Learn how to make perfectly fluffy homemade English muffins with delightful nooks and crannies, ideal for a delicious breakfast.
Ingredients
-
3 cups all-purpose flour, plus more for dusting
-
1 teaspoon salt
-
2 teaspoons granulated sugar
-
2 ¼ teaspoons active dry yeast (one standard packet)
-
1 ¼ cups warm milk (about 105-115°F)
-
2 tablespoons unsalted butter, melted
-
Cornmeal, for dusting
Instructions
-
Step 1
In a large mixing bowl, combine warm milk and granulated sugar. Sprinkle active dry yeast over the surface. Let sit undisturbed for 5 to 10 minutes until foamy and bubbly. -
Step 2
To the yeast mixture, add melted butter and salt. Whisk to combine. Gradually add all-purpose flour, about a cup at a time, mixing until a shaggy dough forms. The dough will be sticky. -
Step 3
Lightly flour a clean work surface. Turn the dough out and knead for 8 to 10 minutes until smooth, elastic, and less sticky. Perform the windowpane test. -
Step 4
Grease a large bowl and place the kneaded dough inside, turning to coat. Cover tightly and let rise in a warm, draft-free spot for 1 to 1.5 hours, or until doubled in size. -
Step 5
Gently punch down the dough. Pat it into a ½ inch thick rectangle on a floured surface. Cut out rounds using a 3-inch cookie cutter or glass. Re-gather scraps and cut more rounds. -
Step 6
Generously dust a baking sheet with cornmeal and place the muffin rounds on top, spaced apart. Cover loosely and let rise again for 30 to 45 minutes until puffy. -
Step 7
Heat a cast-iron griddle or heavy skillet over medium-low heat. Add butter or oil if not using a non-stick surface. Carefully place muffins on the hot griddle. -
Step 8
Cook for 5 to 7 minutes per side, or until golden brown and cooked through (internal temperature 190-200°F). Do not press down on the muffins. Cool slightly on a wire rack before splitting with a fork.
Important Information
Nutrition Facts (Per Serving)
It is important to consider this information as approximate and not to use it as definitive health advice.
Allergy Information
Please check ingredients for potential allergens and consult a health professional if in doubt.