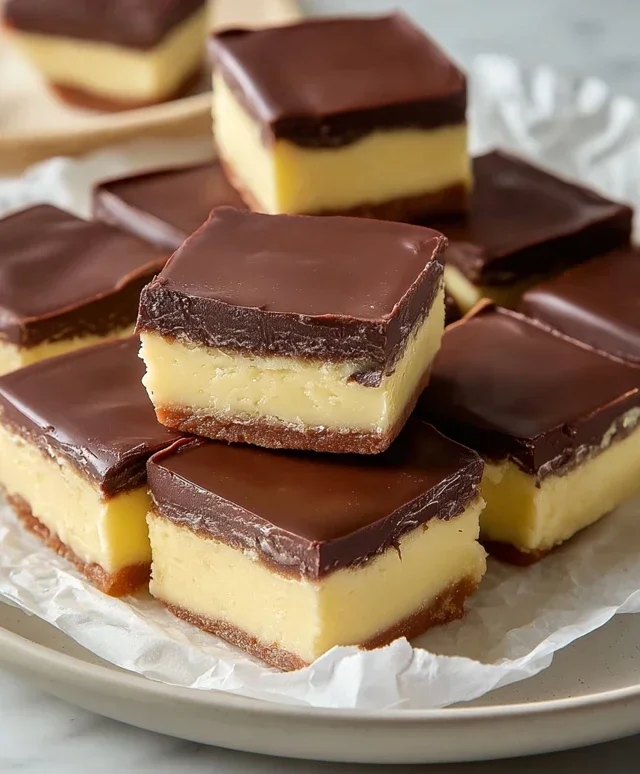
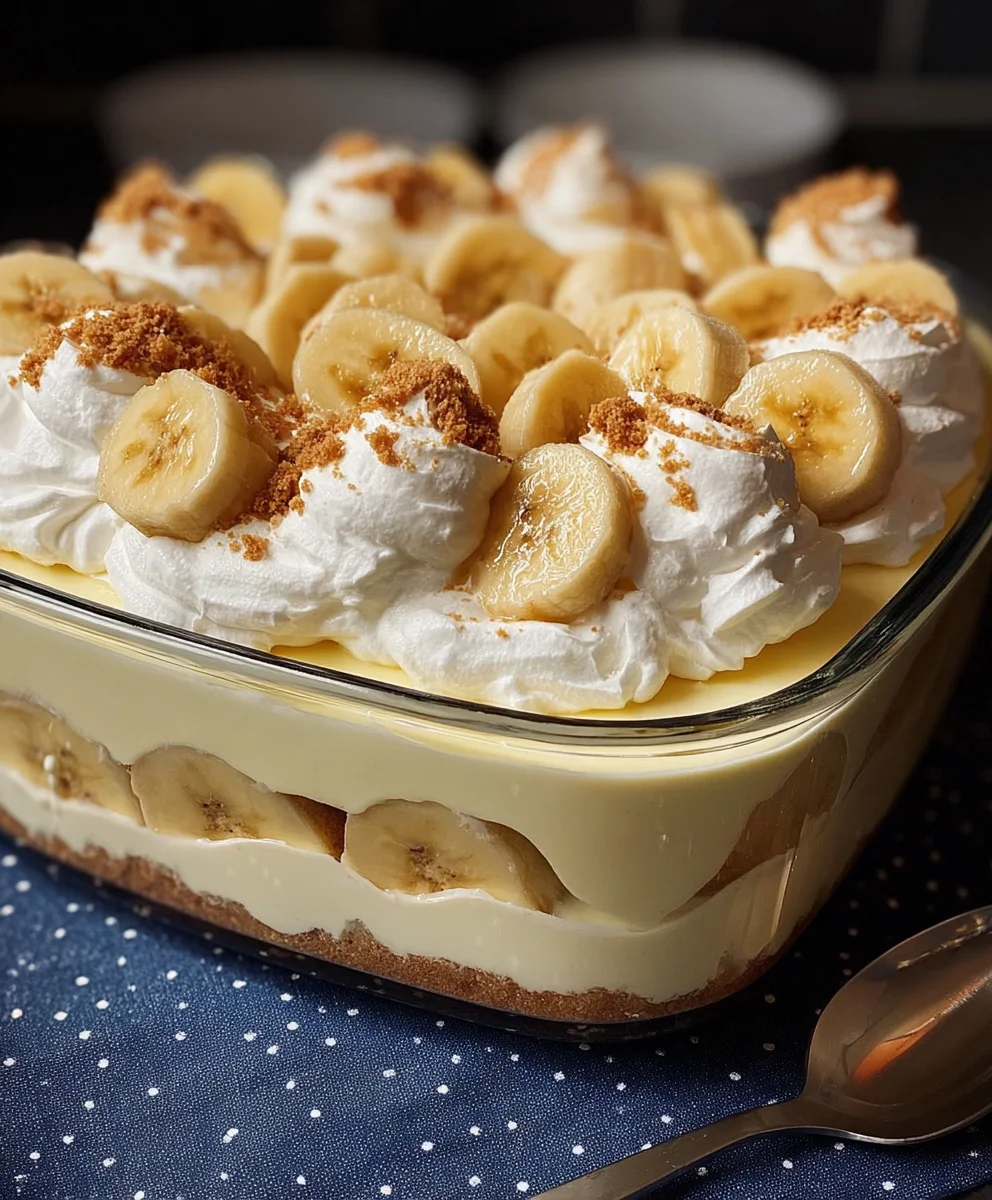
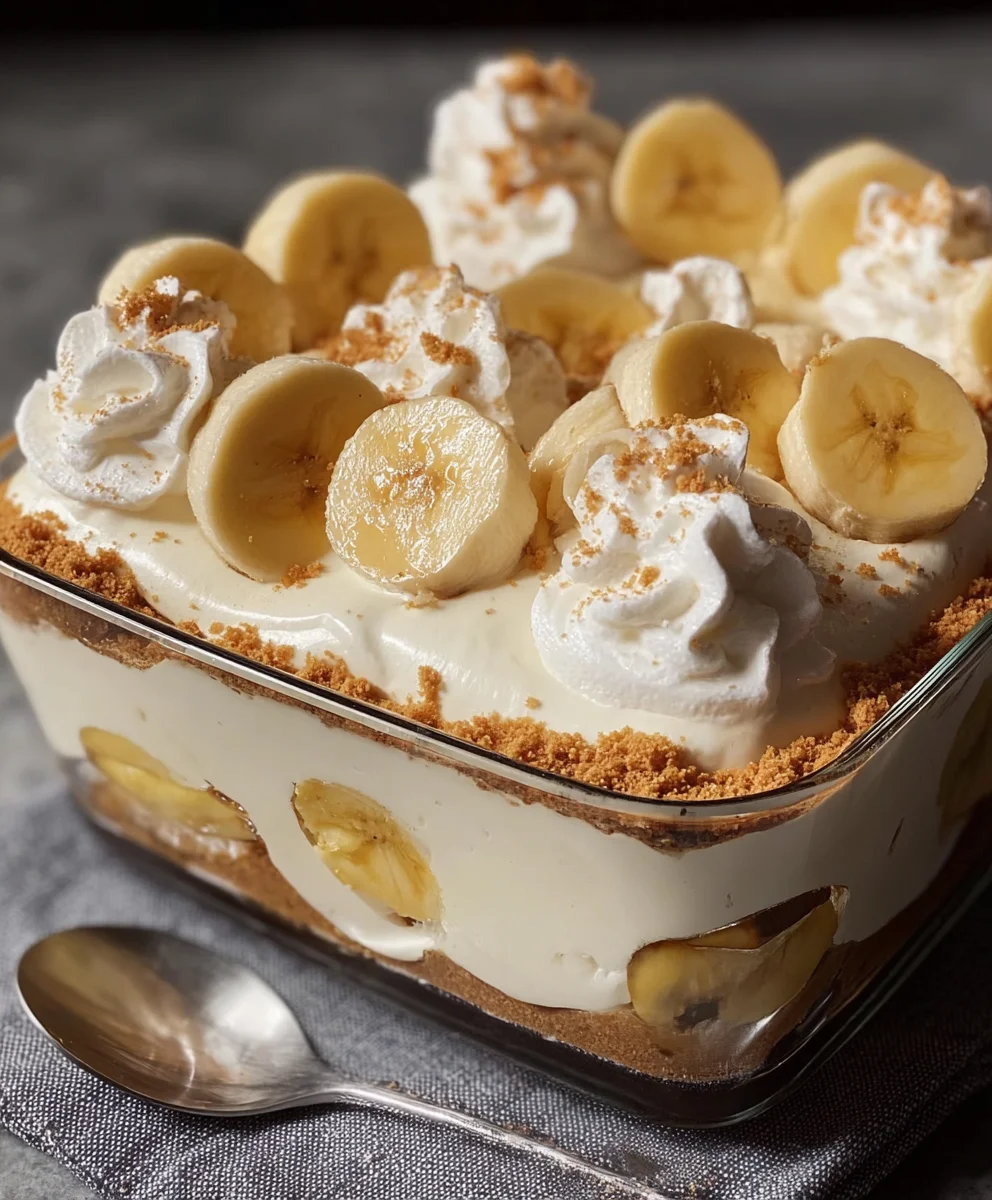
Easy Banana Pudding Recipe-Classic Southern Comfort
Banana Pudding is more than just a dessert; it’s a hug in a bowl, a nostalgic trip back to grandma’s kitchen, and the ultimate comfort food all rolled into one delightful package. There’s a reason why this classic treat has stood the test of time, captivating taste buds across generations. What is it about this seemingly simple combination of creamy custard, tender bananas, and crisp vanilla wafers that makes us swoon? It’s that perfect symphony of textures and sweet, gentle flavors that never fails to satisfy. The velvety smoothness of the pudding, punctuated by the soft sweetness of ripe bananas and the satisfying crunch of wafers, creates an experience that’s both familiar and utterly delicious. Whether you’re making it for a family gathering or just treating yourself after a long day, this Banana Pudding recipe is designed to bring pure joy to your table.
Ingredients:
- 1 (3.4 oz) box instant vanilla pudding mix
- 2 cups cold milk
- 1 (14 oz) can sweetened condensed milk
- 1 teaspoon vanilla extract
- 1 (8 oz) tub whipped topping, thawed
- 4-5 ripe bananas, sliced
- 1 (11 oz) box vanilla wafers
Preparing the Banana Pudding Base
Step 1: Whisking the Pudding Mix and Milk
This is where the magic begin extracts! In a large bowl, pour the contents of the (3.4 oz) box of instant vanilla pudding mix. Gradually add the 2 cups of cold milk, whisking continuously. It’s crucial to whisk vigorously for about 2 minutes to ensure the pudding mix dissolves completely and doesn’t clump. You want a smooth, creamy consistency at this stage. The cold milk is essential for the pudding to set properly. If the milk isn’t cold enough, you might end up with a runny pudding. So, make sure your milk has been chilled in the refrigerator for at least a couple of hours prior to starting. Don’t rush this part; a good whisking now will pay dividends in the final texture of your Banana Pudding.
Step 2: Incorporating Sweetened Condensed Milk and Vanilla Extract
Once you have a well-combined pudding mixture, it’s time to add the richness. Pour in the entire (14 oz) can of sweetened condensed milk. This ingredient adds a wonderful depth of sweetness and a luxurious creaminess that elevates the instant pudding mix. Next, add the 1 teaspoon of vanilla extract. While the pudding mix already has vanilla flavor, a little extra extract amplifies that classic taste and adds a more nuanced vanilla aroma. Continue whisking these additions into the pudding mixture until everything is thoroughly incorporated. You’ll notice the mixture becoming thicker and even more velvety. Again, take your time to ensure an even distribution of these flavors.
Folding in the Creamy Elements and Fruit
Step 3: Gently Folding in the Whipped Topping
Now that our pudding base is smooth and flavorful, we’ll introduce the lightness. Take your (8 oz) tub of thawed whipped topping and gently fold it into the pudding mixture. The key here is to “fold” rather than stir or whisk aggressively. Use a spatula or large spoon and gently bring the pudding mixture from the bottom of the bowl up and over the whipped topping, rotating the bowl as you go. This technique preserves the airiness of the whipped topping, ensuring your Banana Pudding isn’t dense but light and fluffy. You want to incorporate the whipped topping until just combined, with no streaks of white visible. Overmixing can deflate the whipped topping, leading to a less desirable texture.
Step 4: Layering with Bananas and Vanilla Wafers
It’s time to assemble our masterpiece! Grab your sliced ripe bananas and the box of vanilla wafers. You’ll want to start by spreading a thin layer of the pudding mixture on the bottom of your serving dish. This can be a large trifle bowl, individual parfait glasses, or even a casserole dish. Then, arrange a single layer of sliced bananas over the pudding. Don’t be shy with the bananas; they are a star ingredient! After the banana layer, add a layer of vanilla wafers. You can break them up slightly if needed to fit snugly and cover the bananas. Then, repeat the layers: pudding, bananas, vanilla wafers. Continue this process until you’ve used up your ingredients or reached the top of your dish, ending with a final layer of pudding. For a truly decadent dessert, try to have a nice visible layer of bananas and wafers on top. The riper the bananas, the sweeter and more flavorful they will be in your pudding.
Setting and Serving Your Banana Pudding
Step 5: Chilling to Perfection
This is perhaps the most crucial step for the ultimate Banana Pudding experience: patience! Once assembled, cover your serving dish tightly with plastic wrap or a lid. Place it in the refrigerator and allow it to chill for at least 4 hours, but overnight is even better. This chilling period is essential for several reasons. First, it allows the flavors to meld together, creating a harmonious and delicious taste. The vanilla wafers will soften slightly, absorbing some of the pudding’s moisture and becoming wonderfully tender, yet still holding their shape. The pudding itself will firm up beautifully. The cold temperature also enhances the refreshing qualities of the dessert. Before serving, you can add a final flourish. Some people like to top their chilled Banana Pudding with extra whipped topping, a sprinkle of crushed vanilla wafers, or even a few extra banana slices for decoration. This dessert is best served cold, so don’t skip the chilling time! Enjoy every creamy, fruity, and slightly crunchy bite of your homemade Banana Pudding.
Conclusion:
And there you have it – your guide to creating the most delightful and comforting Banana Pudding! This recipe has been designed to be straightforward, yielding a rich and creamy dessert that’s sure to become a family favorite. Whether you’re a seasoned baker or just starting out, the steps are clear and the reward is immense. Don’t be afraid to get creative with your serving. While a classic scoop is always a winner, consider topping your Banana Pudding with a sprinkle of crushed vanilla wafers, a drizzle of caramel sauce, or even some toasted slivered almonds for an added textural element. For variations, feel free to experiment with different types of cookies like shortbread or grabeef ham crackers. You could also add a touch of cinnamon or nutmeg to the pudding mixture for a warmer flavor profile. Most importantly, have fun with it! The joy of making this Banana Pudding is in the process and sharing it with loved ones. We hope you enjoy every spoonful!
Frequently Asked Questions:
Can I make Banana Pudding ahead of time?
Absolutely! Banana Pudding is an excellent make-ahead dessert. In fact, it often tastes even better the next day as the flavors have more time to meld. Store it covered in the refrigerator for up to 2-3 days. It’s best to add the fresh banana slices closer to serving time to prevent them from getting too soft.
What’s the best way to prevent the pudding from getting watery?
The key to a firm and creamy Banana Pudding lies in proper thickening. Ensure you’re cooking the pudding mixture until it coats the back of a spoon and is noticeably thick. Also, make sure your egg yolks are well tempered to avoid scrambling, which can affect the texture. Using a good quality cornstarch or flour for thickening is also crucial.
Easy Banana Pudding Recipe-Classic Southern Comfort
A classic Southern comfort dessert featuring layers of creamy vanilla pudding, sweet ripe bananas, and crisp vanilla wafers, chilled to perfection.
Ingredients
-
1 (3.4 oz) box instant vanilla pudding mix
-
2 cups cold milk
-
1 (14 oz) can sweetened condensed milk
-
1 teaspoon vanilla extract
-
1 (8 oz) tub whipped topping, thawed
-
4-5 ripe bananas, sliced
-
1 (11 oz) box vanilla wafers
Instructions
-
Step 1
In a large bowl, whisk together the instant vanilla pudding mix and cold milk for about 2 minutes until smooth and creamy. Ensure the milk is well chilled. -
Step 2
Add the sweetened condensed milk and vanilla extract to the pudding mixture. Whisk until thoroughly combined and the mixture thickens. -
Step 3
Gently fold the thawed whipped topping into the pudding mixture using a spatula until just combined, being careful not to deflate the whipped topping. -
Step 4
Spread a thin layer of the pudding mixture in your serving dish. Layer with sliced bananas and vanilla wafers. Repeat the layers until all ingredients are used, ending with a layer of pudding. -
Step 5
Cover the dish tightly and refrigerate for at least 4 hours, preferably overnight, to allow flavors to meld and wafers to soften.
Important Information
Nutrition Facts (Per Serving)
It is important to consider this information as approximate and not to use it as definitive health advice.
Allergy Information
Please check ingredients for potential allergens and consult a health professional if in doubt.